>>

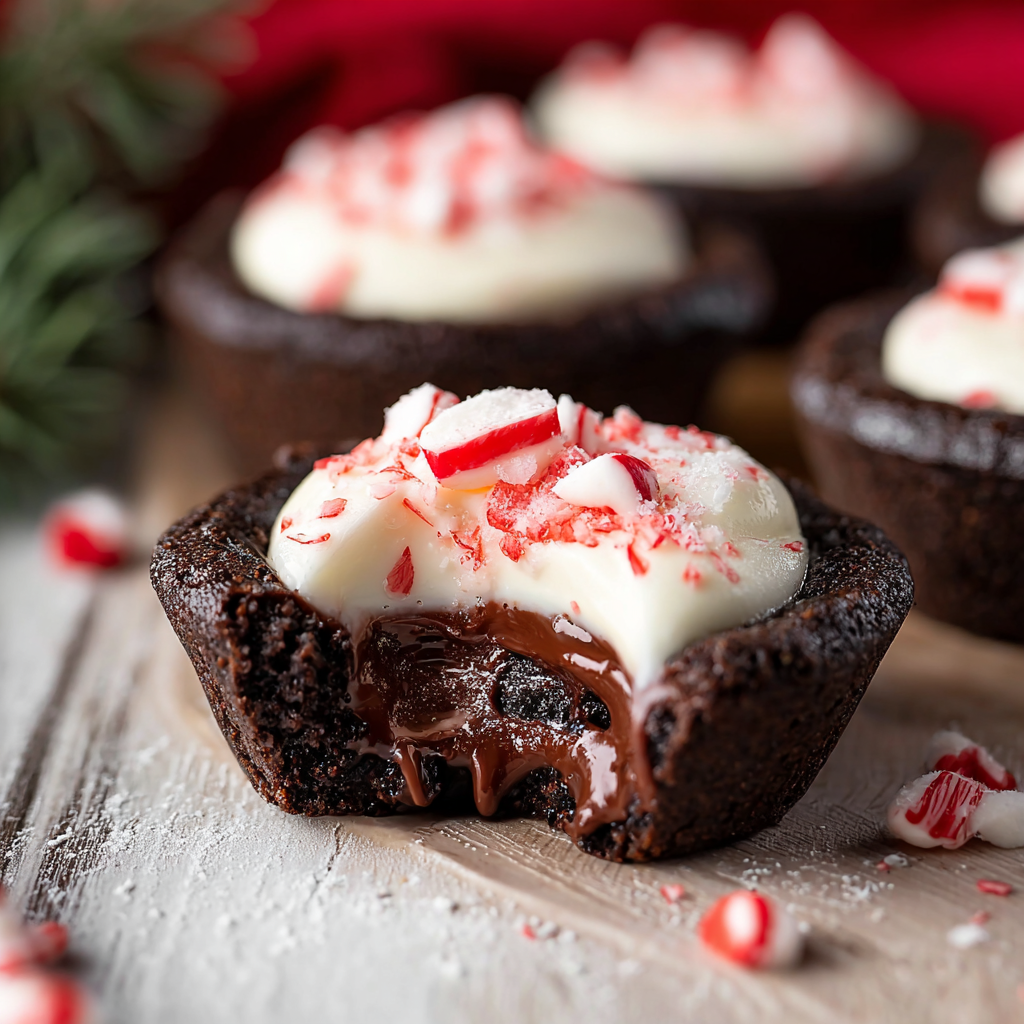
Rich chocolate cookie cups filled with a bright peppermint cheesecake center — a festive, crowd-pleasing treat perfect for holiday parties and cozy nights in.

This Chocolate Peppermint Cookie Cups recipe is one of those discoveries that first appeared during a last-minute holiday bake-a-thon and quickly became a tradition in my house. I was trying to balance something deeply chocolatey with a bright peppermint finish and wanted a handheld dessert that felt festive yet comforting. The result is a crisp-edged, tender chocolate cup with a pillowy interior that holds a cool, minty cheesecake filling. Every bite is a contrast of textures — slightly crackly top, chewy interior, and a silky peppermint center that reminds me of holiday cookie exchanges and late nights wrapping gifts with a mug of hot cocoa nearby.
I first made these on a blustery December afternoon while listening to holiday music and testing ideas for a cookie swap. The recipe came together easily from pantry staples and a couple of fresh dairy items. What makes these special is the combination of two cocoa powders in the base dough for deep color and chocolate intensity, plus the small jar trick to press the centers while the cups are hot so they hold their shape when baked. These cookie cups travel well to parties, keep their filling well when chilled, and always fetch compliments for both appearance and flavor.
Personally, I love how quickly these come together when friends drop in unexpectedly. At my last holiday gathering my sister announced she would bring the cookies — then sent a photo of the empty tray by the end of the night. The crunchy chopped candy cane garnish gives them a festive snap and a pop of color that always makes me smile.
What I love most is how reliably these disappear at parties. The peppermint cut through the chocolate richness and makes them feel lighter despite being indulgent. I once brought a tray to a cookie swap and came home with three identical requests for the recipe; they make a great edible gift when stacked in a small box with parchment layers.

Store filled cups in a single layer in an airtight container in the refrigerator for up to four days. If stacking is necessary, place parchment or wax paper between layers to prevent sticking. For longer storage, freeze baked but unfilled cups in a single layer on a sheet tray, then transfer to a freezer bag for up to three months. Thaw fully in the refrigerator before filling and serving. Reheat is not recommended for filled cups; if you prefer a warmer dessert, gently warm an unfilled cup for 10 to 15 seconds in the microwave and then add a scoop of ice cream.
If you don’t have black cocoa, increase the Dutch-processed cocoa to 1/2 cup for depth of flavor and a darker color. For a slightly lighter cup use only Dutch-process cocoa. To make these dairy-free, use a vegan butter substitute and a non-dairy cream cheese and whipping cream alternative — results vary, and structure may be slightly softer. For an egg-free version, try a commercial egg replacer following package directions; texture will be tender but less aerated. Swap peppermint extract for vanilla plus 1/2 teaspoon peppermint oil if you want a subtler mint note.
Serve chilled on a festive platter with a dusting of sifted cocoa or extra chopped candy canes for contrast. These pair beautifully with hot coffee, espresso, or a cup of mulled cider. For a party, arrange on a tiered stand or place in mini cupcake liners for easy grab-and-go access. Garnish each cup with a tiny mint leaf or a drizzle of melted dark chocolate for a polished finish. They also make a lovely addition to a dessert board alongside shortbread, biscotti, and spiced nuts.
Chocolate and peppermint are a classic North American holiday pairing, often found in candies, drinks, and baked goods during winter celebrations. The idea of pressing cookie centers to create filled cups is a baker's adaptation of tart and cookie shell techniques, making an approachable version of filled confections. Peppermint itself has a long history as a palate-refreshing herb, and the modern peppermint candy cane became popular in the 19th century as an emblem of holiday baking traditions.
For winter holidays maintain the peppermint flavor and add red or green sprinkles to coordinate with seasonal decor. For a summertime twist replace peppermint with orange extract and garnish with candied orange peel. At Valentine’s Day tint the filling pink with more color gel and top with heart-shaped sprinkles. You can also make a spiced version by adding 1/4 teaspoon ground cinnamon and a pinch of nutmeg to the dough for a warming background note.
Prepare the dough and bake the cups up to two days in advance; store unfilled cups in an airtight container at room temperature or refrigerate for firmer texture. Make the peppermint cheesecake filling a day ahead and keep chilled; fold in whipped cream just before filling for best volume. Portion filling into a piping bag for quick assembly at events. If you anticipate travel, pack filled cups in a shallow cooler to keep them chilled and intact.
These Chocolate Peppermint Cookie Cups are both show-stopping and simple, and they reward a little planning. Make them your own by adjusting mint intensity, choosing different garnishes, or experimenting with chocolate percentage in your cocoa. Enjoy sharing them with friends and family — they always start good conversations and finish even better.
Use room-temperature eggs and cream cheese for a smooth, lump-free filling.
Press the centers immediately after removing from the oven while the cups are warm to create a clean well.
Chill the filling before piping so it holds shape and doesn’t weep.
Measure flour by spooning into the cup and leveling for accurate amounts.
If peppermint extract is strong, add it in increments and taste to avoid overpowering the chocolate.
This nourishing chocolate peppermint cookie cups recipe is sure to be a staple in your kitchen. Enjoy every moist, high protein slice — it is perfect for breakfast or as a wholesome snack any time.
This Chocolate Peppermint Cookie Cups recipe makes perfectly juicy, tender, and flavorful steak every time! Serve with potatoes and a side salad for an unforgettable dinner in under 30 minutes.
Preheat oven to 350°F. Spray two standard cupcake tins with cooking spray. In a bowl sift together flour, Dutch-processed cocoa, black cocoa, baking soda, and salt to remove lumps and evenly distribute the leavening.
Beat room-temperature butter with granulated and brown sugar on medium-high for 2 to 3 minutes until light and fluffy. Reduce speed, add eggs one at a time, then vanilla, scraping the bowl as needed to ensure an even mixture.
Add the dry mixture to the wet ingredients and mix on low until just combined. Avoid overmixing to prevent a tough texture; stop when no streaks of flour remain.
Using a 3-tablespoon scoop, portion dough into the prepared tins. Bake for 10 to 13 minutes until edges are set and centers are slightly soft. Watch after 10 minutes to avoid overbaking.
Remove from oven and immediately press the center with a small jar to form a well. Cool in the pan for 10 minutes, then loosen and transfer to a wire rack to cool completely.
Whip chilled heavy cream to soft peaks. Beat room-temperature cream cheese with sugar until smooth, fold in whipped cream, then add peppermint extract and a touch of red gel if desired. Adjust flavor carefully.
Pipe or spoon filling into cooled cookie cups and top with chopped candy canes. Chill for at least 30 minutes before serving to allow the filling to set.
Last Step: Please leave a rating and comment letting us know how you liked this recipe! This helps our business to thrive and continue providing free, high-quality recipes for you.
Leave a comment & rating below or tag
@solushcooks on social media!

Crispy, golden pockets of melted mozzarella and pepperoni made in the air fryer for a quick party snack or weeknight treat.
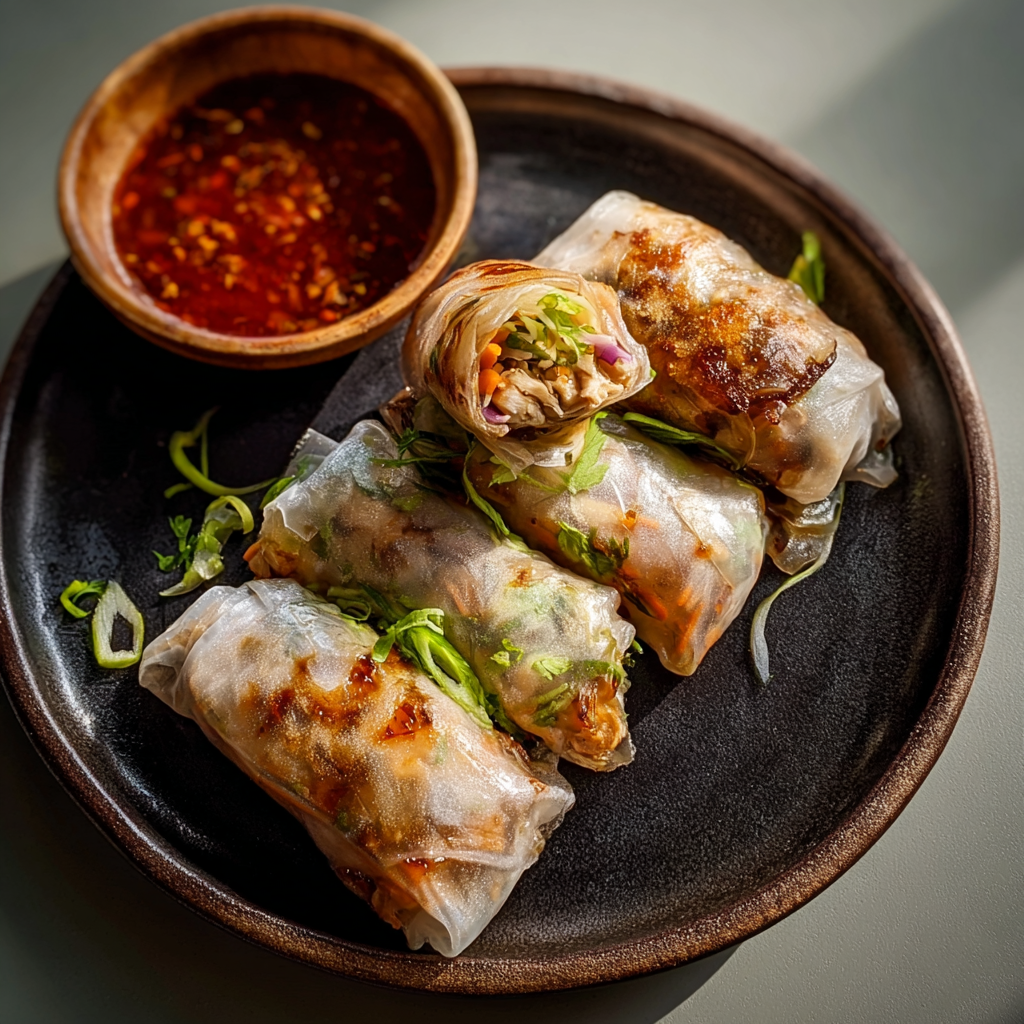
Crispy, light rice paper rolls filled with vermicelli, vegetables and tofu or shrimp, finished in the air fryer for a healthy, snackable treat.
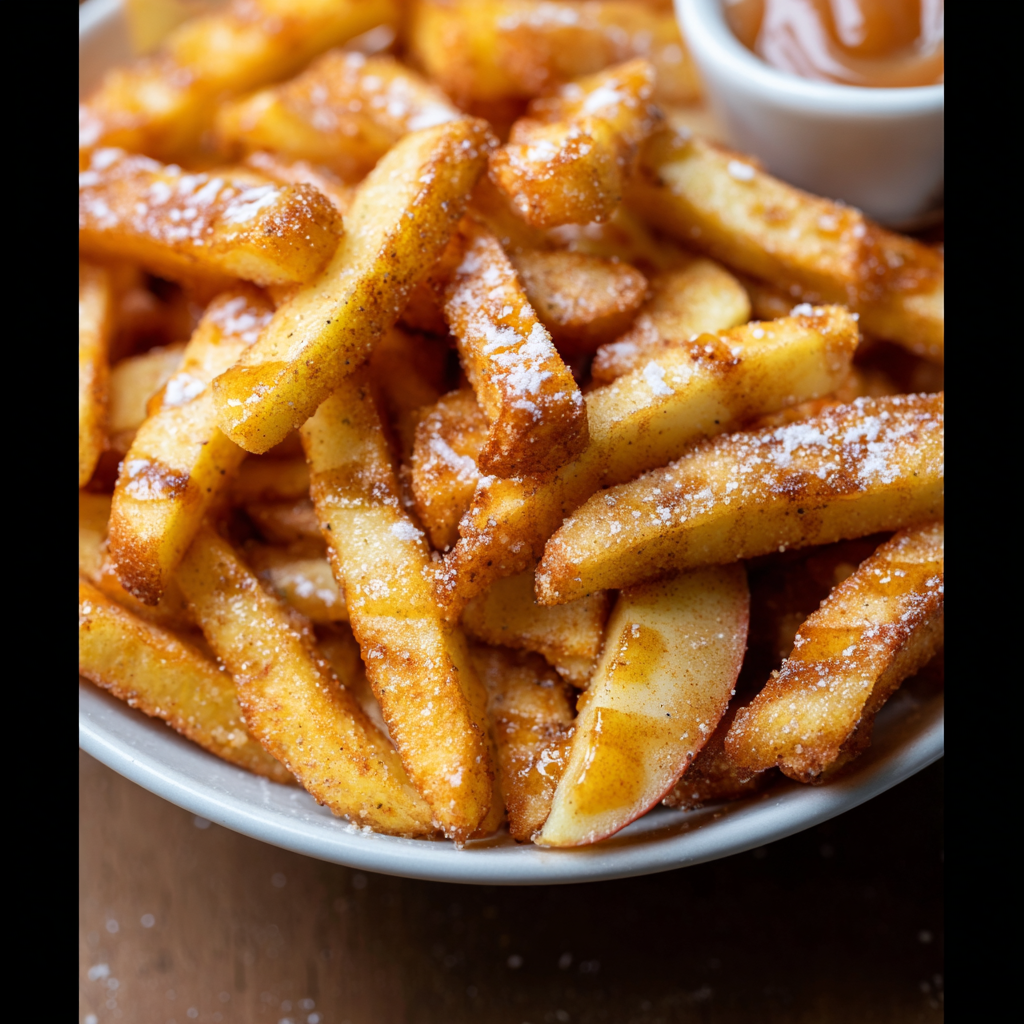
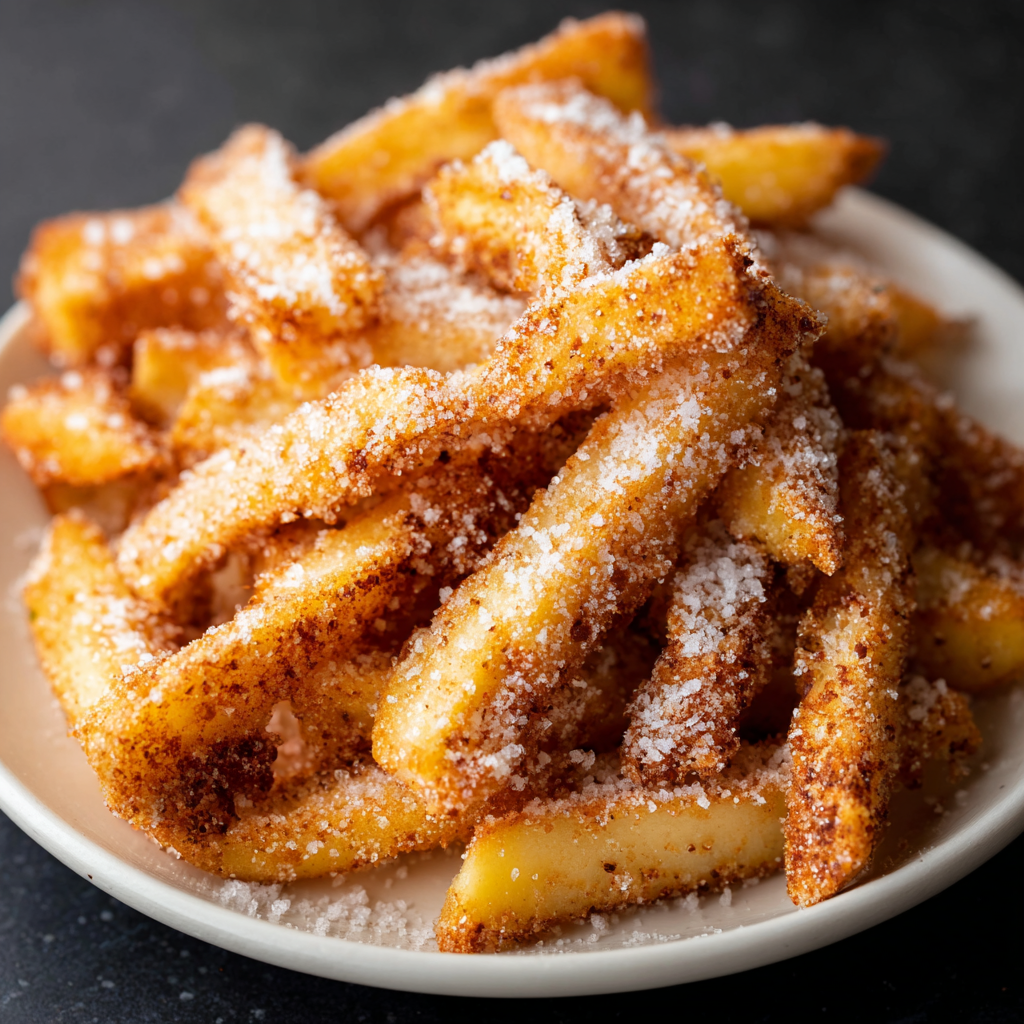
Crispy, cinnamon-sugar coated apple fries made in the air fryer — a quick, family-friendly snack or dessert ready in under 30 minutes.
Leave a comment & rating below or tag @solushcooks on social media!
Enjoyed this recipe? Share it with friends and family, and don't forget to leave a review!
This recipe looks amazing! Can't wait to try it.
Comments are stored locally in your browser. Server comments are displayed alongside your local comments.

Join to receive our email series which contains a round-up of some of our quick and easy family favorite recipes.