
Chocolate Raspberry Crinkles

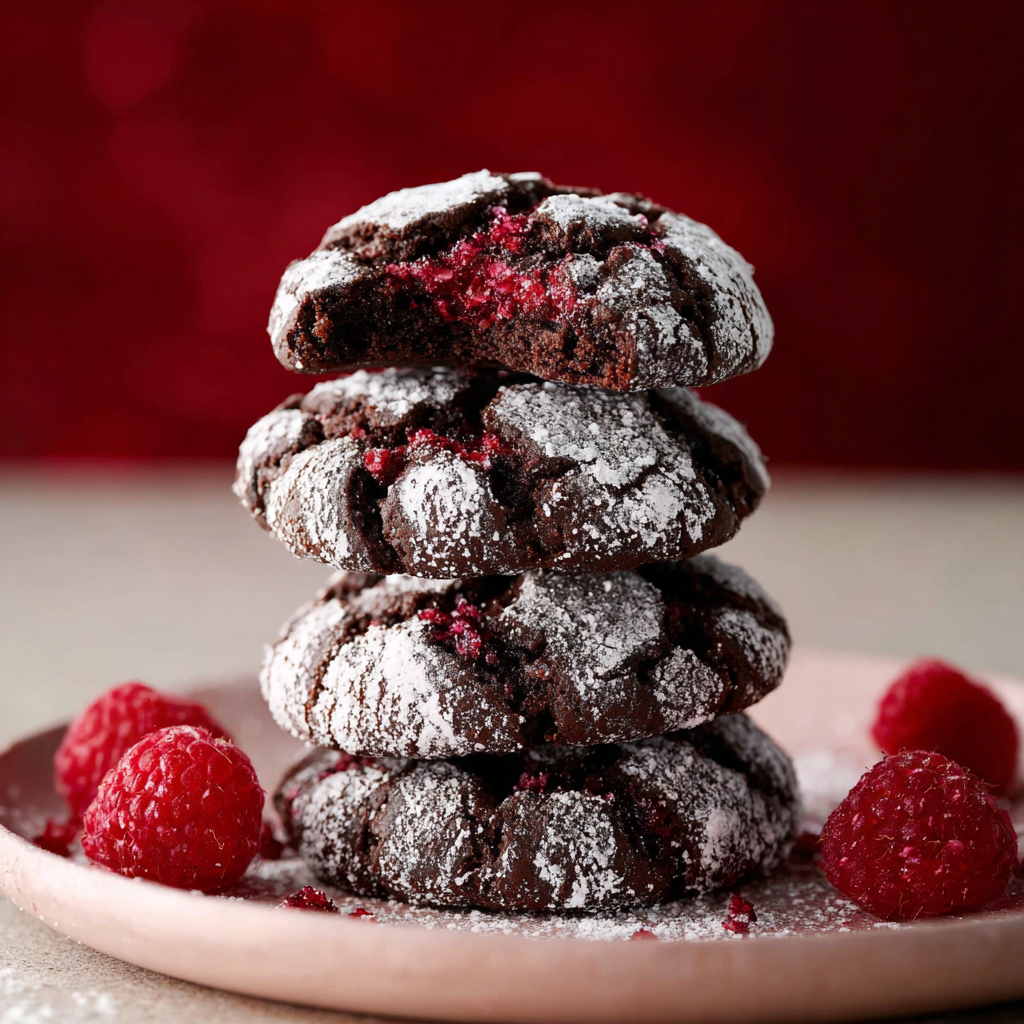
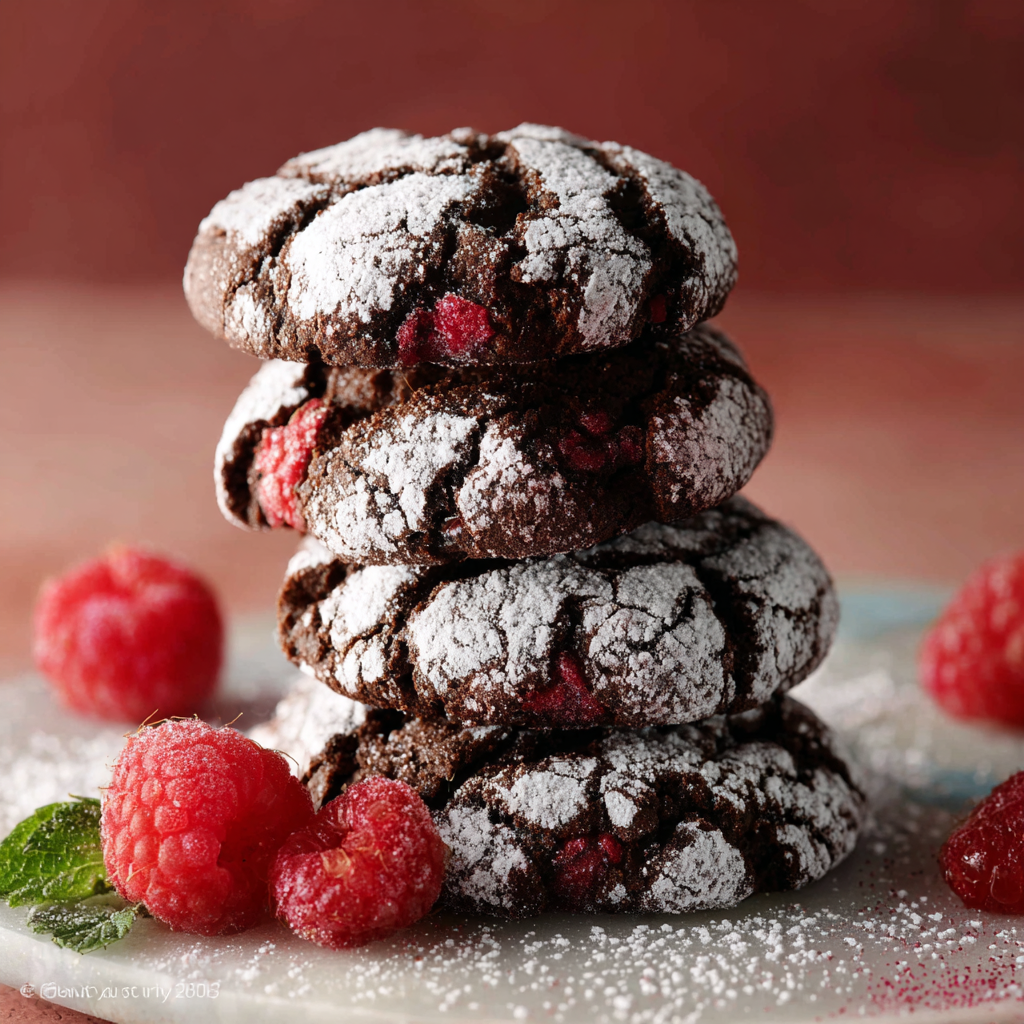
Fudgy chocolate crinkles with a bright raspberry surprise — a tender, crackled cookie rolled in powdered sugar and freeze-dried raspberries.
This Chocolate Raspberry Crinkles recipe is one of those treats that instantly turns an ordinary afternoon into a small celebration. I discovered this combination during a weekend bake-a-thon when I wanted a classic chocolate crinkle but with a fresh, fruity counterpoint. The result was a crackly, almost brownie-like cookie with a concentrated burst of raspberry in the center. The outside has a fragile sugar crust and the interior stays soft and fudgy — that contrast is what keeps everyone reaching for another.
I first made these for a holiday cookie swap and left with empty tins and a stack of requests for the recipe. The preserves add a sweet-tart jewel to each bite, while the hint of vanilla or raspberry liqueur elevates the chocolate. These are great for gifting because they travel well and look beautiful grouped on a plate: deep chocolate contrasted with pink flecks from the freeze-dried raspberry and a light powdered sugar dusting. If you appreciate a soft, slightly chewy cookie with a glossy crackle and a fruity surprise, this will quickly become a favorite in your collection.
Why You'll Love This Recipe
- Fudgy interior with a crisp, crackled sugar exterior creates a delightful contrast in texture that feels indulgent without being heavy.
- Ready in about 35 minutes of active work and less than an hour total including chilling and baking — perfect for weeknight baking or last-minute gifts.
- Uses pantry staples like flour, cocoa, and sugar with a small jar of raspberry preserves to add a bright, seasonal note.
- Make-ahead friendly: dough chills beautifully and cookies freeze well, so you can bake in batches or prepare for parties ahead of time.
- Customizable — swap the raspberry preserve for other jams, or add a splash of liqueur for an adult twist; the recipe is forgiving and adaptable.
- Visually striking: the snowy powdered-sugar coating flecked with crushed freeze-dried raspberry makes for a show-stopping presentation.
In my experience, family members immediately comment on the intense chocolate flavor balanced by real fruit. During that first holiday swap, someone told me these tasted like miniature chocolate tarts with jam centers — a compliment I still smile about. The combination of textures and the ease of assembly make these one of my go-to recipes when I want an impressive-looking treat without hours of work.
Ingredients
- Unsalted butter (1/2 cup; 8 Tbsp): Use high-quality butter (I like Plugrá or Kerrygold) for the base of the dough. Room-temperature butter creams smoothly with sugar, producing a tender crumb and richer flavor.
- Neutral oil (1 Tbsp): A tablespoon of vegetable, avocado, or light olive oil helps keep the cookies soft and adds a bit of glide so the dough doesn’t feel dry; avocado oil is my preference for a neutral taste.
- Granulated sugar (1/2 cup): Standard white sugar helps create the crackled top when combined with confectioners’ sugar — it also contributes to the slightly glossy exterior.
- Light or dark brown sugar (1/2 cup, packed): Brown sugar adds moisture and a subtle molasses depth that makes the center fudgier. Dark brown offers more caramel notes if you prefer that.
- Egg (1 large): Adds structure and richness. Use an egg at room temperature for even incorporation and glossy results.
- Vanilla extract or raspberry liqueur (1 tsp): Pure vanilla is classic; a teaspoon of Chambord or other raspberry liqueur will intensify the berry note and pair beautifully with the preserves.
- All-purpose flour (1 1/2 cups; spooned & leveled): King Arthur or Bob’s Red Mill are reliable. Measure by spooning into the cup and leveling off to avoid dense cookies.
- Unsweetened natural cocoa powder (2/3 cup): Dutch-process cocoa will darken the color, but natural cocoa gives that sharp chocolate tang. I often use Guittard or Hershey’s natural cocoa.
- Baking soda (1 tsp) & salt (1/8 tsp): Baking soda gives a subtle lift and helps with the crackle; the pinch of salt balances the sweetness.
- Raspberry preserves (1/3 cup): Choose a seedless preserve or a high-quality jam like Bonne Maman. If your jam is very runny, reduce slightly or gently simmer to thicken before using.
- Confectioners’ sugar (3/4 cup): For rolling the cookies to produce that classic crinkle look and a sweet snow-like coating.
- Freeze-dried raspberries (1/2 cup, crushed): Pulverize to a coarse powder and mix into the confectioners’ sugar for bright color and an intense fruit burst that won’t add moisture.
Instructions
Step 1 — Prep the oven and pans: Preheat to 350°F. Line two baking sheets with parchment paper or silicone mats and set a wire rack nearby. Proper oven temperature and a cool baking surface help create the trademark crackled tops and prevent spreading. Step 2 — Cream butter, oil, and sugars: In a large bowl or stand mixer fitted with the paddle attachment, beat the room-temperature butter, oil, granulated sugar, and brown sugar for 2–3 minutes until pale and slightly fluffy. This step incorporates air for a lighter texture while still keeping the interior fudgy. Step 3 — Add egg and flavor: Beat in the egg until fully incorporated, then mix in the vanilla extract or raspberry liqueur. Scrape the bowl to ensure even distribution; the liquid will help the cocoa bloom for deeper chocolate flavor. Step 4 — Combine dry ingredients: In a separate bowl whisk together the flour, cocoa powder, baking soda, and salt. Add in two additions and mix on low speed until just combined — overmixing develops gluten and dries out the cookies. Step 5 — Add preserves and form dough: Fold the raspberry preserves into the dough gently; you want streaks and small pockets of jam rather than a uniform mixture. If the preserves are very loose, spoon them in as small dollops and press them into the center of dough balls in the next step. Step 6 — Chill if needed: If the dough feels soft or sticky, refrigerate for 20–30 minutes — chilled dough holds its shape in the oven and produces a thicker cookie with a fudgier center. Brief chilling also makes it easier to encase jam pockets without leaking. Step 7 — Shape and coat: Scoop about 1 tablespoon of dough (or use a small cookie scoop). If adding jam pockets, flatten a scoop slightly, place 1/2 teaspoon of preserves in the center, then cover with a bit more dough and roll into a ball. Roll each ball in the powdered sugar mixed with crushed freeze-dried raspberry until thoroughly coated. Step 8 — Bake and cool: Arrange dough balls 2 inches apart on prepared sheets. Bake 10–12 minutes until tops are cracked and edges look set but centers are still soft. Let cool on the sheet for 5 minutes, then transfer to a wire rack. Cookies will finish setting as they cool. Step 9 — Storage and serving: Once fully cooled, store in an airtight container at room temperature for up to 4 days, or freeze in a single layer then transfer to a freezer bag for longer storage.
You Must Know
- These keep well at room temperature for up to 4 days in an airtight container and freeze beautifully for up to 3 months — thaw on the counter for 30 minutes before serving.
- The combination of granulated and brown sugar creates the glossy crackle outside and fudgy interior; do not substitute all granulated sugar unless you want a drier texture.
- If preserves are particularly runny, reduce on the stove for a few minutes to concentrate them; too-wet jam will spread through the dough during baking.
- Rolling in powdered sugar with freeze-dried raspberry prevents the fruit from bleeding into the coating while delivering vivid color and intense flavor without extra moisture.
My favorite part of this recipe is the moment when you bite through the powdered crust to reveal a warm, slightly jammy center — people always smile. At a summer picnic the first time I brought these, someone declared them a “grown-up jam cookie,” and the raspberry pop against deep chocolate won over both kids and adults. I learned that a quick chill helps contain the jam and that a small spoonful is more than enough to deliver a bright note without sogginess.
Storage Tips
Store cooled cookies in an airtight container layered with parchment to prevent sticking. At room temperature they remain fresh for up to 4 days; refrigeration will extend freshness but can dry the crumb, so wrap tightly. For longer storage, freeze baked cookies in a single layer on a sheet, then transfer to a freezer-safe bag and freeze up to 3 months. To re-crisp the powdered coating, warm in a 300°F oven for 3–5 minutes; if frozen, let them thaw on the counter for 20–30 minutes first.
Ingredient Substitutions
For a dairy-free version, swap the butter for a plant-based block-style spread and ensure the powdered sugar is vegan (some use bone char-processed sugar). To reduce sugar slightly, use 3/8 cup granulated and 7/16 cup brown sugar — keep in mind the texture will shift and cookies may be less crackly. Replace raspberry preserves with apricot or strawberry for different profiles, or fold in 1/4 cup mini chocolate chips for extra chocolate pockets. If you prefer a boozy note, substitute half of the vanilla with 1 teaspoon Chambord or amaretto.
Serving Suggestions
Serve these warm with a dollop of whipped cream, a scoop of vanilla ice cream, or a small cup of strong coffee. For parties, arrange them on a platter with fresh raspberries and mint sprigs for color contrast. They also pair well with dessert wines such as a late-harvest Riesling or a raspberry liqueur-spiked hot chocolate. For a brunch spread, add them to a board with scones, lemon bars, and fresh fruit.
Cultural Background
Crinkle-style cookies have roots in mid-20th-century American baking, prized for their snowy powdered-sugar coating and chewy centers. Adding jam to chocolate cookies echoes European thumbprint cookies (often called jam drops), where a small well of preserves creates a bright center. Combining the two draws on both traditions: the American crinkle’s dramatic surface and the European love of fruit-filled cookies, creating a hybrid that’s familiar yet distinctly modern.
Seasonal Adaptations
Spring and summer invite swapping raspberry preserves for strawberry or apricot to use seasonal jams. In fall, swap in spiced preserves (like fig or spiced plum) and add 1/4 teaspoon cinnamon to the dough. For winter holidays, fold in 1/4 cup finely chopped toasted hazelnuts and use orange zest with a tablespoon of Cointreau for a festive twist. Freeze-dried raspberries can be replaced with freeze-dried cranberries for a holiday-friendly color.
Meal Prep Tips
Make the dough up to 48 hours ahead and keep it wrapped in the fridge; scoop frozen balls onto parchment and bake directly from frozen, adding 1–2 minutes to the baking time. For grab-and-go breakfasts or lunchbox treats, freeze baked cookies in stackable layers separated by parchment. Pack in an insulated container with an ice pack if serving on a hot day to prevent the jam from becoming too soft.
These cookies have become a staple for both quiet afternoons and festive gatherings in my kitchen. They’re approachable, adaptable, and reliably delicious — give them a try and make the jam choice your own. Happy baking!
Pro Tips
Chill the dough if it feels soft — it helps preserve shape and creates a fudgier center.
Use a small scoop (about 1 tablespoon) for consistently sized cookies and even baking.
Roll the cookies generously in powdered sugar; the freeze-dried raspberry keeps the color vivid without adding moisture.
If using jam pockets, seal the dough well around the jam to prevent leaking during bake.
This nourishing chocolate raspberry crinkles recipe is sure to be a staple in your kitchen. Enjoy every moist, high protein slice — it is perfect for breakfast or as a wholesome snack any time.
FAQs about Recipes
Can I bake the dough without chilling?
Yes — chilled dough can be baked straight from the fridge; just add 1–2 minutes to the baking time. If frozen, allow an extra minute or two.
What if my raspberry preserves are too runny?
If your jam is runny, simmer it gently for 3–5 minutes to thicken, or use less per cookie to prevent leakage.
Tags
Chocolate Raspberry Crinkles
This Chocolate Raspberry Crinkles recipe makes perfectly juicy, tender, and flavorful steak every time! Serve with potatoes and a side salad for an unforgettable dinner in under 30 minutes.
Ingredients
Cookies
Topping
Instructions
Preheat and prepare
Preheat the oven to 350°F. Line baking sheets with parchment paper or silicone mats and set up a cooling rack.
Cream fats and sugars
Beat softened butter, oil, granulated sugar, and brown sugar until pale and slightly fluffy, about 2–3 minutes.
Incorporate egg and flavor
Add the egg and vanilla extract or raspberry liqueur, beating until fully combined and smooth.
Mix dry ingredients
Whisk flour, cocoa, baking soda, and salt together. Add to wet ingredients in two additions and mix just until combined.
Fold in preserves
Gently fold raspberry preserves into the dough, creating small pockets rather than fully homogenizing the jam.
Chill if necessary
If dough is soft, refrigerate for 20–30 minutes to firm up and make handling easier for forming jam pockets.
Shape and coat
Scoop 1 tablespoon portions, add 1/2 tsp preserves into the center if desired, seal and roll into balls then coat thoroughly in powdered sugar mixed with crushed freeze-dried raspberries.
Bake and cool
Arrange 2 inches apart and bake 10–12 minutes until cracked on top and edges set. Cool on the sheet 5 minutes, then transfer to a rack to finish cooling.
Store
Store fully cooled cookies in an airtight container for up to 4 days at room temperature, or freeze for up to 3 months.
Last Step: Please leave a rating and comment letting us know how you liked this recipe! This helps our business to thrive and continue providing free, high-quality recipes for you.
Nutrition
Did You Make This?
Leave a comment & rating below or tag
@solushcooks on social media!
Categories:
You might also like...
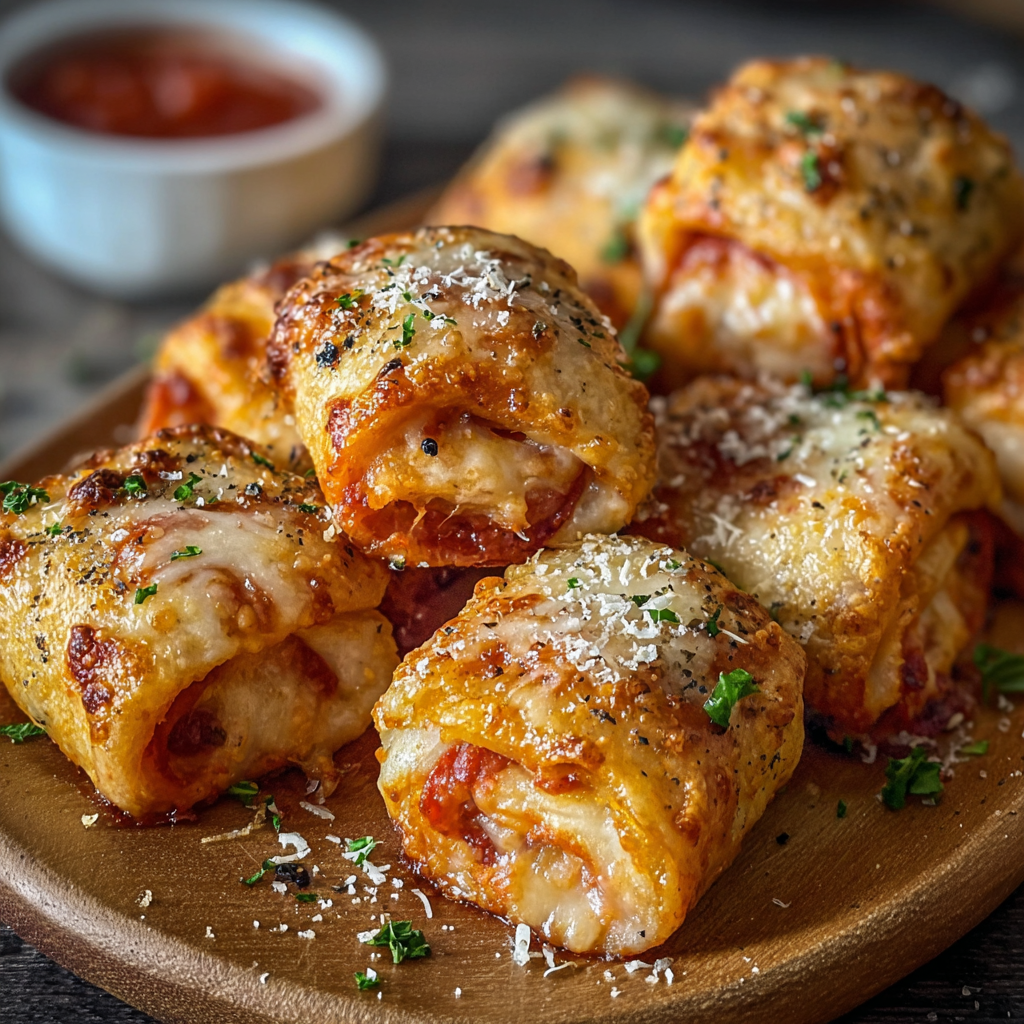
Air-Fried Pizza Rolls
Crispy, golden pockets of melted mozzarella and pepperoni made in the air fryer for a quick party snack or weeknight treat.
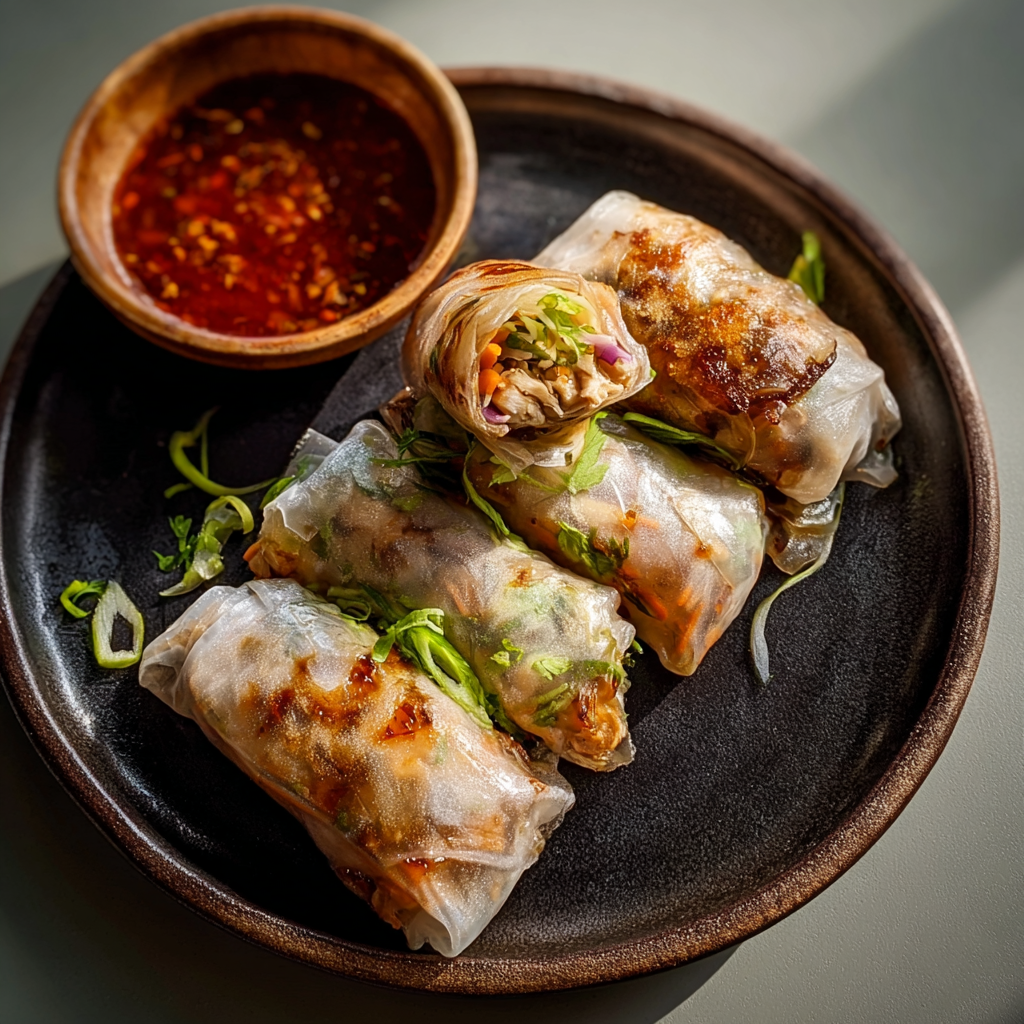
Air-Fried Rice Paper Noodle Rolls
Crispy, light rice paper rolls filled with vermicelli, vegetables and tofu or shrimp, finished in the air fryer for a healthy, snackable treat.
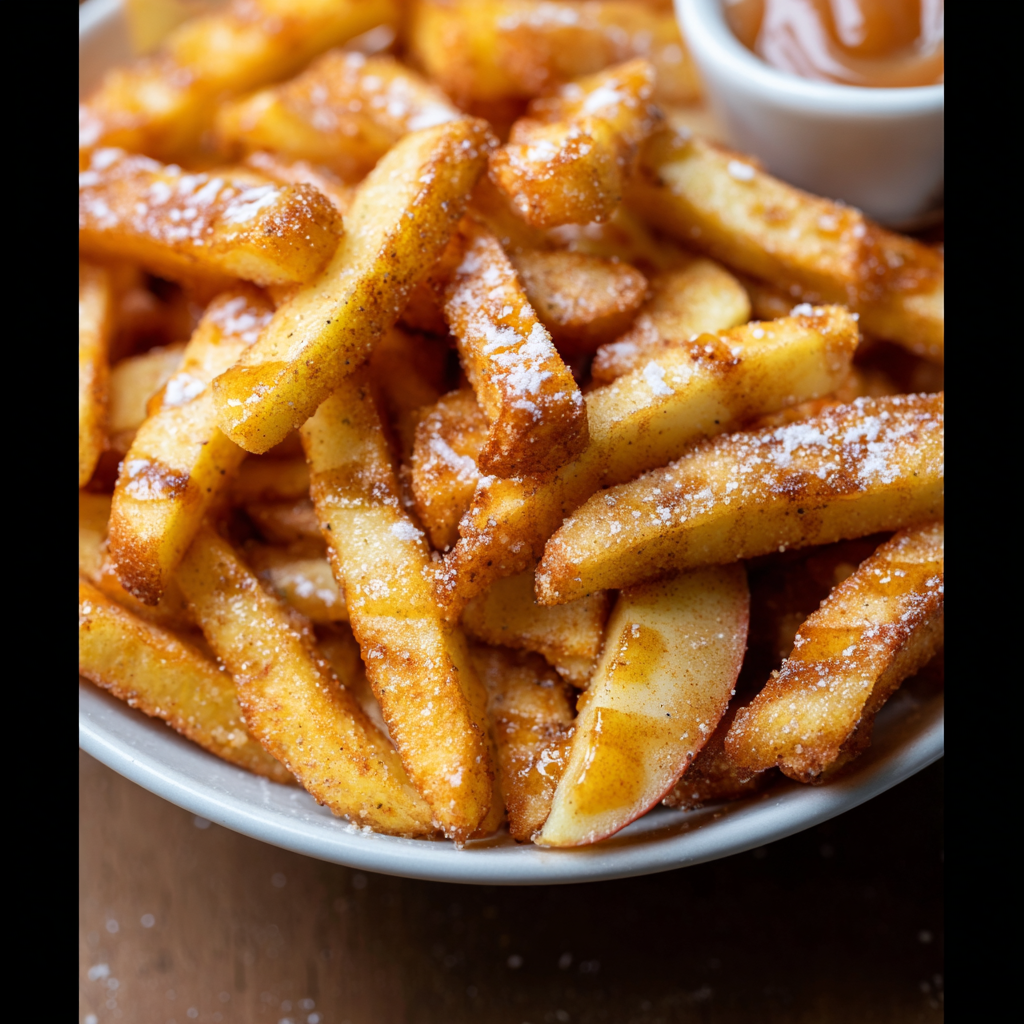
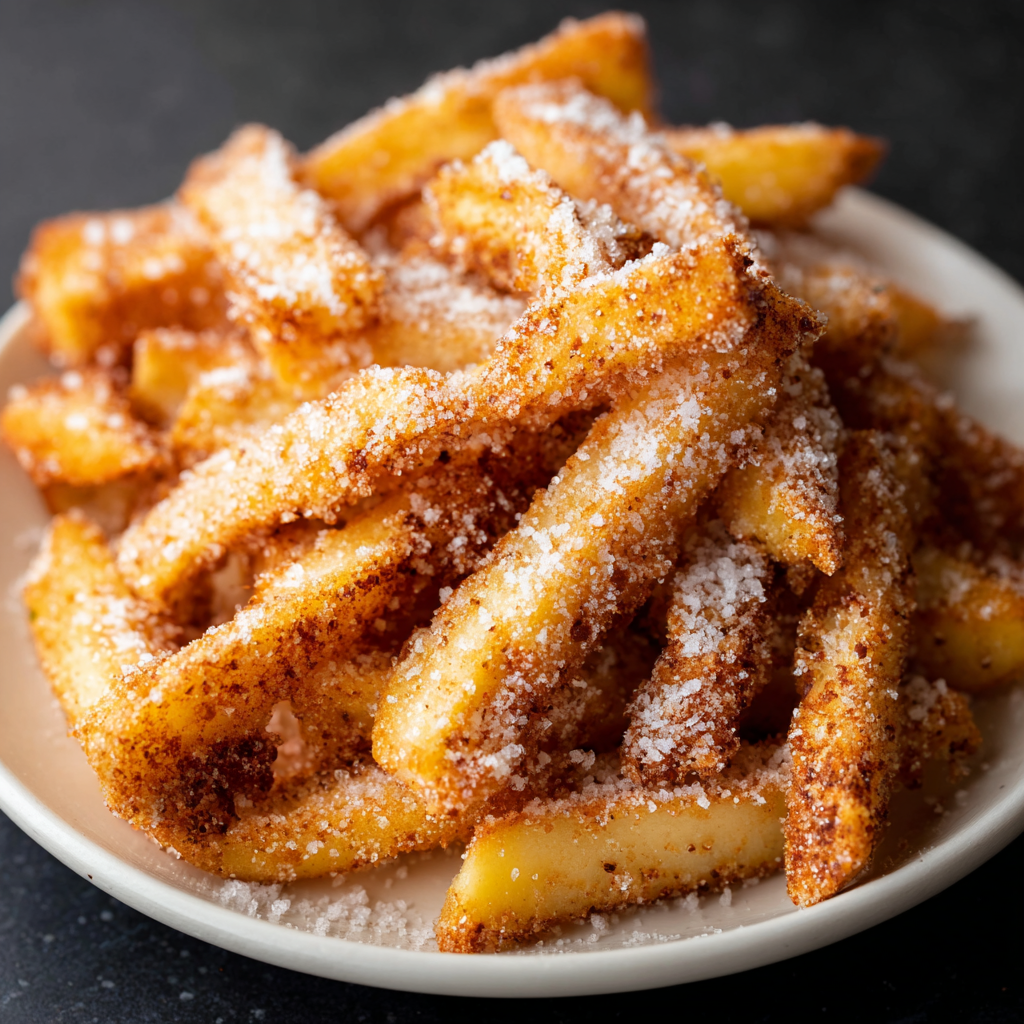
Air Fryer Apple Fries
Crispy, cinnamon-sugar coated apple fries made in the air fryer — a quick, family-friendly snack or dessert ready in under 30 minutes.
Did You Make This?
Leave a comment & rating below or tag @solushcooks on social media!
Rate This Recipe
Share This Recipe
Enjoyed this recipe? Share it with friends and family, and don't forget to leave a review!
Comments (1)
This recipe looks amazing! Can't wait to try it.
Comments are stored locally in your browser. Server comments are displayed alongside your local comments.

Hi, I'm Lena!
What's Popular
30-Minute Meals!
Join to receive our email series which contains a round-up of some of our quick and easy family favorite recipes.