
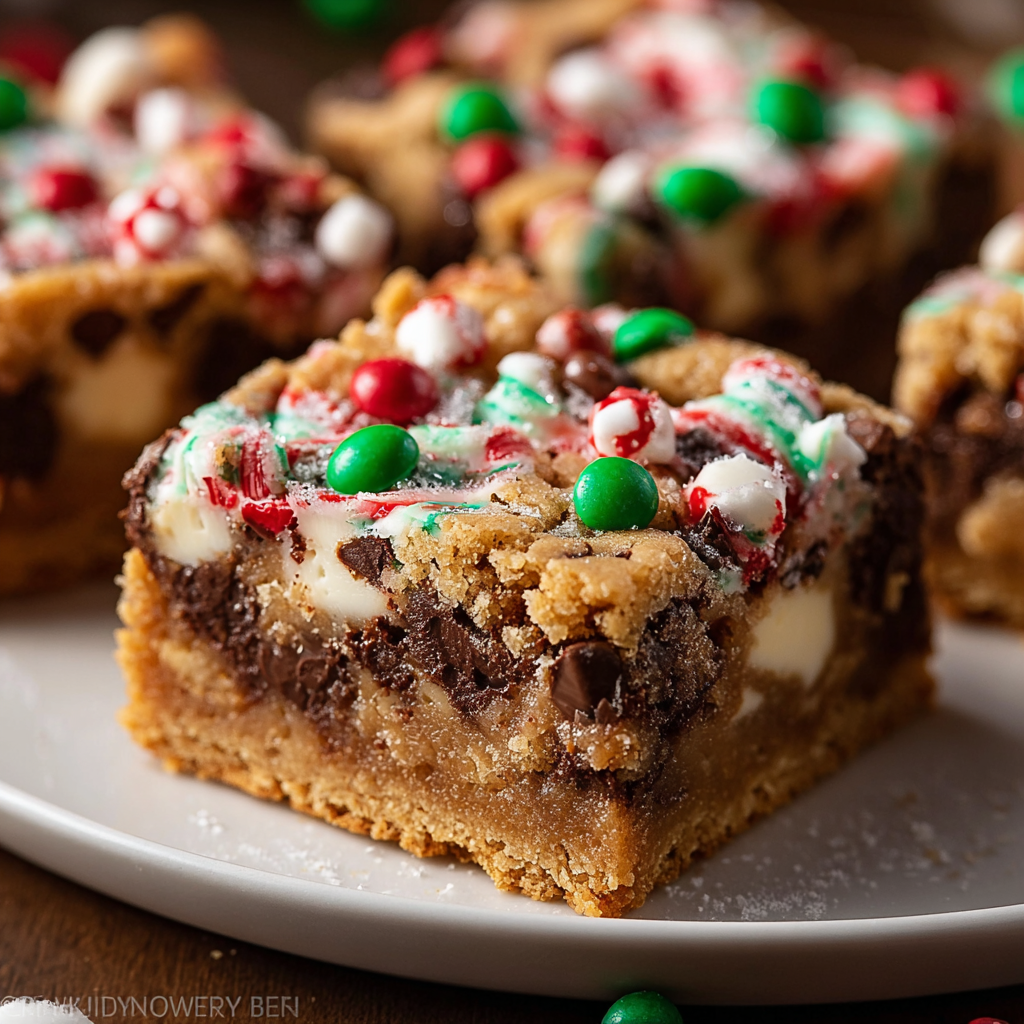
Christmas Cookie Bars

A buttery, festive cookie bar studded with chocolate chips, optional nuts, and holiday sprinkles—easy to make in a 9x13 pan and perfect for gifting or parties.

This batch of Christmas Cookie Bars began as a practical solution to holiday baking season chaos: too many cookie requests and not enough oven space. I discovered this method years ago when I needed something that baked evenly, traveled well to potlucks, and satisfied both cookie purists and those who love a festive twist. The texture is what hooked me immediately — a tender, slightly chewy interior with just enough crunch on the edges, thanks to a generous layer of butter and evenly distributed chocolate chips. The sprinkle topping turns every bar into a little celebration on a plate.
I made this recipe for the first time during a snowy December afternoon when the power went out and I wanted to make something comforting on the stovetop stove for warmth and aroma while the oven was back on later. The bars filled the house with the smell of butter, vanilla, and caramelized sugar; our tree seemed to glow a little brighter while everyone sampled warm pieces right out of the pan. Over the years I adjusted the sugar ratio, added brown sugar for chew, and learned that chilling the dough briefly helps make cleaner squares. These bars are now my go-to for cookie exchanges, holiday cookie trays, and last-minute hostess gifts because they travel and store beautifully.
Why You'll Love This Recipe
- One-pan convenience: a single 9x13-inch baking pan produces tidy bars that are quicker than rolling and cutting dozens of individual cookies.
- Family-friendly flavor: rich butter, a touch of brown sugar for chewiness, and plenty of chocolate chips create a crowd-pleasing combination.
- Time-saving assembly: ready in about 20 minutes of active prep and under 30 minutes to bake — perfect for last-minute holiday plans.
- Flexible mix-ins: add nuts, dried fruit, or swap chocolate varieties to match dietary or flavor preferences.
- Great for gifting and transport: firm bars slice cleanly and stack neatly in tins or boxes for neighbors and friends.
On the first holiday I brought these, a neighbor called them "the best dessert on the block." My kids love that the sprinkles go on last, so they can decorate each pan like a tiny project. The ease and consistent results make it my personal favorite when juggling multiple holiday obligations.
Ingredients
- Unsalted butter (1 cup): Use good-quality butter such as Kerrygold or Plugrá for the best flavor. Softened, not melted, gives the right creamed texture and moist crumb.
- Granulated sugar (1 cup): Provides structure and a clean sweetness; use white table sugar for crisp edges.
- Brown sugar, packed (1 cup): Adds moisture and caramel notes; light brown sugar works well and keeps bars chewy.
- Eggs (2 large): Bind and enrich the dough — room temperature eggs mix into the batter more evenly.
- Vanilla extract (2 teaspoons): Pure vanilla gives depth; Madagascar bourbon vanilla is my favorite.
- All-purpose flour (3 cups): Spoon and level the flour when measuring to avoid a dry final texture.
- Baking powder & baking soda (1 tsp each): Together they give a modest lift and the right crumb without making the bars cake-like.
- Salt (1/2 teaspoon): Enhances flavor; use fine sea salt or table salt.
- Chocolate chips (2 cups): Semi-sweet chips balance the sweet dough; swap for milk or dark according to preference.
- Chopped nuts (1 cup, optional): Toasted pecans or walnuts add crunch — include them unless serving to people with nut allergies.
- Festive sprinkles (1/2 cup): For decoration — add after baking so they retain color and shape.
Instructions
Preheat and prepare: Preheat the oven to 350°F. Line a 9x13-inch pan with parchment paper leaving an overhang for easy removal, or grease the pan with butter. Proper pan preparation ensures clean squares and prevents sticking. Cream butter and sugars: In a large bowl or the bowl of a stand mixer fitted with the paddle attachment, beat the softened butter with granulated and brown sugar on medium speed until light and fluffy, about 2–3 minutes. Creaming incorporates air which contributes to a tender crumb; do not overbeat. Add eggs and vanilla: Beat in the eggs one at a time, mixing well after each addition, then add vanilla. Room-temperature eggs incorporate more smoothly and reduce chances of the batter separating. Combine dry ingredients: Whisk the flour, baking powder, baking soda, and salt in a separate bowl. Add the dry mix to the wet ingredients in two additions, mixing on low until just combined to avoid overworking gluten which would toughen the bars. Fold in mix-ins: Using a spatula, fold in the chocolate chips and optional chopped nuts until distributed. Reserve a small handful of chips for the top to create an attractive finish. Press into pan and bake: Transfer the dough to the prepared pan and press it evenly with damp hands or a spatula to create a uniform thickness. Sprinkle reserved chips and the sprinkles over the top. Bake at 350°F for 24–28 minutes, until the edges are golden and the center is set but still slightly soft to the touch. Cool and slice: Allow the bars to cool in the pan on a wire rack for at least 30 minutes. Use the parchment overhang to lift the slab out, then slice into 16 equal bars with a sharp knife. For cleaner slices, chill the slab for 30 minutes before cutting.
You Must Know
- These bars keep well in an airtight container at room temperature for up to 3 days; refrigerate to extend freshness to 1 week.
- They freeze excellently for up to 3 months—wrap in plastic and place in a freezer-safe container; thaw at room temperature.
- Nut-free option: omit the nuts and increase chips by 1/2 cup for extra texture.
- For cleaner slices, cool completely or chill for 30 minutes before cutting; warm bars will crumble more easily.
My favorite part is how flexible the recipe is — on one holiday I swapped half the chips for chopped dried cranberries and the bars became an instant hit with those who prefer bright, tangy flavors. Packing slices into a ribbon-tied tin generates smiles every year.
Storage Tips
Store the bars in an airtight container at room temperature for up to three days. If your home is warm, refrigerate them to prevent the butter from softening too much; this will firm the bars and keep the topping intact. For longer storage, wrap individual bars in plastic wrap and place them inside a freezer-safe container or resealable bag; freeze for up to three months. To reheat, let frozen bars thaw at room temperature or warm gently in a 300°F oven for 8–10 minutes to refresh the texture. Avoid microwaving for long periods, which can make the bars overly soft and greasy.
Ingredient Substitutions
Swap the chocolate chips for coarsely chopped chocolate bars (use the same volume) for a fudgier bite. For a dairy-free version, use vegan butter and dairy-free chocolate chips; note texture may be slightly different due to water content. To make them gluten-free, substitute a 1-to-1 gluten-free flour blend and add 1/4 teaspoon xanthan gum if your blend lacks it. Replace nuts with toasted oats or seeds for crunch if avoiding tree nuts. Adjust sugar only slightly — too much change will alter the chew and structure.
Serving Suggestions
Serve warm with a glass of cold milk or a mug of spiced hot chocolate for a classic pairing. For a party platter, arrange bars with peppermint bark, candied nuts, and shortbread for visual contrast. Garnish individual portions with a dusting of powdered sugar or drizzle melted white chocolate for an elegant finish. These bars also work as a base for an ice cream sandwich — split, scoop vanilla between two bars, and press lightly, then freeze until set.
Cultural Background
Bar-style cookies and tray bakes have roots in many culinary traditions where efficiency and communal sharing matter. In American holiday baking, transforming cookie dough into a single-pan format is a practical evolution — it reduces baking time and yields uniform portions for exchanging at gatherings. Over the years, bakeries and home cooks have embraced bar bakes as a portable, adaptable format that suits the gift-giving culture of December, where neighbors exchange tins of homemade goods.
Seasonal Adaptations
Change sprinkles to red and green for Christmas, or use pastel sprinkles for spring celebrations. In winter, stir in 1 teaspoon ground cinnamon and 1/4 teaspoon nutmeg for warm spice notes. For a tropical twist in summer, fold in chopped macadamia nuts and white chocolate chips and finish with toasted coconut. Holiday flavors like orange zest with dark chocolate chips work beautifully — use the zest of one orange and reduce vanilla to 1 teaspoon to keep the balance.
Meal Prep Tips
Make the dough up to 24 hours in advance and keep it covered in the refrigerator — press into the pan and bake when ready. Alternatively, bake the slab, slice after cooling, and freeze portions for grab-and-go snacks. Use parchment overhang to lift the entire slab for easy slicing and storage. If preparing for a cookie swap, label tins with date and allergy notes and include a small instruction card suggesting room-temperature serving for best flavor.
These cookie bars embody the balance of efficiency and festivity — they’re simple enough for a weekday bake and special enough for holiday celebrations. Make a pan, share a pan, and enjoy the way a small sweet can brighten a winter day.
Pro Tips
Measure flour by spooning into the cup and leveling for accurate texture.
Press the dough evenly into the pan using damp hands to avoid sticking.
Reserve a handful of chips to press on top before baking for a bakery-style finish.
Chill briefly after baking to make slicing cleaner and neater.
This nourishing christmas cookie bars recipe is sure to be a staple in your kitchen. Enjoy every moist, high protein slice — it is perfect for breakfast or as a wholesome snack any time.
FAQs about Recipes
Can I freeze these cookie bars?
Yes — bake the slab, cool completely, then wrap individual bars tightly and freeze for up to 3 months. Thaw at room temperature before serving.
How do I get neat, even slices?
Chill the slab for 20–30 minutes before cutting for cleaner slices; use a sharp knife and wipe between cuts.
Tags
Christmas Cookie Bars
This Christmas Cookie Bars recipe makes perfectly juicy, tender, and flavorful steak every time! Serve with potatoes and a side salad for an unforgettable dinner in under 30 minutes.
Ingredients
Base
Mix-ins
Decoration
Instructions
Preheat and Prepare
Preheat oven to 350°F and line a 9x13-inch pan with parchment paper or grease the pan for easy removal.
Cream Butter and Sugars
Beat softened butter with granulated and brown sugar until light and fluffy, about 2–3 minutes.
Add Eggs and Vanilla
Mix in eggs one at a time, then add vanilla, ensuring smooth incorporation before adding dry ingredients.
Combine Dry Ingredients
Whisk flour, baking powder, baking soda, and salt; add to wet mix in two additions on low speed until just combined.
Fold in Mix-ins
Fold in chocolate chips and optional nuts with a spatula, reserving some chips for the top.
Press, Bake, and Cool
Press dough into pan, top with reserved chips and sprinkles, bake 24–28 minutes, cool in pan 30 minutes, then slice into 16 bars.
Last Step: Please leave a rating and comment letting us know how you liked this recipe! This helps our business to thrive and continue providing free, high-quality recipes for you.
Nutrition
Did You Make This?
Leave a comment & rating below or tag
@solushcooks on social media!
Categories:
You might also like...
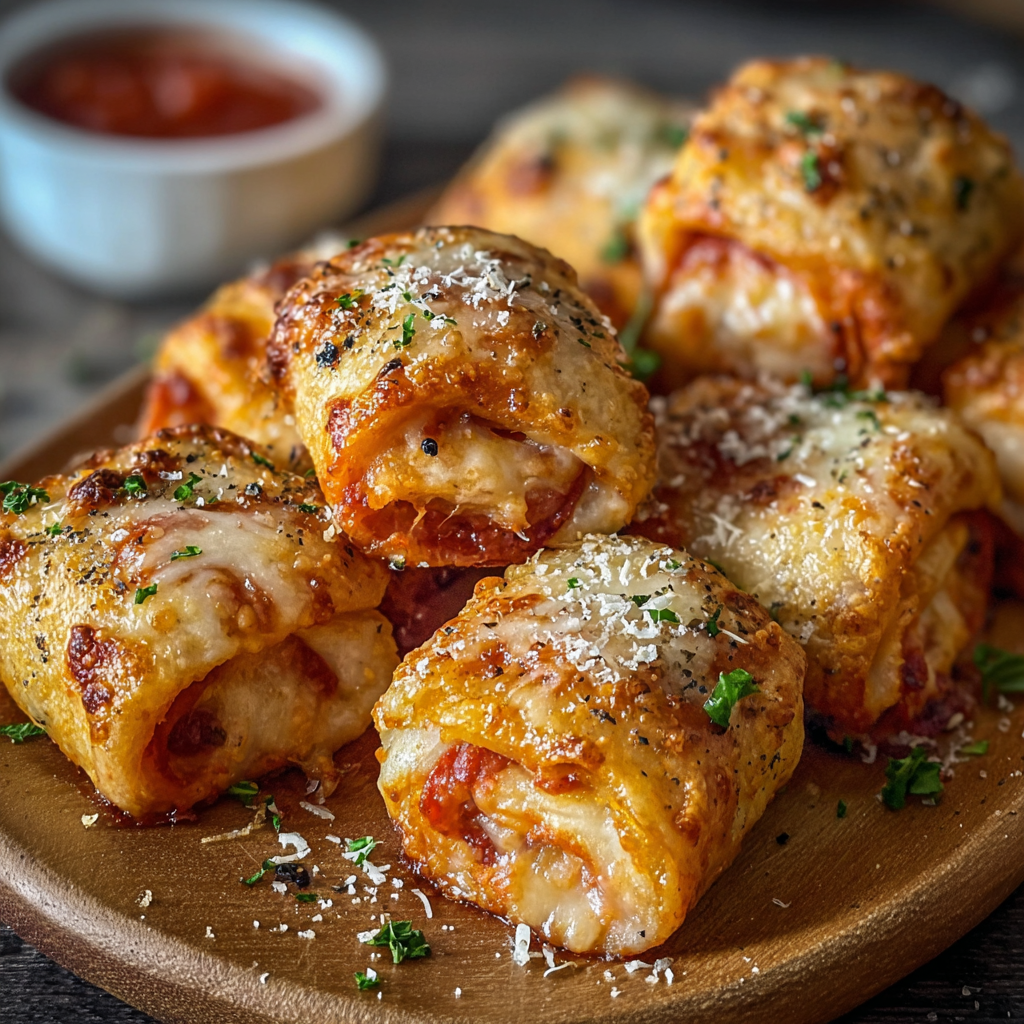
Air-Fried Pizza Rolls
Crispy, golden pockets of melted mozzarella and pepperoni made in the air fryer for a quick party snack or weeknight treat.
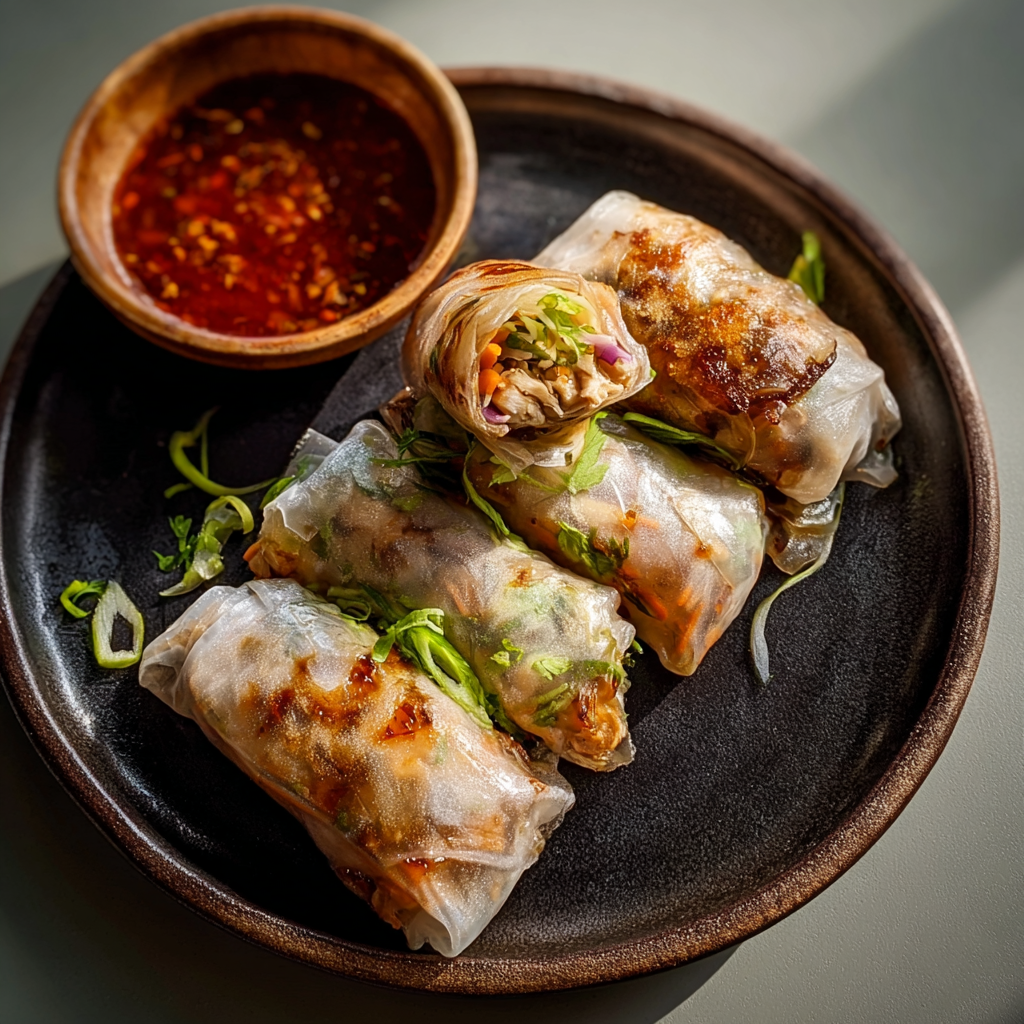
Air-Fried Rice Paper Noodle Rolls
Crispy, light rice paper rolls filled with vermicelli, vegetables and tofu or shrimp, finished in the air fryer for a healthy, snackable treat.
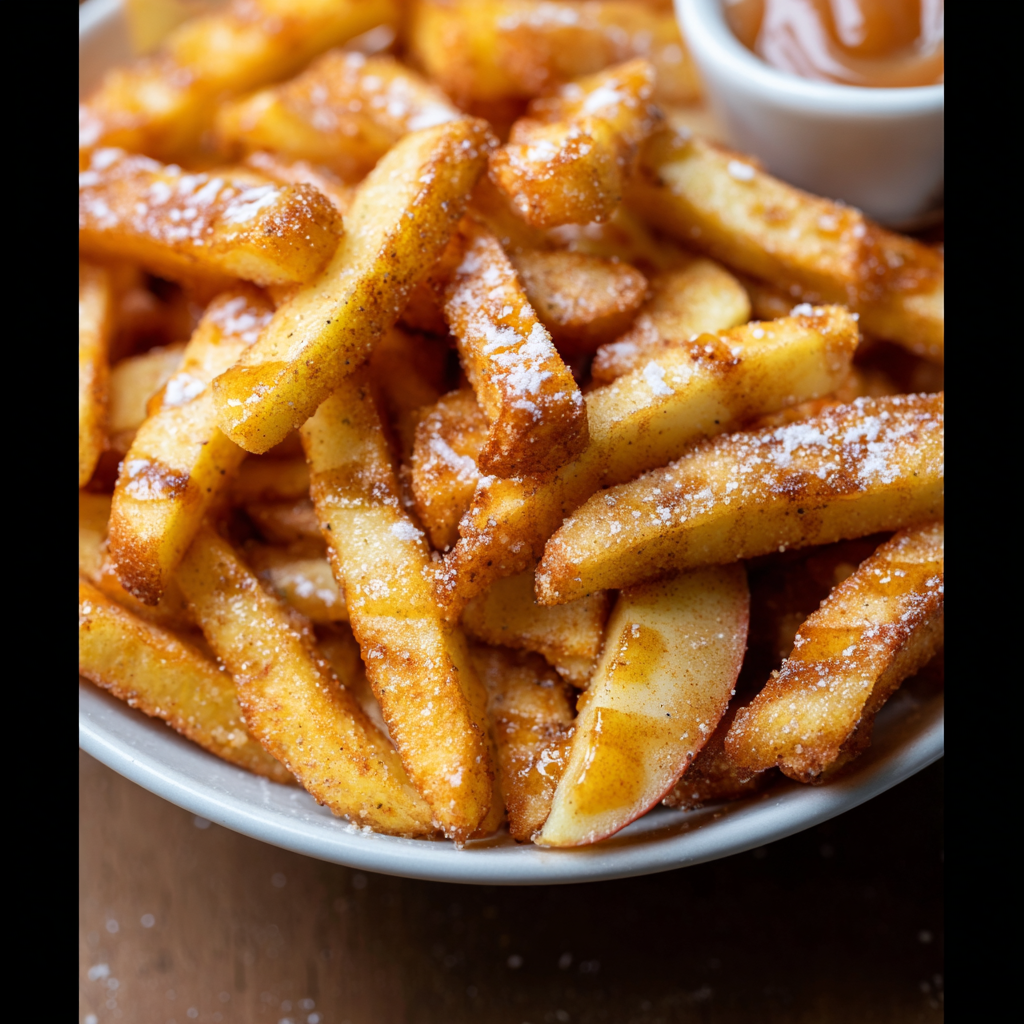
Air Fryer Apple Fries
Crispy, cinnamon-sugar coated apple fries made in the air fryer — a quick, family-friendly snack or dessert ready in under 30 minutes.
Did You Make This?
Leave a comment & rating below or tag @solushcooks on social media!
Rate This Recipe
Share This Recipe
Enjoyed this recipe? Share it with friends and family, and don't forget to leave a review!
Comments (1)
This recipe looks amazing! Can't wait to try it.
Comments are stored locally in your browser. Server comments are displayed alongside your local comments.

Hi, I'm Lena!
What's Popular
30-Minute Meals!
Join to receive our email series which contains a round-up of some of our quick and easy family favorite recipes.