
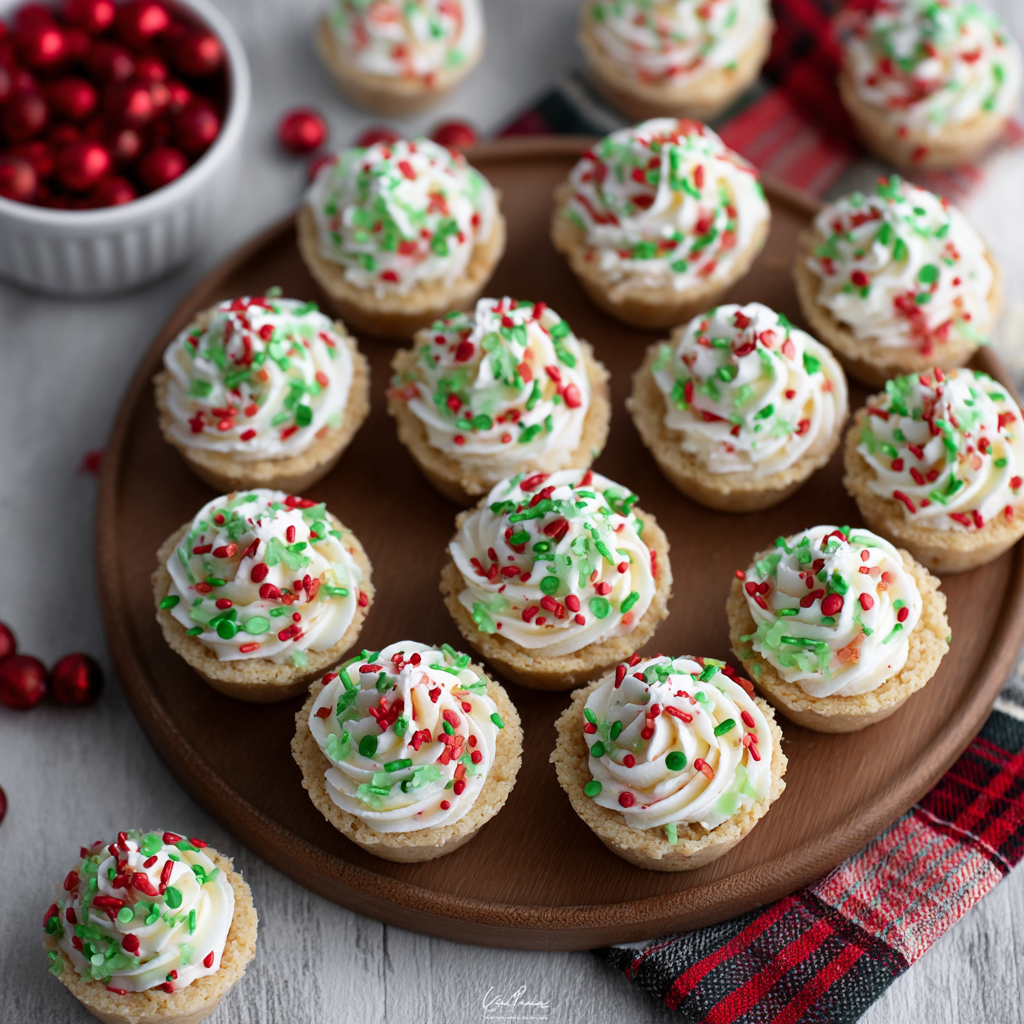
Christmas Sprinkle Cookie Cups

Buttery, tender cookie cups filled with silky vanilla frosting and festive red and green sprinkles — a joyful, make-ahead holiday treat the whole family will love.
This Christmas Sprinkle Cookie Cups recipe has been our holiday tradition for years. I discovered this version during a December when I wanted something that looked festive, traveled well, and could be made ahead for cookie swaps and school parties. The dough is rich and buttery with a tender crumb that cups perfectly in a mini muffin tin, while the frosting is smooth and not overly sweet so the balance between the cookie and the filling feels celebratory rather than cloying. The first time I made these, my neighbor smiled and asked for the recipe before the plate had cooled.
The texture is the real star. The edges are just firm enough to hold a dollop of frosting without breaking, while the center remains soft and buttery. Visually, the little cups become tiny holiday nests once you sprinkle red and green nonpareils on top. I often bring a batch to family brunch and watch as grandparents and kids alike reach for seconds. This recipe scales easily and tolerates small ingredient swaps, which makes it perfect when you are short on time or juggling multiple dishes.
Why You'll Love This Recipe
- Ready for gifting or parties because the cups hold up well in tins and boxes and transport without collapsing, making them ideal for cookie swaps and classroom treats.
- Uses pantry staples like butter, sugar, and all-purpose flour so you can pull them together in about 40 minutes active time and little hands can help press the dough into tins.
- Make-ahead friendly: bake the cups up to three days before frosting, or freeze baked cups for up to one month and frost just before serving.
- Customizable frosting thickness lets you pipe or spoon the filling for different looks while keeping sweetness balanced; the frosting uses simple vanilla and milk for easy flavor control.
- Kid-friendly assembly and crowd-pleasing flavors mean these are a hit at holiday gatherings and brunches alike, with nostalgic vanilla, butter, and colorful sprinkles.
I still remember the first holiday morning I served these. My youngest nephew insisted on helping press the dough and proudly handed me each filled tin. That morning became a tradition of its own. Over the years I have learned to halve the frosting when I want a lighter filling and to always keep an extra bowl of sprinkles handy because everyone steals them.
Ingredients
- Unsalted butter: Use 1 1/4 cups softened. Choose a good quality stick butter such as Plugra or Kerrygold for a creamier mouthfeel. Softening to room temperature avoids overmixing and keeps the dough tender.
- Powdered sugar: 1 1/2 cups in the dough and 2 1/2 cups for the frosting. Powdered sugar melts into butter, giving a silky texture. Sift if lumpy from humidity to avoid grainy frosting.
- Baking powder: 1 teaspoon to give a gentle lift that keeps the cups light but stable; do not substitute with baking soda without adjusting acid.
- Salt: 1/2 teaspoon in the dough and 1/2 teaspoon in the frosting. Use fine sea salt or table salt measured precisely to balance sweetness.
- Egg: 1 large egg binds the dough and adds richness. Use a large egg at room temperature for best emulsification.
- Vanilla extract: 1 teaspoon in dough and 1 teaspoon in frosting. Pure vanilla extract enhances depth; use vanilla bean paste for even more aromatic notes.
- All-purpose flour: 2 1/2 cups. Spoon and level the measuring cup to avoid dense cups; for a lighter crumb, lightly aerate the flour first.
- Red sprinkles: 1/4 cup and green sprinkles: 1/4 cup folded into the dough for flecked color and holiday cheer. Use nonpareils or sanding sugar based on preferred crunch.
- Frosting additions: 1/2 cup softened unsalted butter, 2 to 3 tablespoons milk to loosen frosting consistency, and additional sprinkles for garnish. Whole milk gives a richer frosting; use 2 tablespoons to start and add more if needed.
Instructions
Prepare the dough: Beat 1 1/4 cups softened butter with 1 1/2 cups powdered sugar on medium speed until pale and fluffy, about 2 to 3 minutes. Add the egg and 1 teaspoon vanilla and beat until combined. The emulsion should look glossy and slightly voluminous because trapped air helps the dough hold shape. Combine dry ingredients: Whisk 2 1/2 cups all-purpose flour with 1 teaspoon baking powder and 1/2 teaspoon salt. Fold the dry mix into the butter mixture gently to avoid overworking. Stop when no streaks of flour remain to keep the cups tender rather than tough. Add sprinkles and shape: Fold in 1/4 cup red sprinkles and 1/4 cup green sprinkles until evenly distributed. Scoop roughly 1 tablespoon of dough into each cup of a mini muffin tin lined with nonstick spray or parchment cups. Use the back of a small spoon to press the center slightly to form a cavity for the frosting. The dough should reach the top edges but not overflow. Bake and cool: Preheat oven to 350 degrees Fahrenheit. Bake for 10 to 12 minutes until edges are set and centers are still soft. Remove from oven and let cool in the tin for 5 minutes, then gently transfer to a cooling rack to finish cooling. The cups firm up as they cool, so resist the urge to fill them while warm. Make the frosting: Beat 1/2 cup softened butter until smooth. Gradually add 2 1/2 cups powdered sugar, 1 teaspoon vanilla, and 1/2 teaspoon salt on low speed. Add 2 tablespoons milk and increase speed to medium until light and creamy. Add a third tablespoon of milk only if needed to reach a pipeable consistency. Fill and decorate: Transfer frosting to a piping bag fitted with a round tip or use a small spoon to mound frosting into each cooled cup. Top immediately with additional red and green sprinkles for a festive finish. Let set at room temperature for 20 minutes before arranging for serving or packaging.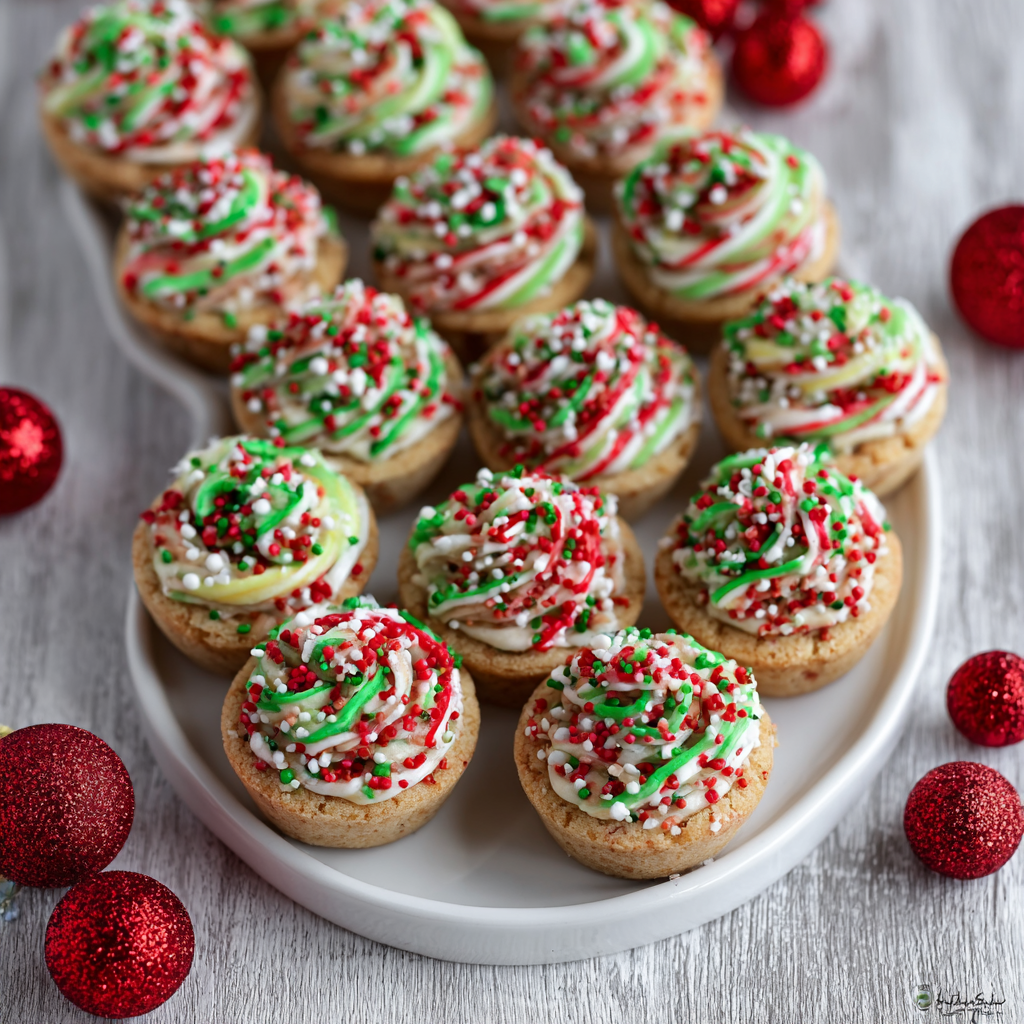
You Must Know
- These cups keep well in an airtight container at room temperature for up to 3 days and refrigerate for up to 7 days. Freeze baked cups for up to 1 month without frosting.
- They are not gluten free or dairy free unless you substitute ingredients carefully; see substitutions section for guidance.
- High in butter and sugar so they are an occasional treat rather than a daily snack; approximate nutrition per cup is provided below for planning.
- Use room temperature ingredients for smooth batter and frosting; cold butter will not cream properly and yields dense cups.
My favorite part is how the little cups become conversation starters. At one holiday potluck a friend recognized they were made without shortening and complimented the clean vanilla flavor. Another time, a toddler decorated two trays of cups with unmatched enthusiasm and the extra sprinkles made them disappear first. Little details such as piping the frosting just off-center can create a snowdrift look that guests notice and love.
Storage Tips
Store the filled cookie cups in an airtight container layered with parchment to prevent sticking. At room temperature they stay fresh for three days; for longer storage refrigerate up to seven days. If freezing, freeze baked cups on a sheet tray until solid, then transfer to a freezer-safe container for up to one month. Thaw in the refrigerator before frosting or re-frosting. For reheating, bring to room temperature and let stand 20 minutes; avoid microwave reheating because it softens the structure and can make the cups collapse.

Ingredient Substitutions
If you need to make swaps, use room temperature margarine or a dairy-free butter alternative in a 1 to 1 ratio to make these dairy-free. Replace all-purpose flour with a 1 to 1 gluten-free blend for a gluten-free version, though the texture will be slightly crumblier. To reduce sweetness, cut the frosting powdered sugar by 1/2 cup and add an extra tablespoon of butter or a splash more milk for volume. For a citrus note, swap 1/2 teaspoon of vanilla in the frosting for 1 teaspoon fresh lemon zest and 1/2 teaspoon lemon juice.
Serving Suggestions
Serve these cups on a tiered cookie stand for a holiday centerpiece. Pair with hot cocoa or a lightly spiced latte for brunch. For a party, include a small bowl of extra sprinkles and edible glitter so guests can personalize their cups. Garnish with mini candy canes for a peppermint twist or a tiny edible silver ball for an elegant touch. They work well alongside other small bites like biscotti, spiced nuts, or a cheese plate for a balanced spread.
Cultural Background
Small decorated cookies have long been a part of winter holidays across many cultures because they are sharable and decorative. The idea of a filled mini cookie borrows from tart and cupcake traditions where a shell is used as a vehicle for sweet fillings. In American holiday baking, colorful nonpareils are a visual shorthand for festive occasions. These cups combine that visual language with the technique of molding dough into small forms to hold a creamy center.
Seasonal Adaptations
Switch sprinkles seasonally to match holidays throughout the year. For Valentine celebrations use pink and red sprinkles and a hint of almond extract in the frosting. For spring events swap the nonpareils for pastel sanding sugar and add lemon zest to the dough. In winter add a teaspoon of warm spices such as cinnamon and nutmeg to the dough for a cozy flavor shift that pairs beautifully with hot drinks.
Meal Prep Tips
For batch baking, make the dough a day ahead and shape the cups into the muffin tin just before baking. Alternatively, bake all cups and freeze unfrosted; the day of your event, thaw and frost for a freshly finished look. Keep frosting in a piping bag in the refrigerator and warm slightly at room temperature before using. Use mini muffin tins for uniform size; silicone liners make removal easier, while metal tins give crisper edges.
These cookie cups are one of my most requested contributions to holiday gatherings because they strike the perfect balance between nostalgic flavor and playful presentation. I hope you make them, adapt them, and share them with people you love.
Pro Tips
Use room temperature butter and egg to ensure smooth creaming and an even dough.
Spoon and level flour measurements to avoid dense cups; do not pack the measuring cup.
Cool cups completely before filling to prevent frosting from melting and sliding off.
Start with 2 tablespoons of milk in the frosting and add a third only if needed to keep the frosting pipeable.
Freeze baked cups on a tray before transferring to containers to prevent them from sticking together.
This nourishing christmas sprinkle cookie cups recipe is sure to be a staple in your kitchen. Enjoy every moist, high protein slice — it is perfect for breakfast or as a wholesome snack any time.
FAQs about Recipes
How long do these cookie cups keep?
Yes. Store baked cups in an airtight container at room temperature for up to 3 days or refrigerate for up to 7 days. Freeze unfrosted baked cups for up to 1 month.
Can I make these dairy-free or gluten-free?
Use a dairy-free butter alternative and a 1 to 1 gluten-free flour blend. Texture will vary slightly and frosting may need adjustment.
Tags
Christmas Sprinkle Cookie Cups
This Christmas Sprinkle Cookie Cups recipe makes perfectly juicy, tender, and flavorful steak every time! Serve with potatoes and a side salad for an unforgettable dinner in under 30 minutes.
Ingredients
Cookie
Frosting
Instructions
Cream butter and sugar
Beat 1 1/4 cups softened butter with 1 1/2 cups powdered sugar until pale and fluffy, about 2 to 3 minutes, then add the egg and 1 teaspoon vanilla and beat until combined.
Mix dry ingredients
Whisk 2 1/2 cups all-purpose flour with 1 teaspoon baking powder and 1/2 teaspoon salt and fold gently into the butter mixture until no streaks of flour remain.
Add sprinkles and shape
Fold in 1/4 cup red sprinkles and 1/4 cup green sprinkles. Spoon about 1 tablespoon of dough into each mini muffin cup and press the center to form a shallow well.
Bake
Bake at 350 degrees Fahrenheit for 10 to 12 minutes until edges are set and centers are soft. Cool in the pan 5 minutes then transfer to a rack to cool completely.
Prepare frosting
Beat 1/2 cup softened butter, add 2 1/2 cups powdered sugar, 1 teaspoon vanilla, 1/2 teaspoon salt, and 2 tablespoons milk. Beat until light and creamy, adding the third tablespoon of milk only if needed.
Fill and decorate
Pipe or spoon frosting into cooled cups and top with additional sprinkles. Let set for 20 minutes before serving or packaging.
Last Step: Please leave a rating and comment letting us know how you liked this recipe! This helps our business to thrive and continue providing free, high-quality recipes for you.
Nutrition
Did You Make This?
Leave a comment & rating below or tag
@solushcooks on social media!
Categories:
You might also like...
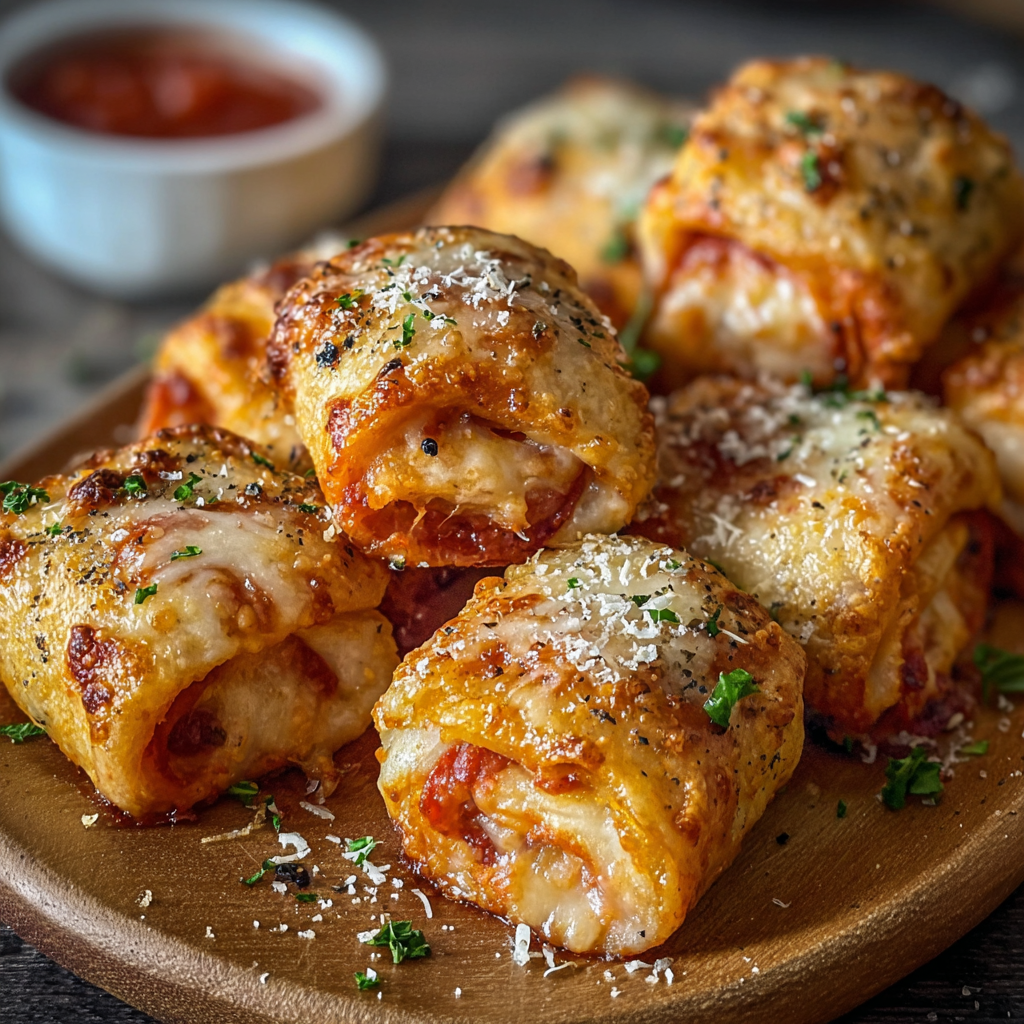
Air-Fried Pizza Rolls
Crispy, golden pockets of melted mozzarella and pepperoni made in the air fryer for a quick party snack or weeknight treat.
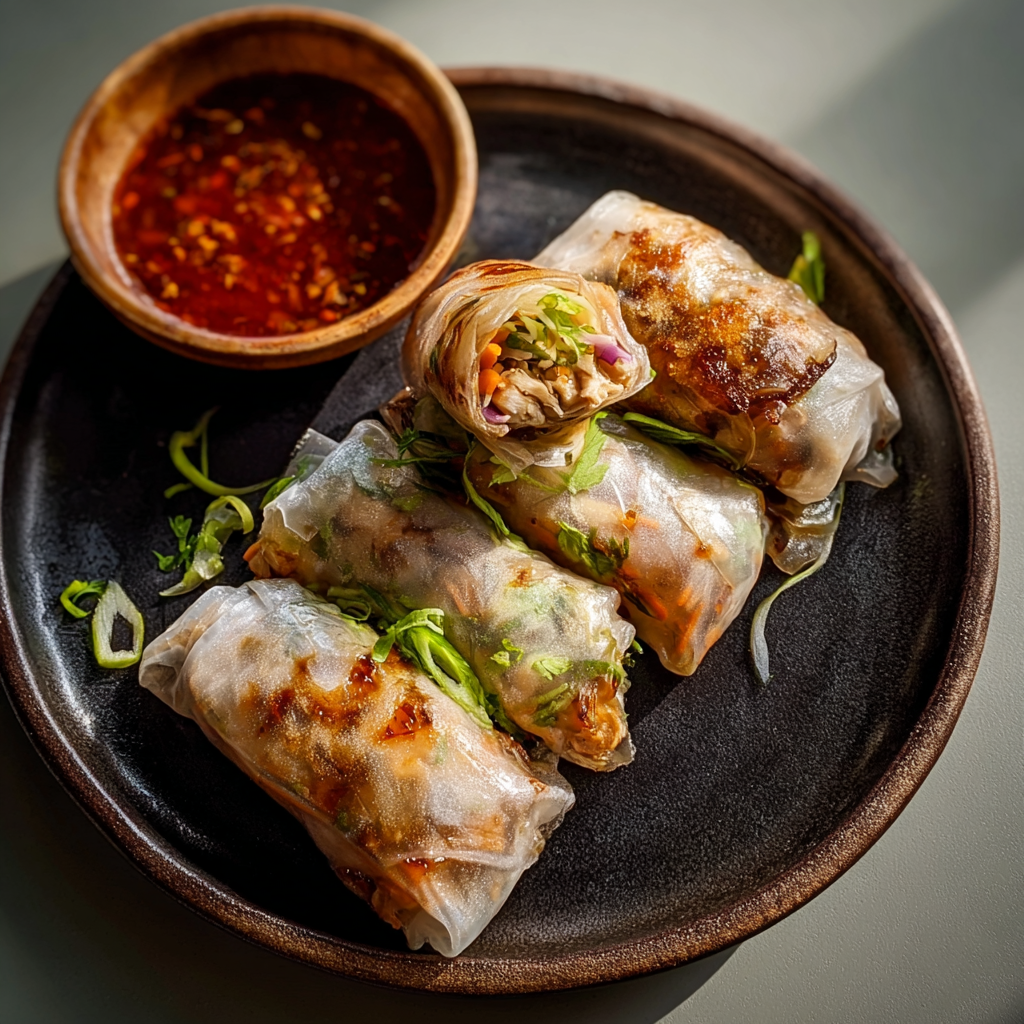
Air-Fried Rice Paper Noodle Rolls
Crispy, light rice paper rolls filled with vermicelli, vegetables and tofu or shrimp, finished in the air fryer for a healthy, snackable treat.
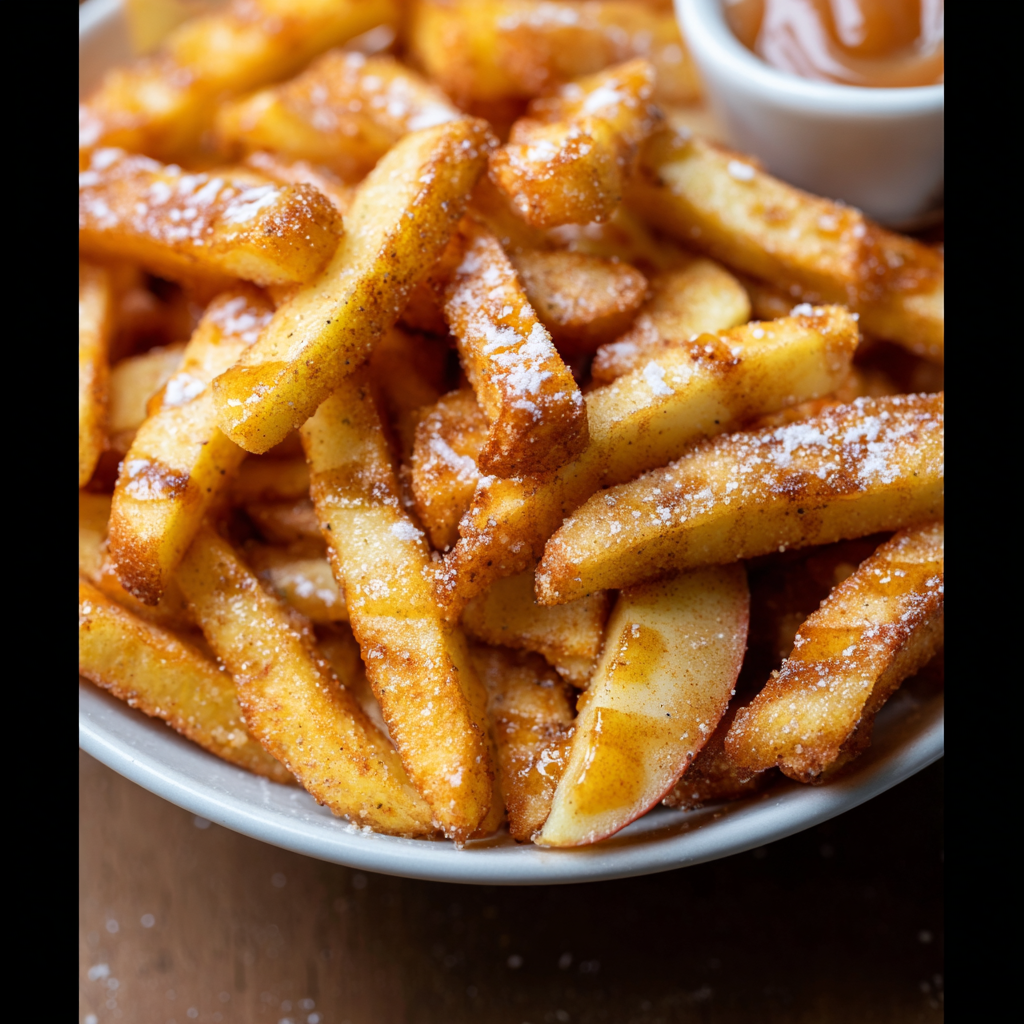
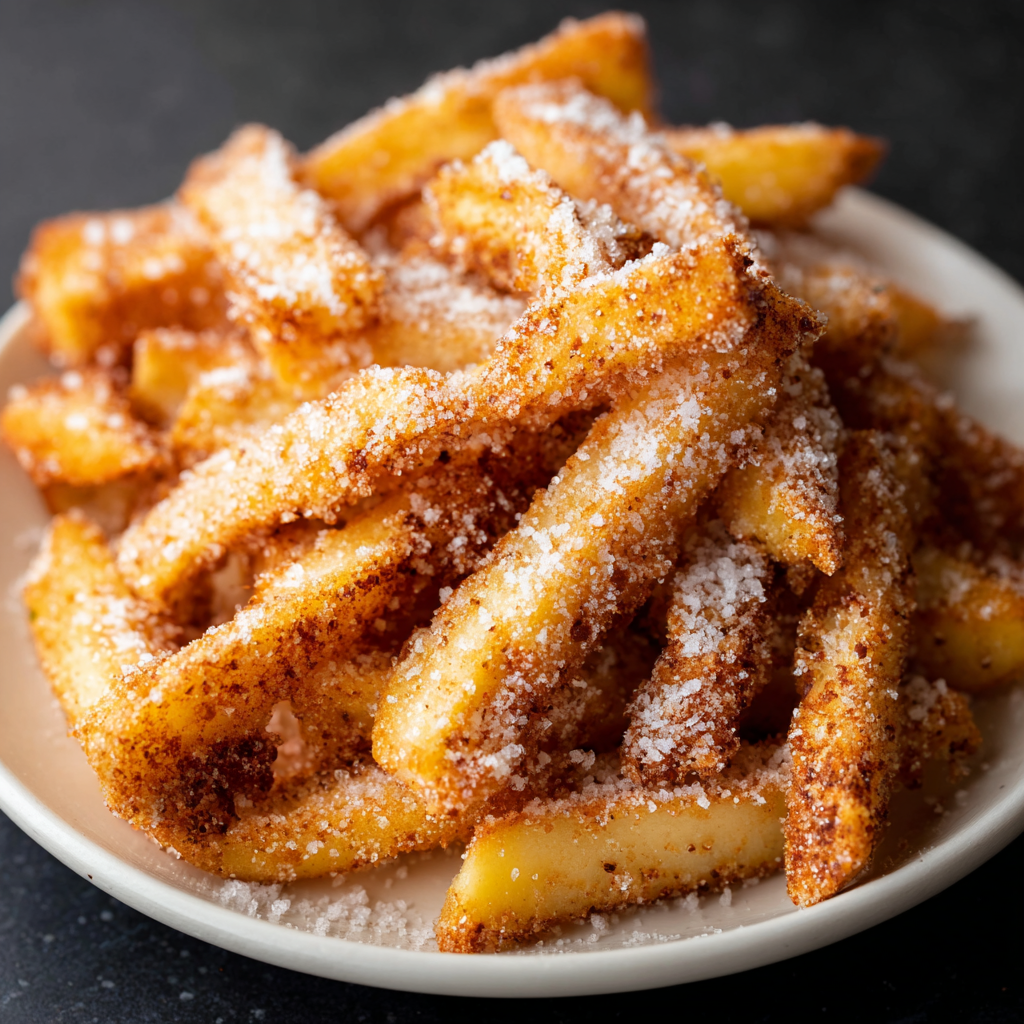
Air Fryer Apple Fries
Crispy, cinnamon-sugar coated apple fries made in the air fryer — a quick, family-friendly snack or dessert ready in under 30 minutes.
Did You Make This?
Leave a comment & rating below or tag @solushcooks on social media!
Rate This Recipe
Share This Recipe
Enjoyed this recipe? Share it with friends and family, and don't forget to leave a review!
Comments (1)
This recipe looks amazing! Can't wait to try it.
Comments are stored locally in your browser. Server comments are displayed alongside your local comments.

Hi, I'm Lena!
What's Popular
30-Minute Meals!
Join to receive our email series which contains a round-up of some of our quick and easy family favorite recipes.