
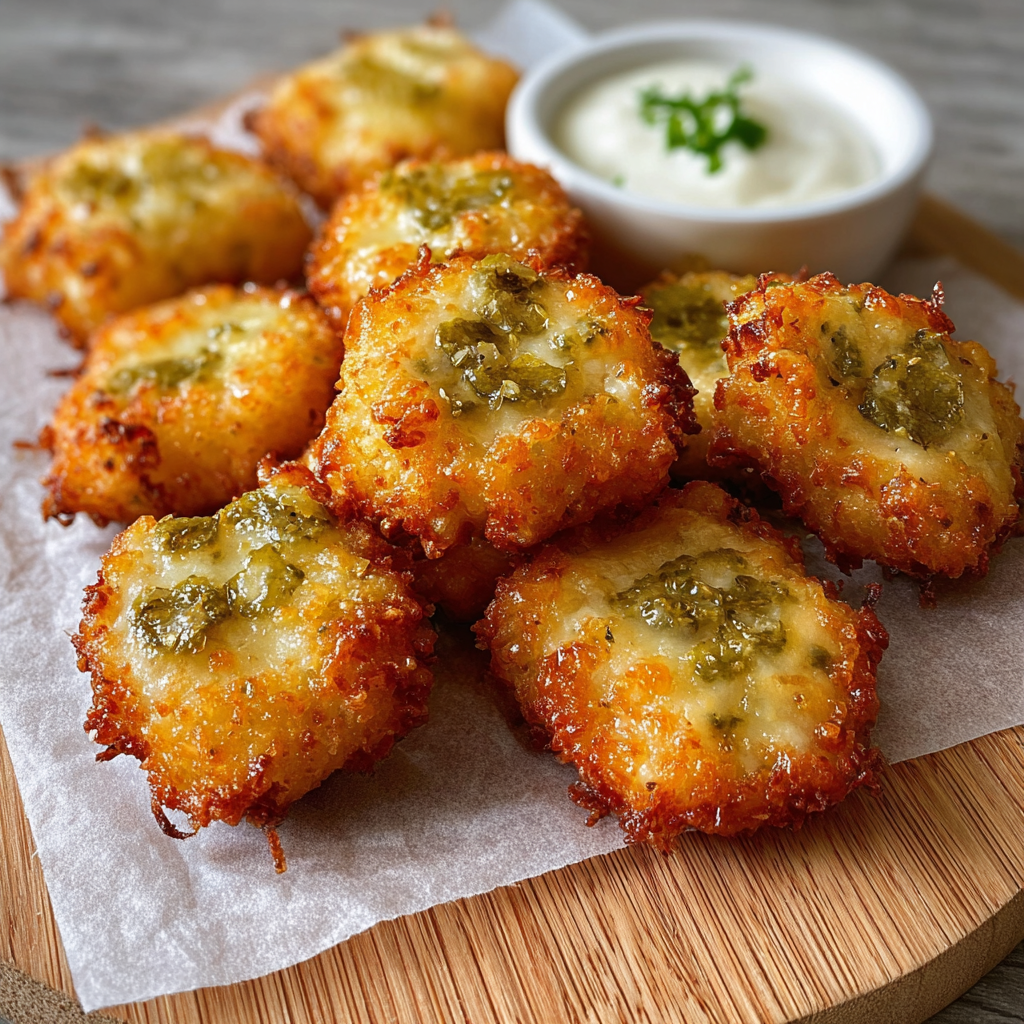
Crispy Pickle Cheese Bites

Crispy, golden cheese bites studded with dill pickle for a tangy pop. A quick, crowd-pleasing appetizer ready in 20 minutes.
Why You'll Love This Recipe
- Fast to make: ready in about 20 minutes from start to finish, ideal for last-minute hosting or quick snacks.
- Minimal ingredients and pantry-friendly: uses shredded cheddar and mozzarella plus a jar of dill pickles you probably already have.
- Crowd-pleaser: tangy, salty, and cheesy flavors appeal to adults and kids alike, making these perfect for parties and casual gatherings.
- Make-ahead friendly: you can prepare the shaped bites and refrigerate briefly before baking to speed up serving time.
- Light crisp without frying: baking yields a golden, crunchy exterior with less oil than pan-frying or deep-frying.
- Customizable texture: add a tablespoon of breadcrumbs for extra crunch or omit for a softer, chewier bite.
I first served these at a small backyard BBQ and my friends kept asking for the recipe. One guest called them an elevated version of a grilled cheese popper. Over time I learned to adjust pickle size, try different cheeses, and tweak the seasoning. The most memorable moment was watching my nephew try one and shout that he loved the pickles inside, which convinced me that tangy add-ins work even for picky eaters.
Ingredients
- Shredded cheddar cheese (1/2 cup): Choose a sharp cheddar for bright flavor and better melting. Pre-shredded is convenient, but freshly shredded from a block melts more evenly. I often use Cabot or Tillamook when available.
- Shredded mozzarella cheese (1/2 cup): Use low-moisture mozzarella for the best melt and stretch. Whole-milk shredded mozzarella gives a creamier interior; part-skim will reduce fat content slightly.
- Dill pickles (1/4 cup, finely chopped): Look for crinkle-cut or sandwich slices for texture. Drain excess brine and pat dry before chopping to avoid soggy bites. Claussen or Mt. Olive work well.
- Garlic powder (1/2 teaspoon): Adds a warm background note. Use fresh garlic powder for the cleanest taste; granulated forms are fine but measure by taste.
- Breadcrumbs (1 tablespoon, optional): For an extra crunchy shell, use plain or panko. Omit to keep the interior chewier and slightly lower in carbs.
- Nonstick spray or parchment paper: Prevents sticking and helps clean-up. Parchment gives the crispiest bottom surface.
Instructions
Preheat and prepare: Preheat the oven to 375°F (190°C). Line a baking sheet with parchment paper or spray lightly with nonstick cooking spray. A well-heated oven is essential so the cheese melts and the exterior crisps quickly; if the oven is too cool the cheese will spread before browning. Combine ingredients: In a medium mixing bowl, add 1/2 cup shredded cheddar, 1/2 cup shredded mozzarella, 1/4 cup finely chopped dill pickles, 1/2 teaspoon garlic powder, and 1 tablespoon breadcrumbs if using. Mix thoroughly so the pickle pieces are evenly distributed. Drain pickles well before adding to avoid excess moisture that can prevent crisping. Form bites: Using clean hands or a small cookie scoop, form the mixture into small balls or rounds about 1 inch in diameter. Place them at least 1 inch apart on the prepared baking sheet; the cheese will melt slightly but should hold shape if the oven is hot enough. Bake to crisp: Bake in the preheated oven for about 10 minutes. Watch closely after 8 minutes; you want golden edges and a firm, set top without excessive spreading. If you prefer a deeper color, rotate the sheet and bake an extra 1 to 2 minutes. The internal cheese should be melted and gooey. Cool and serve: Remove from the oven and allow the bites to cool on the sheet for 3 to 5 minutes. This short rest firms them up so they can be transferred to a serving plate without collapsing. Serve warm for the best texture and stretch.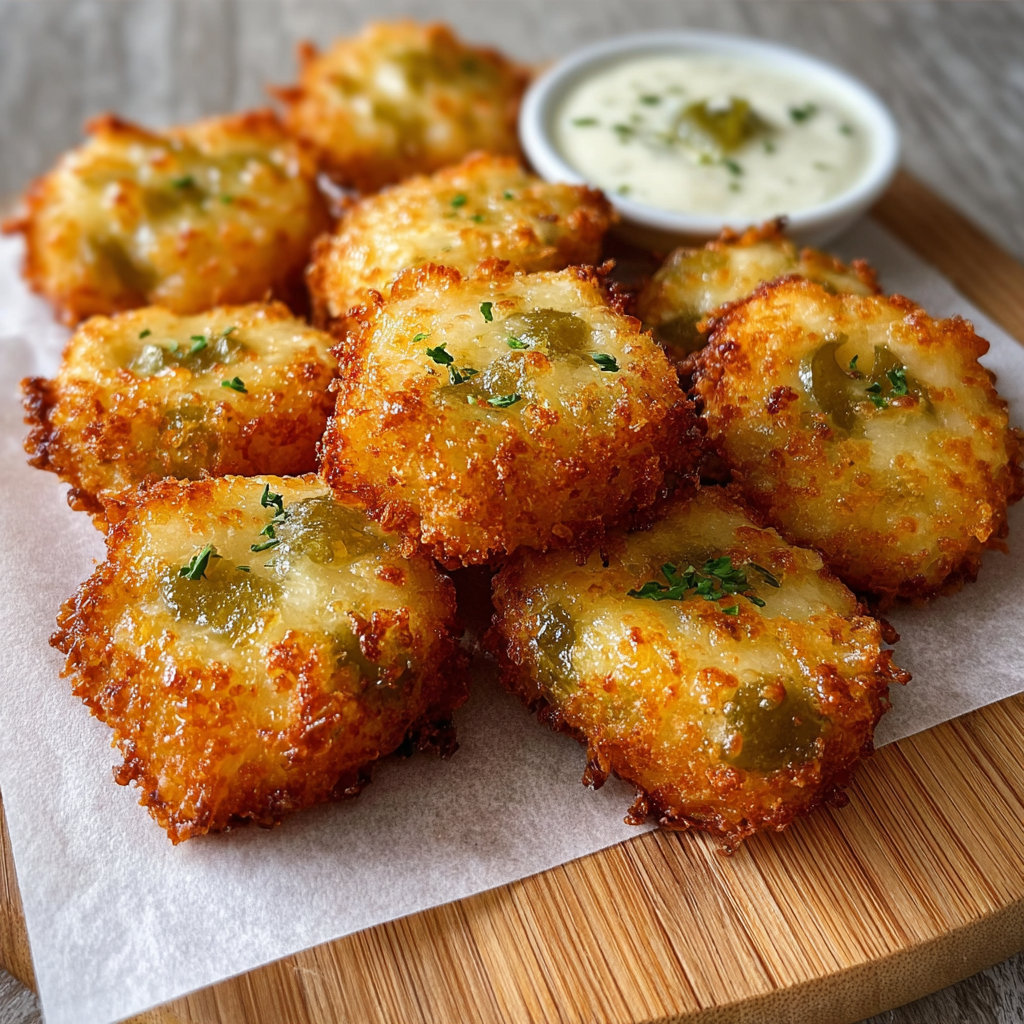
You Must Know
- Store leftovers in an airtight container in the refrigerator for up to 3 days; they lose peak crispness but can be reheated.
- Freeze baked bites in a single layer on a sheet, then transfer to a freezer bag for up to 3 months; reheat from frozen in a 375°F oven until warm and crisp.
- This snack is high in protein and calcium from the cheese but contains saturated fat; enjoy in moderation.
- If you are avoiding gluten, omit the breadcrumbs and make sure pickles and shredded cheeses are labeled gluten-free.
My favorite aspect is the ease. I can mix and shape these in the time it takes to preheat the oven and they are gone before the next show starts. Family members have requested these as weekend snacks and they travel well for potlucks when kept warm in a low oven.
Storage Tips
Store cooled bites in a single layer or separated by parchment in an airtight container in the refrigerator for up to 3 days. To keep them crispier, reheat on a wire rack over a rimmed baking sheet in a 375°F oven for 5 to 7 minutes until warmed through. For longer storage freeze on a tray until firm, then transfer to a freezer bag for up to 3 months. Reheat from frozen in a preheated oven at 375°F for 10 to 12 minutes or until hot and crisp. Avoid microwaving unless you prefer a softer texture; it will warm the cheese but make the exterior chewy.
Ingredient Substitutions
Swap cheddar for Monterey Jack or pepper jack for a spicy kick. If you prefer a firmer bite, use all cheddar. Replace mozzarella with smoked mozzarella for a subtle smoke note. For a gluten-free option, omit breadcrumbs or use certified gluten-free panko. Try sweet pickle relish if you prefer milder acidity, but reduce the amount slightly because relish contains more moisture. For a dairy-free version use a meltable plant-based cheese and ensure pickles are compatible with your dietary needs; results will vary depending on the brand.
Serving Suggestions
Serve warm with a selection of dips: spicy sriracha mayo, honey mustard, or a creamy ranch work beautifully. Pair with crisp vegetable sticks and a light salad for contrast. These also make a fun bar snack alongside cold beer or a crisp white wine. Garnish the platter with extra chopped fresh dill or thinly sliced scallions for color and a fresh herb note. For a party, place them on skewers with cornichons for an elevated presentation.

Cultural Background
Cheese-and-pickle combinations are classic in American and British snacking traditions, often showing up in sandwiches and pub plates. These bites are a modern, finger-food adaptation that blends comfort-food melting cheese with the vinegary influence of pickles, which have roots in preservation techniques across many cultures. The contrast of creamy dairy and acidic pickles echoes beloved pairings such as cheese boards with pickled accoutrements and demonstrates how simple preservation staples can transform into a playful appetizer.
Seasonal Adaptations
In summer, swap dill pickles for quick refrigerator pickles made with cucumbers, lemon zest, and fresh dill for an extra-bright finish. In the winter, use roasted red peppers and smoked cheese to give a deeper flavor profile. For holiday parties add finely chopped cooked bacon and a pinch of smoked paprika for festive smoky notes. Adjust baking time slightly for larger or smaller bites to ensure consistent melting and browning.
Meal Prep Tips
To streamline hosting, prepare the mixture and shape the bites ahead of time. Keep shaped bites on a parchment-lined sheet in the refrigerator for up to 24 hours before baking. For larger gatherings, bake multiple sheets at once and keep finished bites warm on a low oven rack at 200°F until serving. Label and freeze any extras in single layers so you can reheat portions as needed without sticking.
These Crispy Pickle Cheese Bites are a small recipe with big flavor and many possibilities. Whether you serve them for a quick snack, a party appetizer, or a casual side, they bring a playful mix of textures and tastes to the table. Tweak the mix-ins, try different cheeses, and make them your own—and expect them to disappear fast.
Pro Tips
Dry pickles thoroughly on paper towels before mixing to prevent excess moisture and soggy bites.
Use freshly shredded cheese from a block for better melt and less anti-caking agents than pre-shredded cheese.
Chill shaped bites for 10 minutes before baking to help them hold shape and reduce spreading.
Bake on parchment or a silicone mat for easy release and crisp bottoms.
If doubling the batch, bake on multiple racks and rotate trays halfway through to ensure even browning.
This nourishing crispy pickle cheese bites recipe is sure to be a staple in your kitchen. Enjoy every moist, high protein slice — it is perfect for breakfast or as a wholesome snack any time.
FAQs about Recipes
How long do leftovers keep?
Yes. Cool completely, place in an airtight container, and refrigerate up to 3 days. Reheat in a 375°F oven for best crispness.
Can I make these gluten-free?
Omit the breadcrumbs and use a certified gluten-free cheese to make them gluten-free. Ensure pickles have no gluten-containing additives.
Should I serve them hot or at room temperature?
They are best served warm when the cheese is melty. If reheating from frozen, bake at 375°F for 10 to 12 minutes.
Tags
Crispy Pickle Cheese Bites
This Crispy Pickle Cheese Bites recipe makes perfectly juicy, tender, and flavorful steak every time! Serve with potatoes and a side salad for an unforgettable dinner in under 30 minutes.
Instructions
Preheat oven and prepare pan
Preheat the oven to 375°F (190°C). Line a baking sheet with parchment paper or lightly coat with nonstick spray to prevent sticking and to promote even browning.
Mix ingredients
In a medium bowl combine 1/2 cup shredded cheddar, 1/2 cup shredded mozzarella, 1/4 cup finely chopped drained dill pickles, 1/2 teaspoon garlic powder, and 1 tablespoon breadcrumbs if using. Mix until evenly combined.
Shape bites
Form the mixture into small balls about 1 inch in diameter using a small cookie scoop or your hands. Space them about 1 inch apart on the prepared sheet so they have room to brown but not spread too thin.
Bake until golden
Bake the tray for about 10 minutes, watching after 8 minutes. Look for golden edges and a set top; bake an extra 1 to 2 minutes if you prefer a deeper color.
Cool briefly and serve
Remove from oven and cool on the baking sheet for 3 to 5 minutes to firm up before transferring to a serving plate. Serve warm for best texture and flavor.
Last Step: Please leave a rating and comment letting us know how you liked this recipe! This helps our business to thrive and continue providing free, high-quality recipes for you.
Nutrition
Did You Make This?
Leave a comment & rating below or tag
@solushcooks on social media!
Categories:
You might also like...
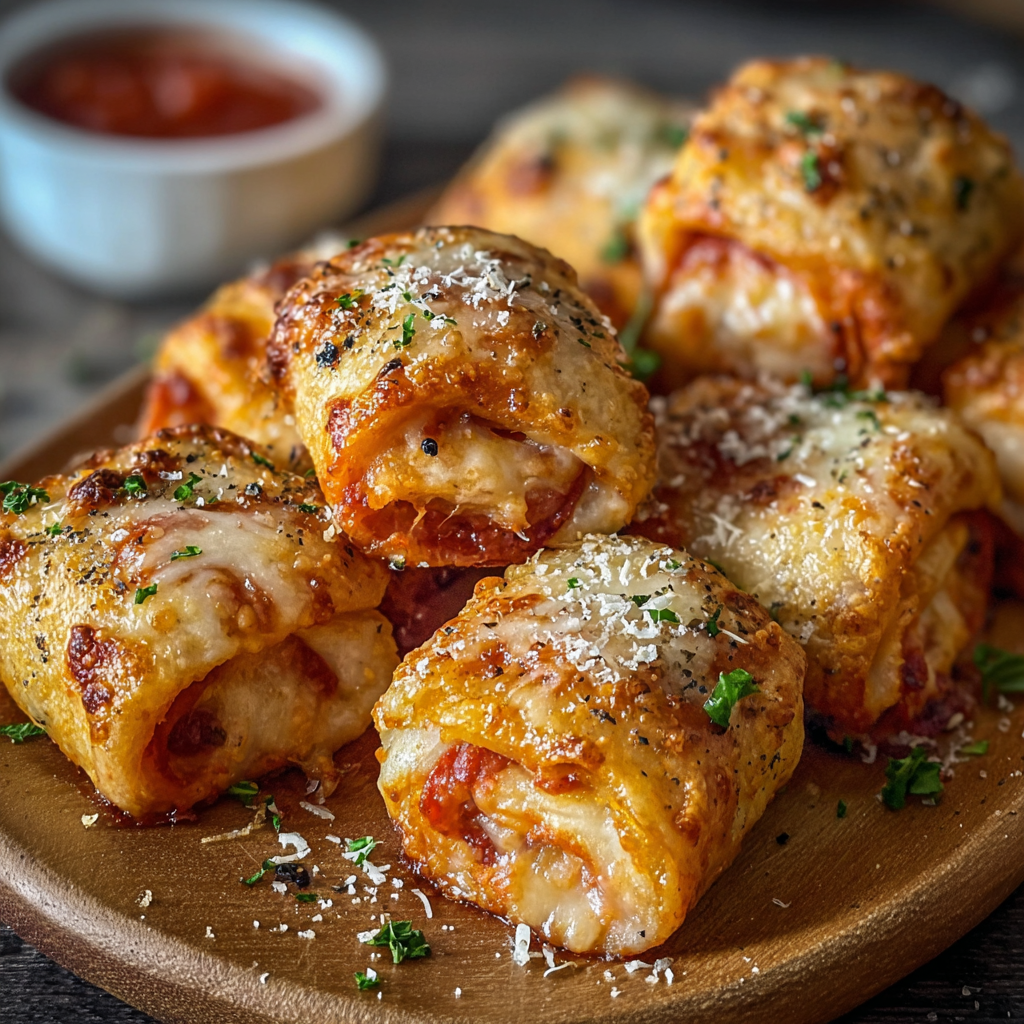
Air-Fried Pizza Rolls
Crispy, golden pockets of melted mozzarella and pepperoni made in the air fryer for a quick party snack or weeknight treat.
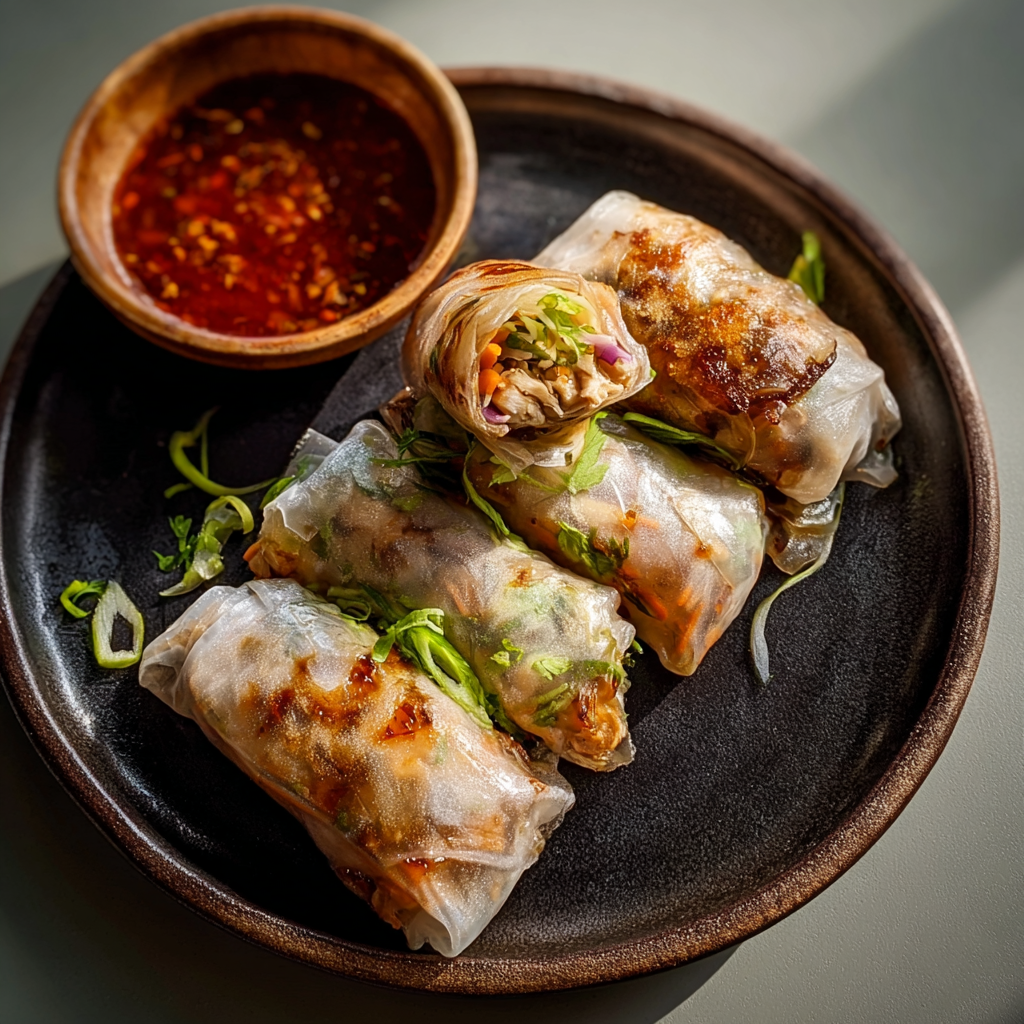
Air-Fried Rice Paper Noodle Rolls
Crispy, light rice paper rolls filled with vermicelli, vegetables and tofu or shrimp, finished in the air fryer for a healthy, snackable treat.
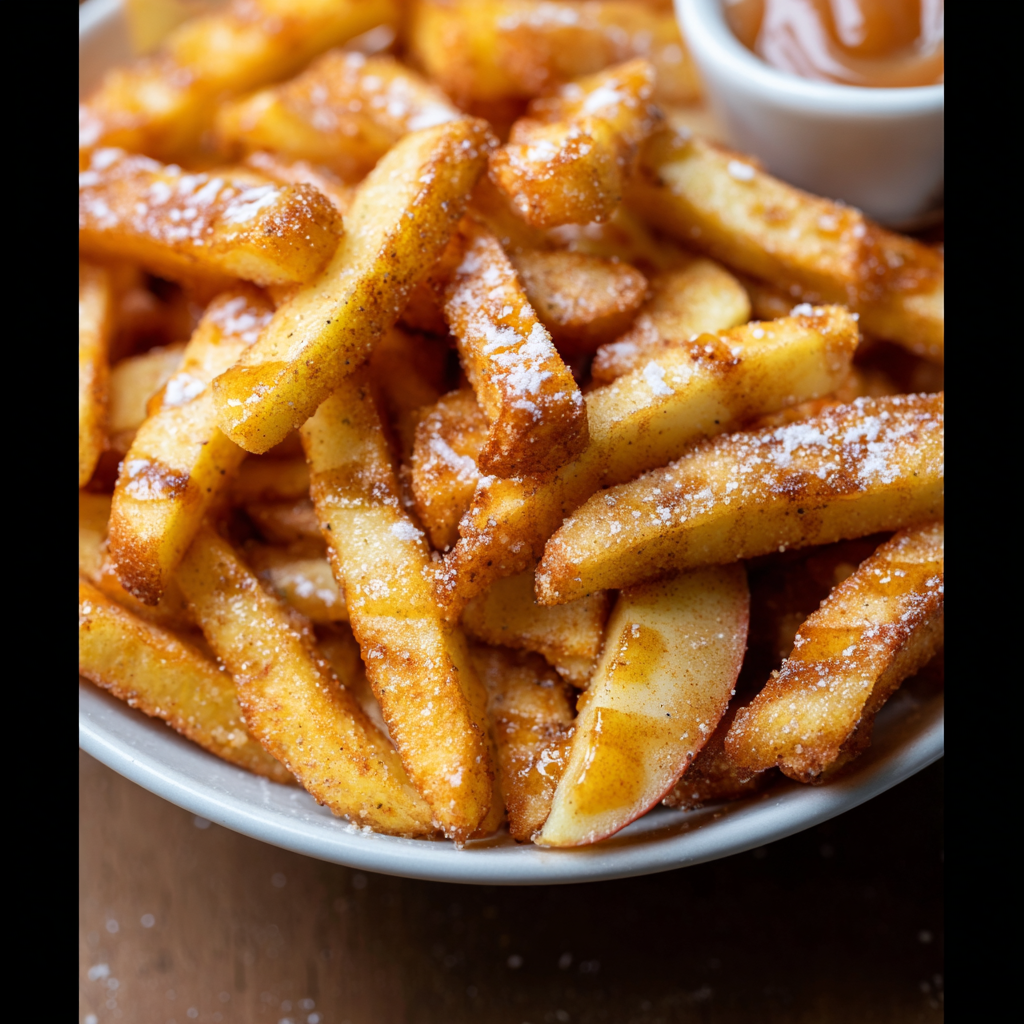
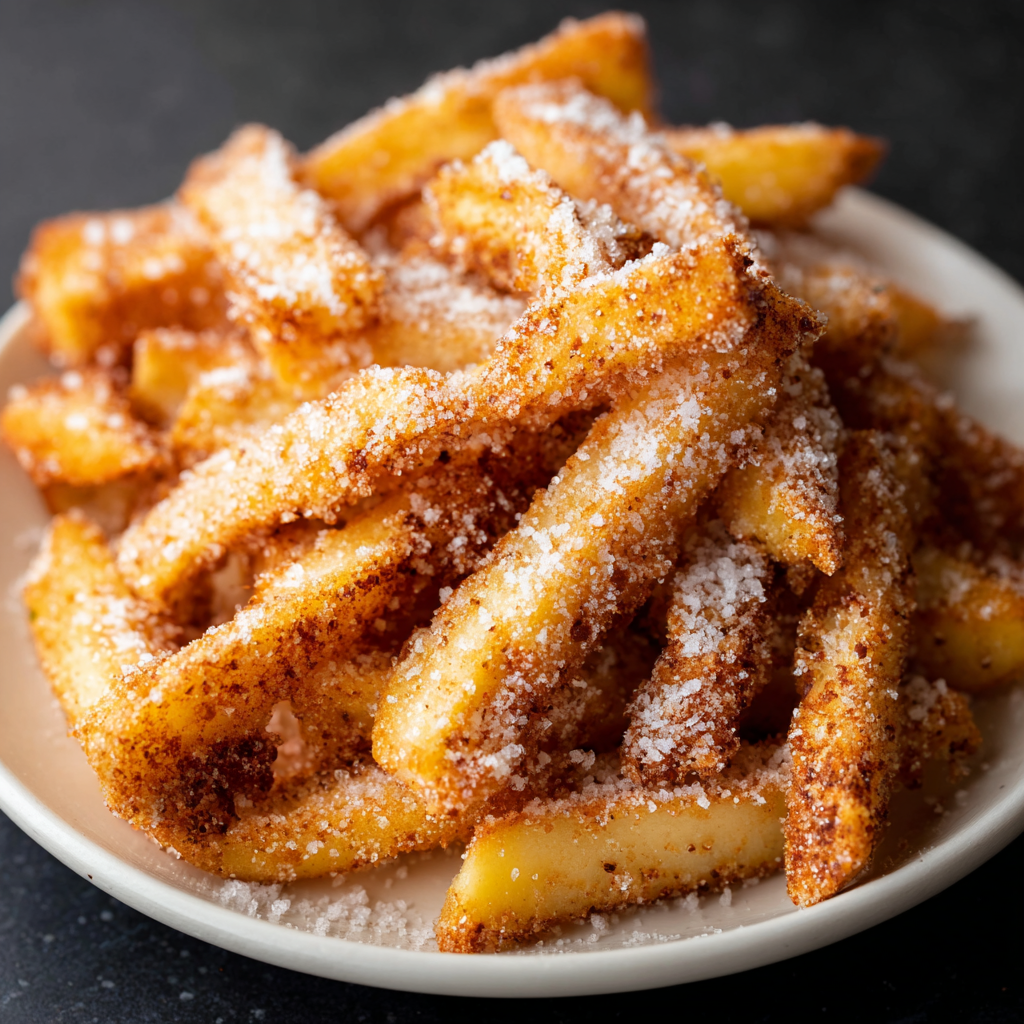
Air Fryer Apple Fries
Crispy, cinnamon-sugar coated apple fries made in the air fryer — a quick, family-friendly snack or dessert ready in under 30 minutes.
Did You Make This?
Leave a comment & rating below or tag @solushcooks on social media!
Rate This Recipe
Share This Recipe
Enjoyed this recipe? Share it with friends and family, and don't forget to leave a review!
Comments (1)
This recipe looks amazing! Can't wait to try it.
Comments are stored locally in your browser. Server comments are displayed alongside your local comments.

Hi, I'm Lena!
What's Popular
30-Minute Meals!
Join to receive our email series which contains a round-up of some of our quick and easy family favorite recipes.