
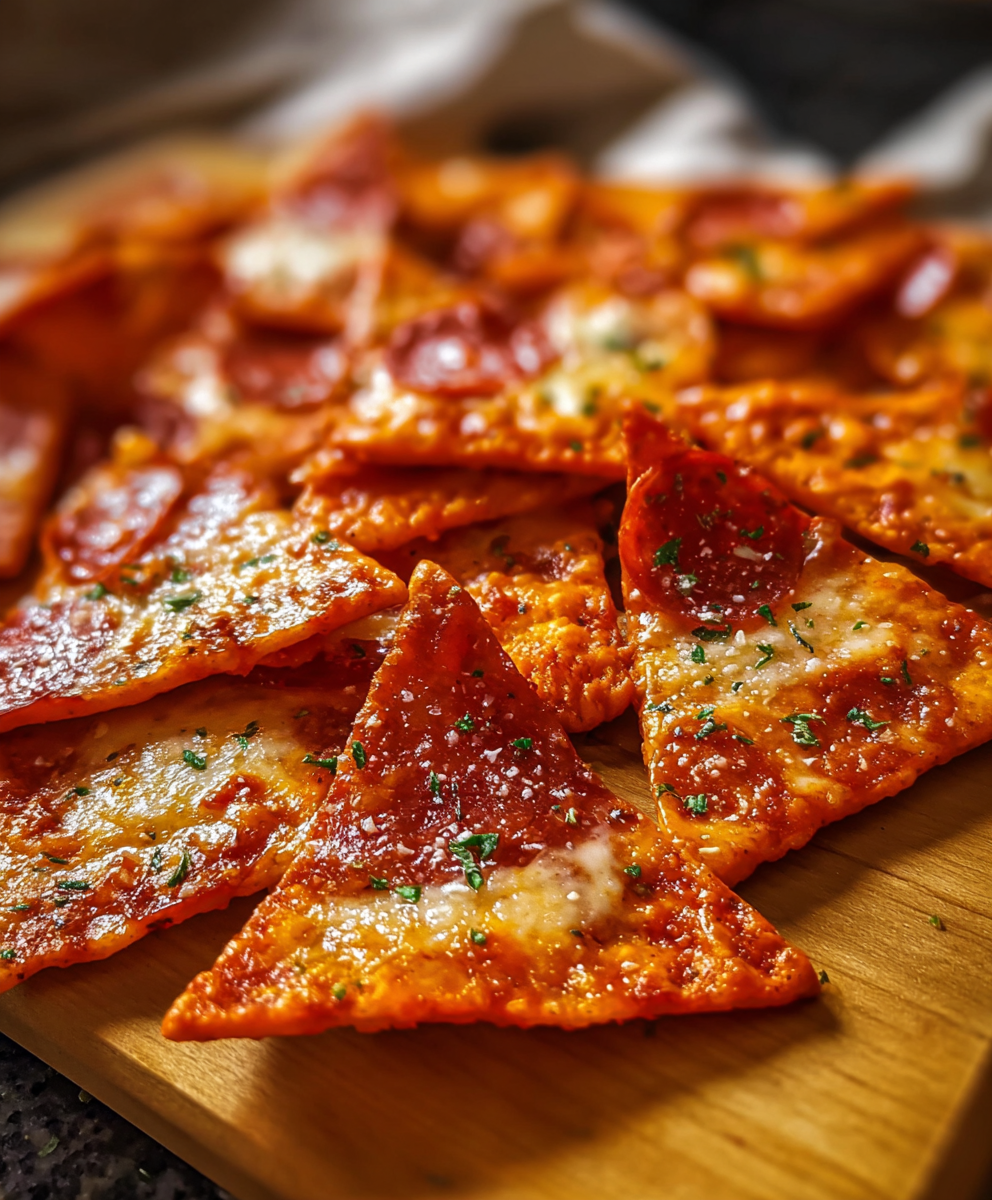
Crispy Pizza Chips

A fun, crunchy twist on pizza — tortilla chips topped with melty cheese, pizza sauce and your favorite mix-ins. Ready in minutes and perfect for parties or quick snacks.

This crispy pizza chips idea began as a desperate, happy accident the afternoon I needed to feed a small crowd with what was left in the pantry. I had tortillas, a jar of robust pizza sauce, and a bag of shredded mozzarella in the fridge. I wanted something quick, crunchy and shareable — something that captured everything I love about pizza without the fuss of dough. The result was instant joy: thin, crunchy tortilla rounds transformed into bite-sized pizza hits that everyone reached for first. The texture contrast between the crisp baked tortilla and the gooey, slightly browned cheese is the real delight here, and the little pops of topping flavor make every chip feel like a tiny celebration.
I first made these on a rainy Saturday while hosting an impromptu movie night. My kids loved assembling their own chips, choosing from pepperoni, sliced olives and diced bell peppers, and my friends suggested we keep the recipe on rotation for gatherings. What makes these especially useful is the speed: from fridge to table in under 20 minutes, and they scale effortlessly. Use corn tortillas for a traditional corn-chip crunch or flour tortillas for a softer base that still crisps beautifully. Either way, you end up with snackable rounds that pair perfectly with marinara for dipping or served piled high on a platter at a party.
Why You'll Love This Recipe
- Ready in around 20 minutes, these chips are a quick answer to last-minute guests and busy weeknights.
- Uses pantry staples: tortillas, jarred pizza sauce and shredded cheese — no rising dough or special equipment required.
- Customizable toppings mean you can cater to vegetarians, meat lovers, or picky eaters with minimal effort.
- Perfect for crowds: easily double or triple the quantities and bake on additional sheets to serve a group.
- Make-ahead friendly: you can crisp the chips in advance and finish with toppings and a quick melt just before serving.
- Kid-friendly assembly: let little hands top their own chips for an engaging activity and a guaranteed hit.
Personally, the best memory I have with these is serving them at my nephew's birthday — kids and adults alike circled the platter. I discovered that a light dusting of garlic powder lifts the flavor in a way that feels familiar yet exciting, and that a quick broil for 1-2 minutes at the end makes the cheese blister and brown in the most satisfying way. Every time I make them, someone asks for the recipe.
Ingredients
- 4 Tortillas (corn or flour): Choose corn tortillas for a classic, crunchy chip texture or flour tortillas for a slightly chewier, softer crunch. Look for fresh, pliable tortillas (10-inch size works well) to cut uniform rounds; stale tortillas can crack instead of crisping evenly.
- 1 cup Pizza Sauce or Marinara Sauce: Use a thicker jarred pizza sauce or a chunky marinara that isn’t too watery so the chips won’t get soggy. Brands like Rao’s or your favorite store brand work well; spoon it from the jar and avoid excess liquid.
- 1 cup Shredded Mozzarella Cheese: Whole-milk mozzarella melts more luxuriously than part-skim and gives a creamy bite. You can mix in shredded cheddar, provolone or a sprinkle of grated Parmesan for extra savory depth.
- 1 cup Toppings: Customize with small pepperoni slices, diced bell peppers, sliced olives, or cooked sausage crumbles. Keep toppings small and evenly distributed so each chip has balanced flavor without weighing it down.
- 1 teaspoon Italian Herbs: A dried blend of basil, oregano and thyme adds an authentic pizza aroma; sprinkle lightly before baking for even flavoring.
- 1 teaspoon Garlic Powder: Provides a warm, aromatic boost that browns nicely in the oven. It’s more reliable than fresh garlic here, which can burn quickly.
- 1/2 teaspoon Crushed Red Pepper Flakes: Optional, for a gentle heat that complements the cheese and sauce; adjust to taste.
- Olive oil spray or a light brush of olive oil: helps the edges crisp and encourages golden color.
Instructions
Prepare the Tortillas: Preheat your oven to 400°F. Stack the tortillas and use a sharp knife or a pizza cutter to slice each into 6 to 8 wedges, depending on desired chip size. If you prefer smaller, bite-sized pieces, slice into 8 wedges. Keep the cuts even so they bake uniformly. Arrange and Lightly Oil: Line a baking sheet with parchment paper. Spread the wedges in a single layer without overlapping. Lightly mist the tops with olive oil spray or brush with a teaspoon of olive oil to encourage browning and a crisp finish. This step creates that irresistible golden edge. Season Before Baking: Sprinkle the wedges with the garlic powder and half of the Italian herb blend. A light seasoning before baking gives the chips a base flavor so they stay flavorful even if you’re topping only some pieces. Bake Until Crisp: Bake at 400°F for 6 to 9 minutes, checking at the 6-minute mark. The chips should be firm and just turning golden at the edges; watch closely because thin tortillas can brown fast. Remove when they feel crisp but before they over-brown. Add Sauce, Cheese and Toppings: Spoon about 1/4 to 1/2 teaspoon of pizza sauce on each chip (avoid over-saucing), top with a pinch of shredded mozzarella and your chosen toppings. Return the sheet to the oven and bake another 3 to 5 minutes at 400°F, or switch to a high broil for 1 to 2 minutes to melt and slightly brown the cheese — watch the oven closely to prevent burning. Finish and Serve: Remove from the oven, sprinkle remaining Italian herbs and crushed red pepper if desired, and let cool for 1 minute before transferring to a serving platter. These are best warm; serve with extra marinara for dipping.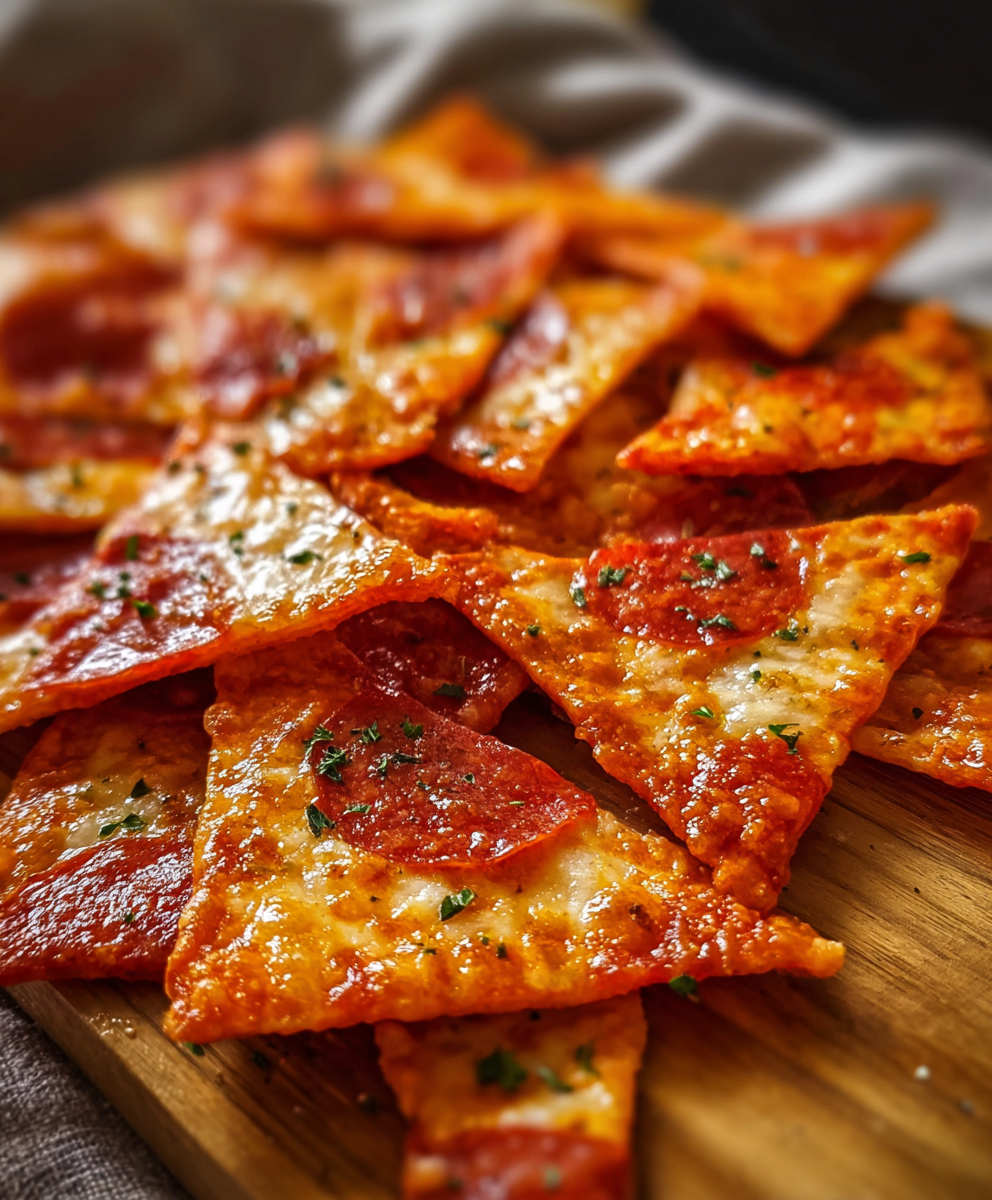
You Must Know
- These chips freeze well if you bake them crisp first; store in an airtight container and reheat briefly to refresh texture.
- Using a thicker sauce prevents soggy chips; drain any excess liquid from fresh tomatoes or watery sauces before using.
- Switching to corn tortillas yields a gluten-free base; confirm packaging if you need strict gluten-free labeling.
- Watch the broiler closely when finishing — cheese can go from perfectly browned to burnt in seconds.
- Smaller toppings mean better bite-size balance; too-large toppings make the chips heavy and harder to eat.
What I love most about these is how forgiving they are: a little under-baked tortilla will crisp up in the second bake, and you can adapt toppings to leftovers in the fridge. Every time I prepare them for guests, I learn a small tweak — whether it’s pre-toasting the pepperoni for extra crisp or using a blend of cheeses for a richer flavor — that makes the next batch even better.
Storage Tips
Store any leftover chips in an airtight container at room temperature for up to 24 hours; the cheese-topped ones are best eaten the same day. For longer storage, bake the plain seasoned chips until crisp, cool completely, then freeze in a zip-top bag for up to 3 months. To reheat frozen chips, spread on a baking sheet and warm in a 375°F oven for 5 to 8 minutes until crisp, then add toppings and melt as described. Avoid refrigeration for pre-topped chips, as moisture can make them soggy.
Ingredient Substitutions
If you want to cut dairy, use dairy-free shredded cheese alternatives and check label meltability; some brands brown more like mozzarella than others. For a lower-sodium option, use a no-salt-added marinara and a reduced-sodium cheese. Swap tortillas for pita rounds or naan cut into wedges for a thicker base that holds up to heftier toppings. If you prefer a smoky element, add a sprinkle of smoked paprika or swap red pepper flakes for chipotle powder at a 1:1 ratio for a deeper heat profile.
Serving Suggestions
Serve these as a party platter with little bowls of extra marinara, ranch and pesto for dipping. They pair wonderfully with a crisp green salad and a cold beer for casual dinners, or alongside a charcuterie board where they act as crunchy vehicles for meats and cheeses. Garnish with fresh basil leaves, a dusting of grated Parmesan, or a drizzle of extra-virgin olive oil for a more refined presentation.
Cultural Background
This snack is a playful fusion of Italian-American pizza flavors and the universal appeal of chips. It borrows the essential elements of pizza — sauce, cheese, herbs and toppings — and applies them to a quick, accessible base. Variations of bite-sized pizza-like snacks have long existed in party cuisine, from crostini topped with tomato and mozzarella to baked wonton pizzas; these tortilla-based chips are simply a modern, speedier take on that tradition, ideal for casual gatherings and born out of convenience and creativity.
Seasonal Adaptations
In summer, swap the jarred sauce for a quick fresh tomato concassé thickened slightly by cooking off extra juices; add fresh basil after baking. In fall and winter, use roasted winter squash cubes, caramelized onions and sage with a sprinkle of sharp cheddar for a seasonal twist. Around holidays, add a pinch of fennel pollen or use spicy Italian sausage for a heartier flavor profile that pairs well with darker beers and robust red wines.
Meal Prep Tips
For efficient meal prep, crisp the plain seasoned chips in a single batch and store them in an airtight container. Keep sauce and shredded cheese in separate containers in the fridge; when ready to serve, top the required number of chips and bake for a few minutes. This approach is excellent for work lunches or quick after-school snacks — assemble in minutes and enjoy a fresh, hot bite whenever you want.
These crunchy, melty rounds are a small but delightful way to bring pizza flavors to any table with very little fuss. Whether you’re feeding a crowd, entertaining kids, or craving a satisfying snack, they’re a reliable, delicious solution that encourages creativity and sharing.
Pro Tips
Cut tortillas into even wedges so they bake uniformly; use a sharp pizza wheel or chef's knife.
Lightly brush or spray with olive oil to encourage golden edges and prevent drying during baking.
Avoid over-saucing each chip; 1/4 to 1/2 teaspoon keeps the base crisp while delivering flavor.
When broiling to finish, stand by the oven — cheese can brown in as little as 30 seconds.
Pre-toast pepperoni slices on parchment for 2 minutes to render some fat and make them slightly crisp.
This nourishing crispy pizza chips recipe is sure to be a staple in your kitchen. Enjoy every moist, high protein slice — it is perfect for breakfast or as a wholesome snack any time.
FAQs about Recipes
Can I make these gluten-free?
Yes. Use corn tortillas labeled gluten-free and ensure your other ingredients are certified gluten-free.
How do I freeze and reheat these?
Bake plain chips fully before freezing; reheat in the oven until crisp and then add toppings.
Can I reheat leftovers?
Yes, they are best served warm; reheat in a 375°F oven for 5 to 8 minutes.
Tags
Crispy Pizza Chips
This Crispy Pizza Chips recipe makes perfectly juicy, tender, and flavorful steak every time! Serve with potatoes and a side salad for an unforgettable dinner in under 30 minutes.
Ingredients
Chips
Sauce
Toppings
Seasoning
Instructions
Prepare the Tortillas
Preheat the oven to 400°F. Stack tortillas and cut each into 6 to 8 wedges using a sharp knife or pizza cutter for even pieces.
Arrange and Oil
Line a baking sheet with parchment and arrange wedges in a single layer. Lightly spray or brush with olive oil to promote browning.
Season and Bake
Sprinkle garlic powder and half the Italian herbs over the wedges. Bake at 400°F for 6 to 9 minutes until crisp and beginning to brown at the edges.
Top and Melt
Add 1/4 to 1/2 teaspoon pizza sauce to each chip, a pinch of shredded mozzarella and desired toppings. Return to oven for 3 to 5 minutes or broil 1 to 2 minutes to brown cheese.
Finish and Serve
Remove from oven, sprinkle remaining herbs and red pepper flakes if desired. Let cool briefly before serving with extra marinara for dipping.
Last Step: Please leave a rating and comment letting us know how you liked this recipe! This helps our business to thrive and continue providing free, high-quality recipes for you.
Nutrition
Did You Make This?
Leave a comment & rating below or tag
@solushcooks on social media!
Categories:
You might also like...
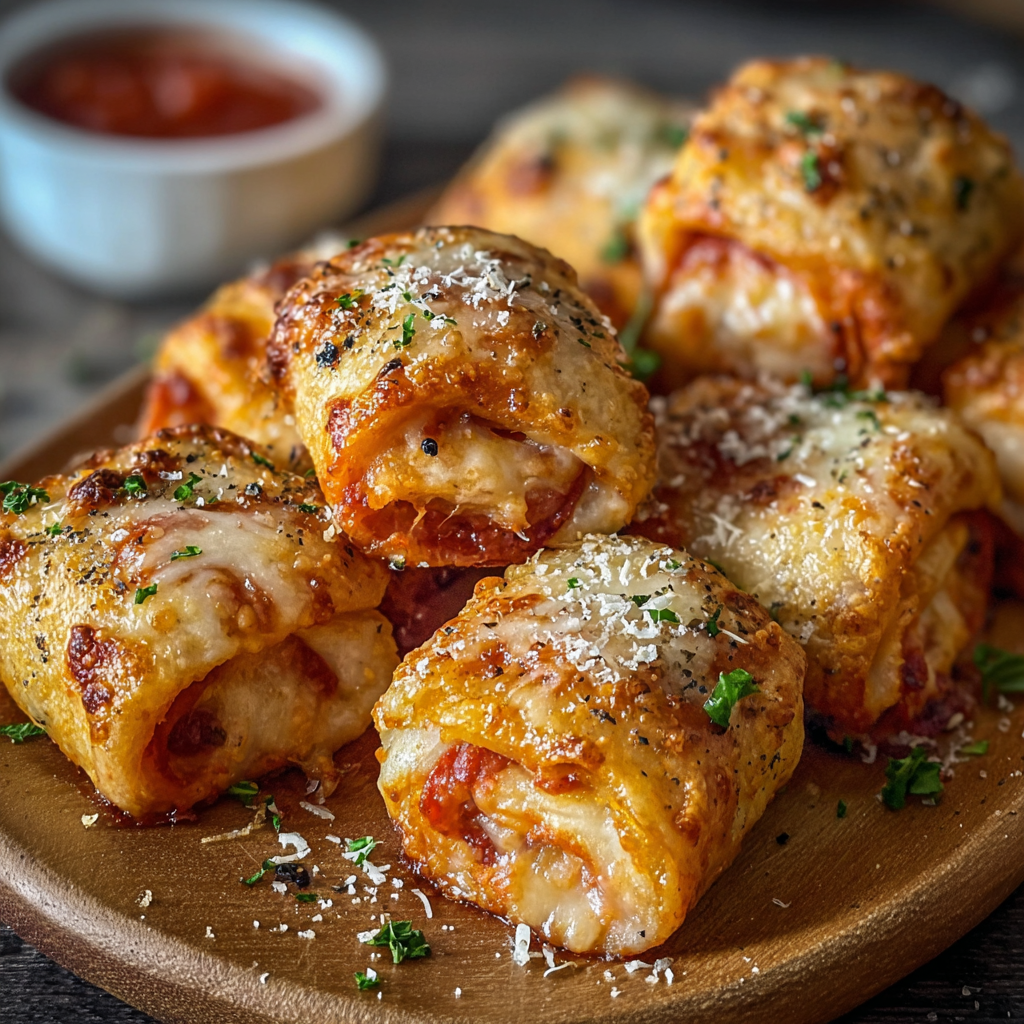
Air-Fried Pizza Rolls
Crispy, golden pockets of melted mozzarella and pepperoni made in the air fryer for a quick party snack or weeknight treat.
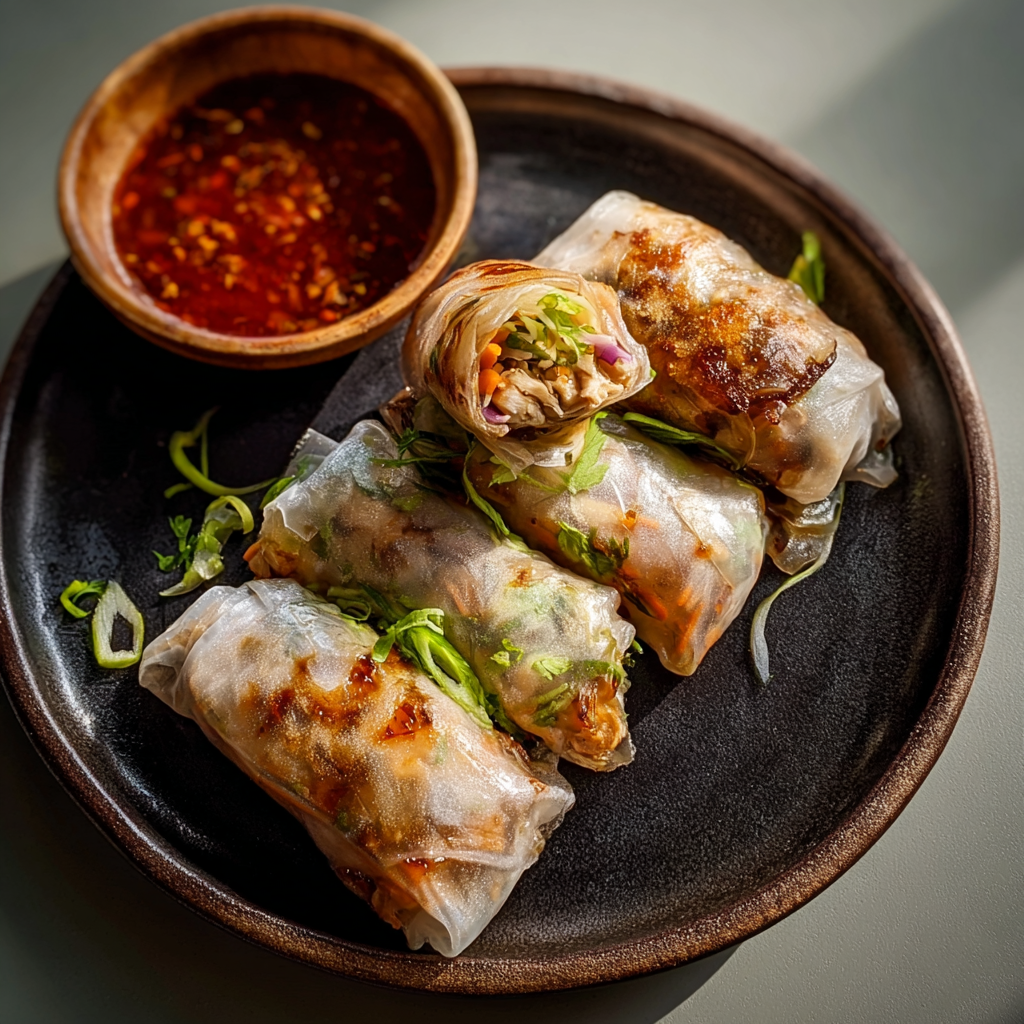
Air-Fried Rice Paper Noodle Rolls
Crispy, light rice paper rolls filled with vermicelli, vegetables and tofu or shrimp, finished in the air fryer for a healthy, snackable treat.
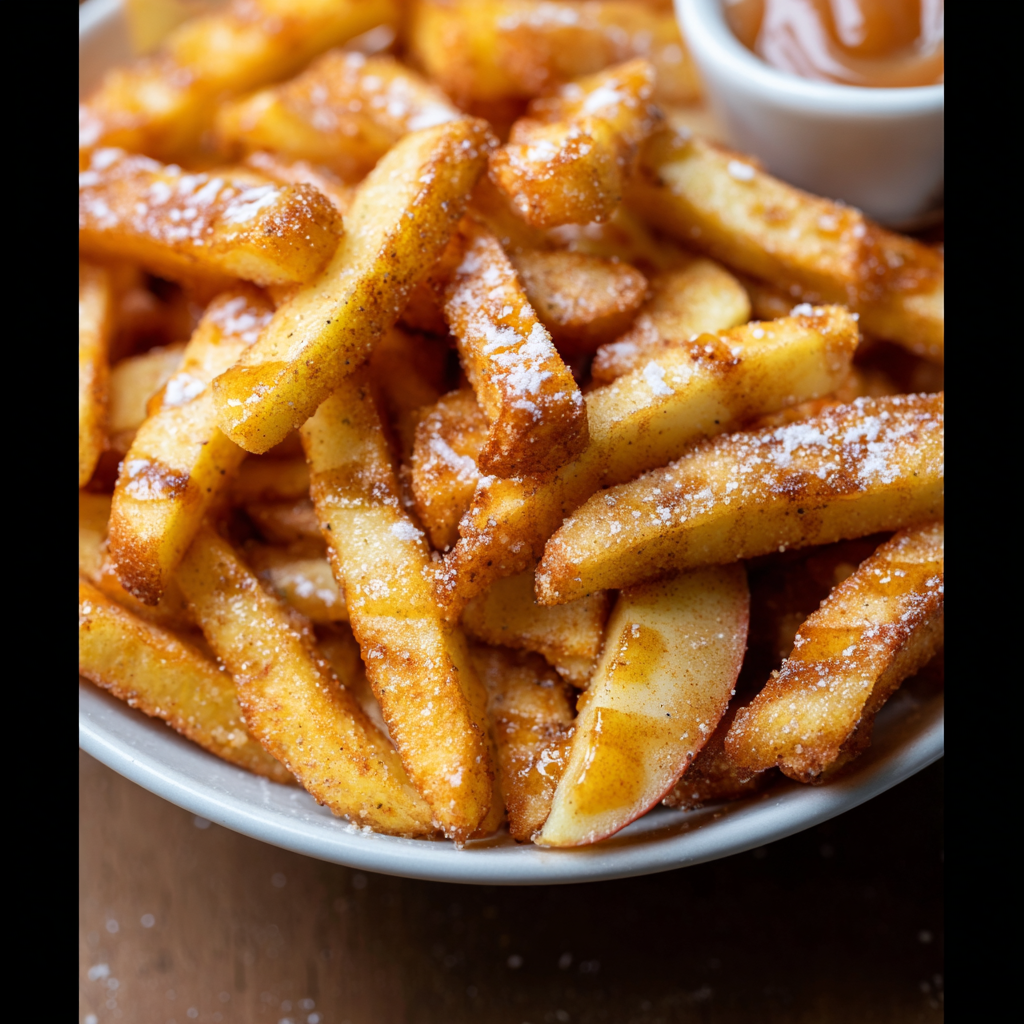
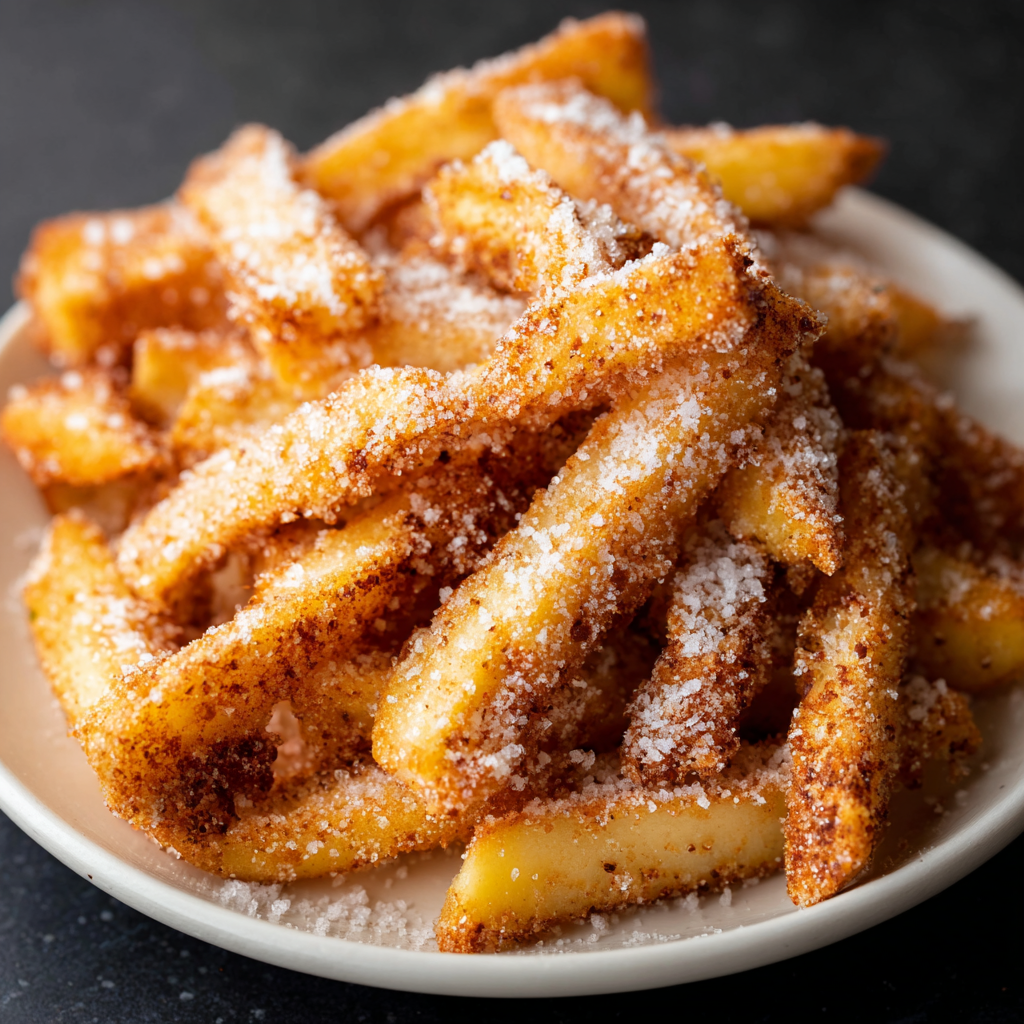
Air Fryer Apple Fries
Crispy, cinnamon-sugar coated apple fries made in the air fryer — a quick, family-friendly snack or dessert ready in under 30 minutes.
Did You Make This?
Leave a comment & rating below or tag @solushcooks on social media!
Rate This Recipe
Share This Recipe
Enjoyed this recipe? Share it with friends and family, and don't forget to leave a review!
Comments (1)
This recipe looks amazing! Can't wait to try it.
Comments are stored locally in your browser. Server comments are displayed alongside your local comments.

Hi, I'm Lena!
What's Popular
30-Minute Meals!
Join to receive our email series which contains a round-up of some of our quick and easy family favorite recipes.