
Grinch Mini Cheesecakes

Bright green mini cheesecakes with a crisp Oreo crust and silky filling — a festive, kid-approved treat perfect for holiday parties and quick dessert prep.
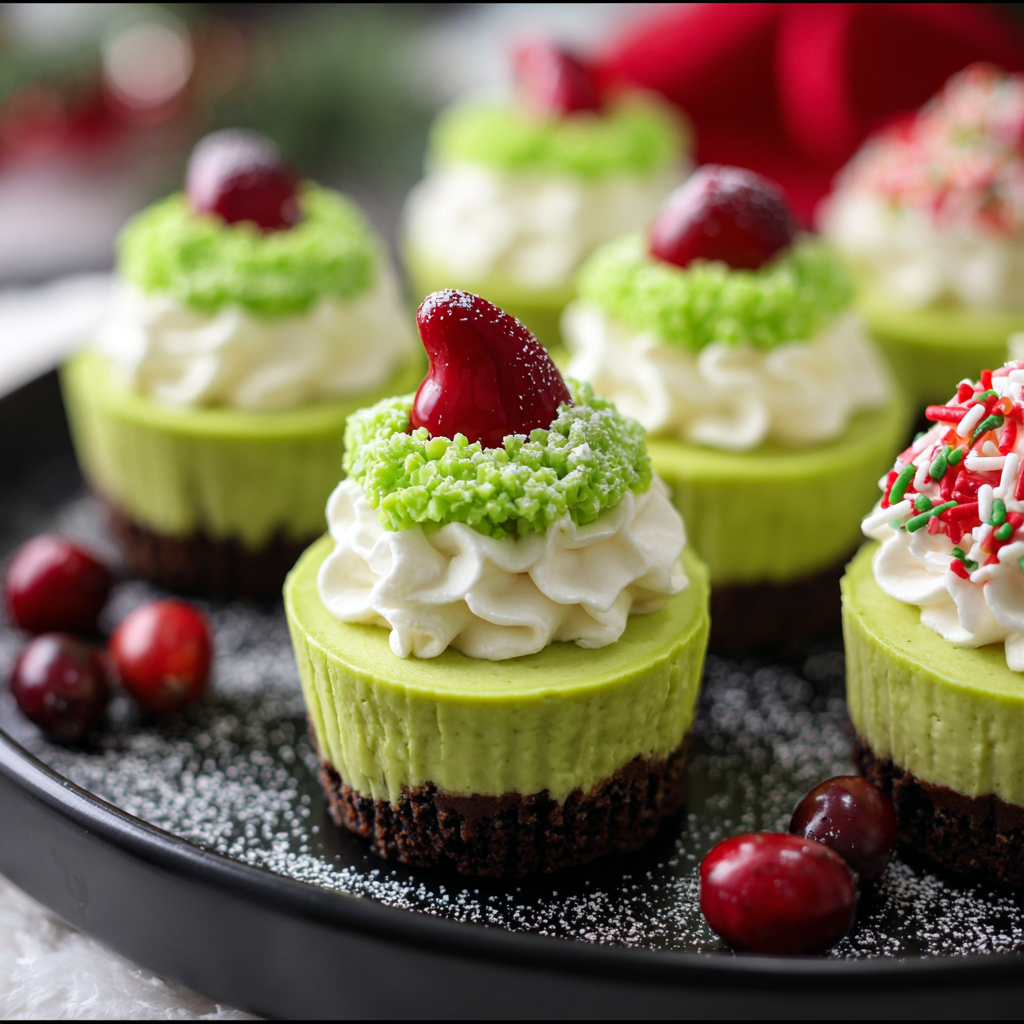
This little tray of Grinch Mini Cheesecakes began as a cheeky holiday experiment that quickly became my family's most requested dessert. I was inspired one December evening when I wanted something festive but small — a bite-sized sweet that would travel well to a potluck and make kids smile. The neon green color is playful without affecting the flavor, and the Oreo crumb base gives a familiar crunch that balances the creamy filling. I first discovered this combination while riffing on a classic cheesecake recipe, and after a few adjustments to the butter ratio and baking time, the results were perfect: smooth, slightly tangy centers that set just enough to hold their shape.
What makes these particularly special is their ease and versatility. They bake quickly in a standard muffin pan, can be made ahead, and are easy to dress up with whipped cream, sprinkles, or even a chocolate-dipped edge. The texture is the highlight: a crisp, slightly salty cookie base holding a velvety, rich filling that jiggles gently when pulled from the oven and firms up into an ideal mini cheesecake after chilling. Every holiday season now includes these, and watching guests’ faces light up at the first bite is the memory that keeps me coming back to this recipe.
Why You'll Love This Recipe
- Make-ahead friendly: Bake the minis a day in advance and chill; they hold their shape and flavor well for easy serving at parties.
- Quick hands-on time: About 15 minutes of active prep and 15–17 minutes in the oven, ready in under an hour including chill time.
- Pantry-friendly components: Uses simple staples — cream cheese, sugar, eggs, Oreos — easy to source year-round.
- Crowd-pleasing and customizable: Bright, festive color thrills kids; top with whipped cream, sprinkles, or mini hearts for theme parties.
- Perfect portion control: Mini size makes it simple to offer small treats without committing to full slices, ideal for tastings and buffets.
- Compact for transport: Muffin tin liners keep portions tidy for potlucks and school events, and the cookies keep the bottom crisp after refrigeration.
My family’s reaction the first time I set these out was pure delight — the kids declared them “Grinch-approved” before the adults even reached for a second helping. Making them became my little holiday ritual: mixing the neon tint until it looked just right, tasting for balance, and trimming the whipped cream peaks into perfect swirls. They’re a conversation starter and a nostalgic treat rolled into one.
Ingredients
- Oreo crumbs (crust): About 1 cup of finely processed Oreo cookies (roughly 10–11 cookies). Look for regular Oreos for the best crunch; double-stuff works too but will add more filling moisture.
- Butter, melted (crust): 2 1/2 tablespoons of unsalted butter, melted. The butter binds the crumbs and crisps the base; use unsalted to control seasoning and let the Oreo sweetness shine.
- Cream cheese: Two 8-ounce blocks (16 ounces total), softened to room temperature. Full-fat blocks yield the creamiest texture; brands like Philadelphia provide consistent results.
- Sugar: 1/2 cup granulated sugar. Dissolves into the filling for smoothness and a balanced sweetness; adjust by a tablespoon if you prefer slightly less sugar.
- Eggs: 2 large eggs at room temperature. Eggs add structure and help the filling set; room temperature eggs incorporate more smoothly.
- Vanilla extract: 1 teaspoon pure vanilla. Enhances depth of flavor and complements the tang of cream cheese.
- Neon green food coloring: Enough to reach your desired Grinch green — typically a few drops of gel color. Gel colors give a vivid tint without thinning the filling.
Instructions
Preheat and prepare pan: Preheat the oven to 350°F. Line a standard 12-cup muffin pan with paper liners — this keeps the minis neat and makes removal simple. Using liners also reduces cleanup and prevents sticking. Make the crust: Pulse about 10–11 Oreos in a food processor until they become fine crumbs. Add the 2 1/2 tablespoons of melted butter and pulse until the crumbs look evenly moistened and hold together when squeezed. Distribute about a level tablespoon of crumbs into each liner and press down firmly with the bottom of a measuring cup or your fingers to form an even crust layer. Make the filling: In a medium bowl, beat the softened cream cheese with 1/2 cup sugar until very smooth and free of lumps. Beat in the eggs one at a time, scraping the bowl between additions, then add 1 teaspoon vanilla. Mix just until combined — overbeating can incorporate air and cause cracks. Add neon green gel food coloring a drop at a time until you achieve the Grinch-green hue you want. Fill the cups: Spoon about 1/4 cup of the cream cheese mixture into each prepared cup, filling them evenly but leaving a small gap at the top if desired. Tap the pan gently on the counter to release air bubbles and level the filling. Bake and cool: Bake at 350°F for 15–17 minutes. The centers should be slightly jiggly but the edges set. Remove from the oven and allow the cups to cool completely in the pan to room temperature; chilling in the refrigerator for at least 2 hours will finish the set and deepen the texture. Finish and serve: Top each chilled mini with a dollop of whipped cream and festive sprinkles. For a cleaner look, use a piping bag with a star tip. Serve chilled and keep refrigerated until just before serving for best texture.
You Must Know
- These keep well refrigerated for up to 4 days; cover tightly to avoid absorbing fridge odors.
- Mini portions freeze beautifully for up to 3 months; thaw overnight in the refrigerator before serving.
- They are moderately high in calories and rich in dairy — good to enjoy in small portions at parties.
- Use gel food coloring for the brightest color without altering the filling's consistency.
- Don’t overbake: a gently jiggly center ensures a creamy texture after chilling.
My favorite part of this treat is how forgiving it is — even if you slightly overmix, they still turn out delicious after chilling. The crust stays crunchy, and the filling develops a velvety mouthfeel that always earns compliments. I often pack them for school parties and have never had complaints about texture or transport damage when using sturdy liners.

Storage Tips
Store chilled minis in an airtight container in the refrigerator for up to 4 days. Place parchment between layers to avoid smudging any decorations. For longer storage, freeze on a baking sheet until firm, then transfer to a freezer-safe container for up to 3 months. Thaw overnight in the refrigerator before serving to retain a creamy texture. If you plan to decorate with whipped cream, add it after thawing rather than before freezing to avoid weeping or textural changes.
Ingredient Substitutions
To make a gluten-free version, swap the Oreos for gluten-free chocolate sandwich cookies or use a simple almond flour crust with 3/4 cup almond flour and 2 tablespoons melted butter. For lower sugar, replace half the granulated sugar with a baking-friendly sweetener measured to taste, though texture may shift slightly. To lighten the filling, substitute one block of full-fat cream cheese with 8 ounces of Neufchâtel or a thick Greek yogurt, but expect a tangier, softer set. For a chocolate twist, fold in 1–2 tablespoons of cocoa powder into the filling.
Serving Suggestions
Present minis on a tiered platter for holiday parties or arrange them in a neat grid on a slate board with edible gold stars for contrast. Pair with hot cocoa or a coffee bar for a cozy dessert station. Garnish with a small candy heart or red sprinkle to mimic the Grinch’s heart motif, or pipe whipped cream with a star tip for a professional finish. They also work well alongside other petit fours for holiday dessert spreads.
Cultural Background
While cheesecakes trace back to ancient Greece, the mini cheesecake portioning and cookie-crust variations are modern American adaptations designed for convenience and portion control. The playful neon color used here is inspired by Dr. Seuss’s Grinch character — not a traditional culinary practice but an example of themed baking taking root in contemporary celebrations and pop-culture-driven desserts.
Seasonal Adaptations
For winter holidays keep the neon green for a Grinch theme; in spring swap the color for pastels and top with fresh berries. For Valentine’s Day, tint the filling a pale pink and garnish with heart sprinkles. For autumn, use crushed gingersnaps instead of Oreos and a touch of pumpkin spice in the filling. Small changes in toppings and crust can quickly shift the minis to match any seasonal palette or menu.
Meal Prep Tips
Make the crusts and filling the night before to save time on party day. Assemble and bake in the morning, then chill; add whipped cream and sprinkles right before serving. Use a piping bag to fill cups quickly and evenly, and label containers with the bake date when freezing portions. This method ensures an easy grab-and-go dessert for schedules packed with seasonal events.
These mini cheesecakes are an affectionate blend of nostalgia and simple technique — easy to scale, delightful to serve, and always a holiday favorite. I hope you enjoy making a batch and sharing them as much as we do; they often arrive home with empty plates and lots of smiles.
Pro Tips
Room-temperature cream cheese mixes more smoothly and avoids lumps in the filling.
Use gel food coloring for vivid color without changing the filling’s texture.
Tap the muffin pan gently before baking to release air bubbles for a smooth top.
Chill minis for at least 2 hours to fully set the centers before topping.
Freeze fully cooled minis on a sheet before transferring to a container to preserve shape.
This nourishing grinch mini cheesecakes recipe is sure to be a staple in your kitchen. Enjoy every moist, high protein slice — it is perfect for breakfast or as a wholesome snack any time.
Tags
Grinch Mini Cheesecakes
This Grinch Mini Cheesecakes recipe makes perfectly juicy, tender, and flavorful steak every time! Serve with potatoes and a side salad for an unforgettable dinner in under 30 minutes.
Ingredients
Crust
Filling
Instructions
Preheat and prepare
Preheat oven to 350°F and line a 12-cup muffin pan with paper liners to make removal and transport easy.
Make the crust
Pulse about 10–11 Oreos in a food processor to fine crumbs, then pulse with 2 1/2 tablespoons melted butter until well combined. Divide and press into liners evenly.
Mix the filling
Beat softened cream cheese with 1/2 cup sugar until smooth, add eggs one at a time, then vanilla. Mix until just combined and add neon green gel color to desired shade.
Fill and bake
Spoon about 1/4 cup of filling into each crust-lined cup. Bake 15–17 minutes at 350°F until centers are slightly jiggly and edges are set.
Cool and chill
Cool completely in the pan to room temperature, then refrigerate for at least 2 hours until firm. Top with whipped cream and sprinkles before serving.
Last Step: Please leave a rating and comment letting us know how you liked this recipe! This helps our business to thrive and continue providing free, high-quality recipes for you.
Nutrition
Did You Make This?
Leave a comment & rating below or tag
@solushcooks on social media!
Categories:
You might also like...
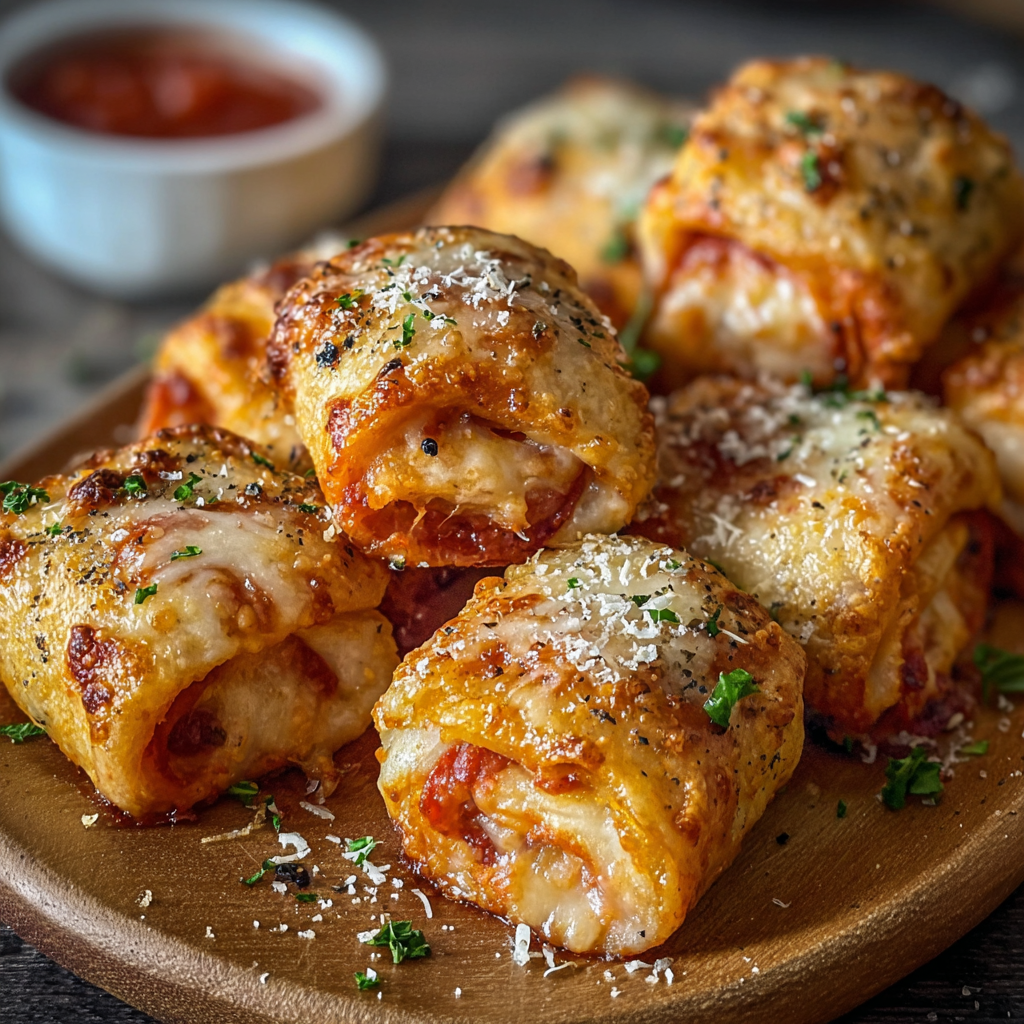
Air-Fried Pizza Rolls
Crispy, golden pockets of melted mozzarella and pepperoni made in the air fryer for a quick party snack or weeknight treat.

Air-Fried Rice Paper Noodle Rolls
Crispy, light rice paper rolls filled with vermicelli, vegetables and tofu or shrimp, finished in the air fryer for a healthy, snackable treat.
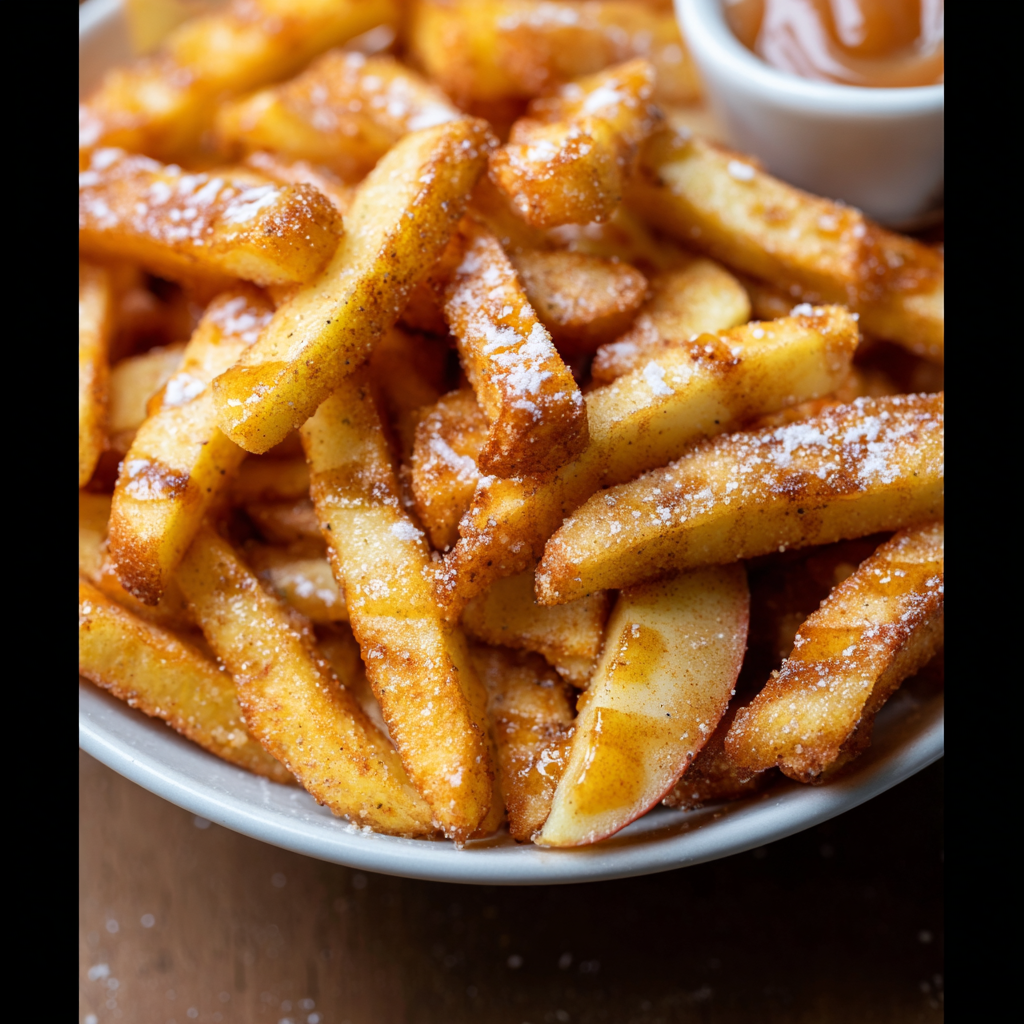
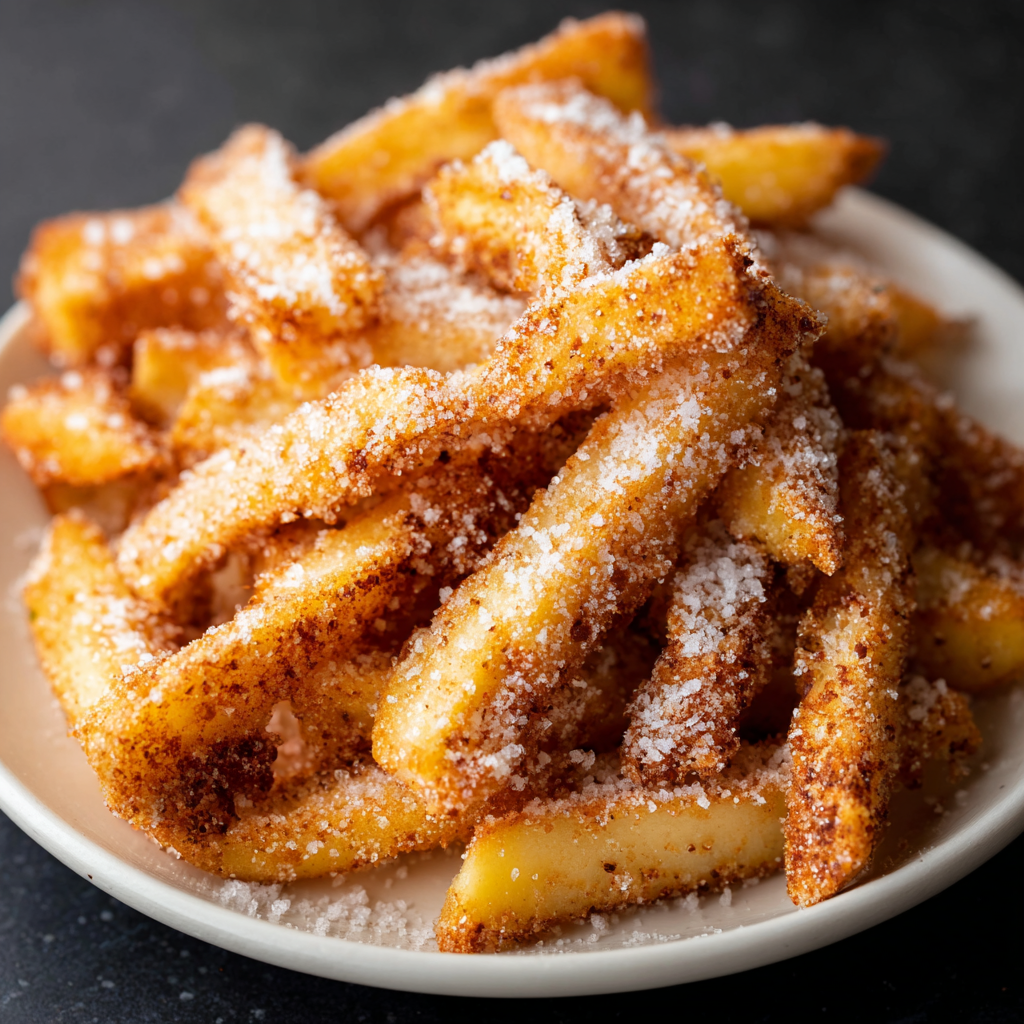
Air Fryer Apple Fries
Crispy, cinnamon-sugar coated apple fries made in the air fryer — a quick, family-friendly snack or dessert ready in under 30 minutes.
Did You Make This?
Leave a comment & rating below or tag @solushcooks on social media!
Rate This Recipe
Share This Recipe
Enjoyed this recipe? Share it with friends and family, and don't forget to leave a review!
Comments (1)
This recipe looks amazing! Can't wait to try it.
Comments are stored locally in your browser. Server comments are displayed alongside your local comments.

Hi, I'm Lena!
What's Popular
30-Minute Meals!
Join to receive our email series which contains a round-up of some of our quick and easy family favorite recipes.