
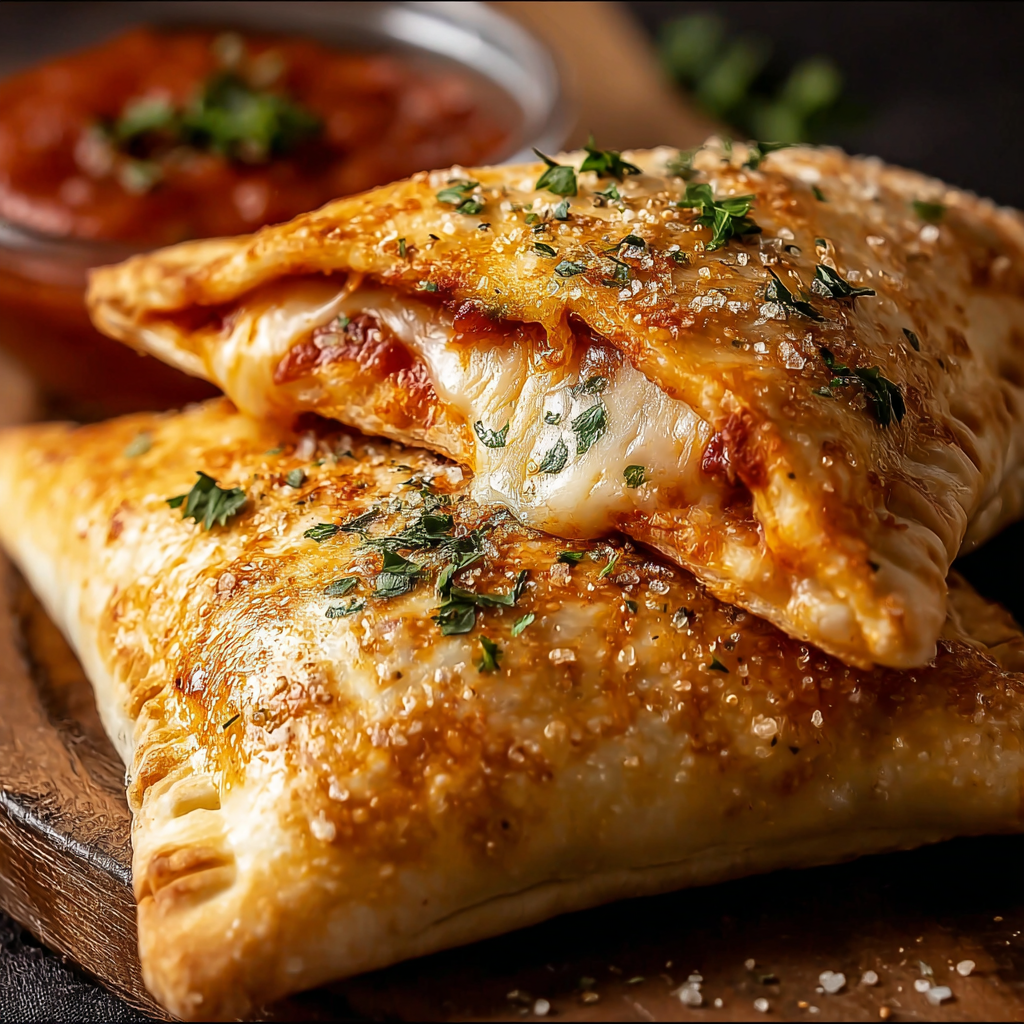
Homemade Pizza Pockets

Handheld oven-baked pockets filled with classic pepperoni & mozzarella or a bright broccoli and sharp cheddar filling — quick, family-friendly, and made with refrigerated pizza crust.
Why You'll Love This Recipe
- Ready from fridge to table in about 35 minutes total, which makes these an ideal weeknight or party appetizer solution that still tastes homemade.
- Two fill options: Classic pepperoni and mozzarella for pure comfort, plus a Broccoli & Cheddar option to boost vegetable intake without sacrificing flavor.
- Uses a single refrigerated pizza crust so you don’t need to make dough from scratch; pantry staples like pizza sauce and shredded cheese are all that’s required.
- Double batch easily — make extras to freeze for quick lunches that heat well in a toaster oven or convection oven.
- Kid-approved and portable: perfect for lunchboxes, picnics, or as handheld snacks at game day gatherings.
- Customizable: swap pepperoni for cooked sausage, add fresh herbs, or stir in a spoonful of ricotta to make the filling richer.
I first served these at a casual family movie night; everyone loved the portability and I loved that guests could choose their own filling. My sister commented that the broccoli version tasted like "grown-up pizza," and my son insisted on five more for school lunches — that’s how you know a recipe has staying power. These little pockets have become the go-to for anything that calls for comfort and convenience.
Ingredients
- Refrigerated classic pizza crust: One 12-ounce refrigerated crust rounds out the base. Look for the brand you trust in the dairy aisle; it provides consistent texture and predictable baking time.
- Pizza sauce: Use 1/2 cup of a good-quality jarred sauce for the classic filling. A balanced sauce like Muir Glen or Rao’s gives a bright tomato flavor without overpowering.
- Borden shredded mozzarella cheese: 1 cup for the classic version. Pre-shredded mozzarella melts smoothly and helps the pocket bind together; whole-milk versions give a creamier result.
- Pepperoni slices: About 2 ounces (roughly 12–14 slices) for the classic pocket. Choose thin-cut pepperoni if you prefer crisp edges inside the pocket.
- Sliced black olives: One 4-ounce can, drained. Olives add a salty, briny contrast that complements cheese and tomato.
- Borden shredded sharp cheddar cheese: 3/4 cup for the broccoli & cheddar option; it brings a tangy, assertive note that stands up to greens.
- Borden shredded mozzarella (for broccoli version): 1/4 cup to help melt and bind the broccoli filling.
- Olive oil: 3 tablespoons to toss with the broccoli and brush the outside; it encourages browning and adds flavor.
- Italian seasoning: 1 tablespoon to season broccoli; it provides oregano, basil and savory notes that tie the filling together.
- Broccoli: 1 1/2 cups finely chopped, from a 12-ounce frozen bag thawed and well-drained. Finely chopping ensures even distribution and a pleasant texture.
Instructions
Preheat and prepare: Preheat the oven to 425°F. Line a baking sheet with parchment or a silicone liner to prevent sticking and promote even browning. If you preheat a baking stone instead, the underside will crisp faster — reduce baking time slightly and keep an eye on color. Roll and portion the dough: Unroll the refrigerated crust onto a lightly floured surface and press gently to smooth seams. Using a knife or a large cookie cutter, divide the crust into four equal rectangles. Each portion will become one pocket roughly 5 by 7 inches. Keep unused dough covered so it doesn’t dry out. Assemble the classic filling: On two portions, spread about 2 tablespoons of pizza sauce leaving a 1/2-inch border all around to allow sealing. Add 1/2 cup shredded mozzarella divided between two pockets, then top with 1 ounce pepperoni slices and a tablespoon of drained black olives per pocket. Avoid overfilling; too much filling prevents a proper seal. Assemble the broccoli & cheddar filling: In a bowl toss the chopped, thawed broccoli with 3 tablespoons olive oil and 1 tablespoon Italian seasoning, then season lightly with salt and pepper. Distribute about 3/4 cup sharp cheddar and 1/4 cup mozzarella across the remaining dough portions, then top with roughly 3/4 cup of the seasoned broccoli for each pocket. Seal the pockets: Brush the dough edges with a little water or beaten egg (for deeper color) and fold each piece closed into a neat half-moon or rectangle, pressing edges firmly together. Crimp with a fork to create a tight seal and poke two small vents on top with the tip of a knife to release steam while baking. Brush and bake: Brush each pocket with a light coat of olive oil or beaten egg and place on the prepared sheet. Bake at 425°F for 14–18 minutes until golden brown and cheese inside is melted. If you used a stone, check at 12 minutes. Let rest 3–5 minutes before serving to let the interior set.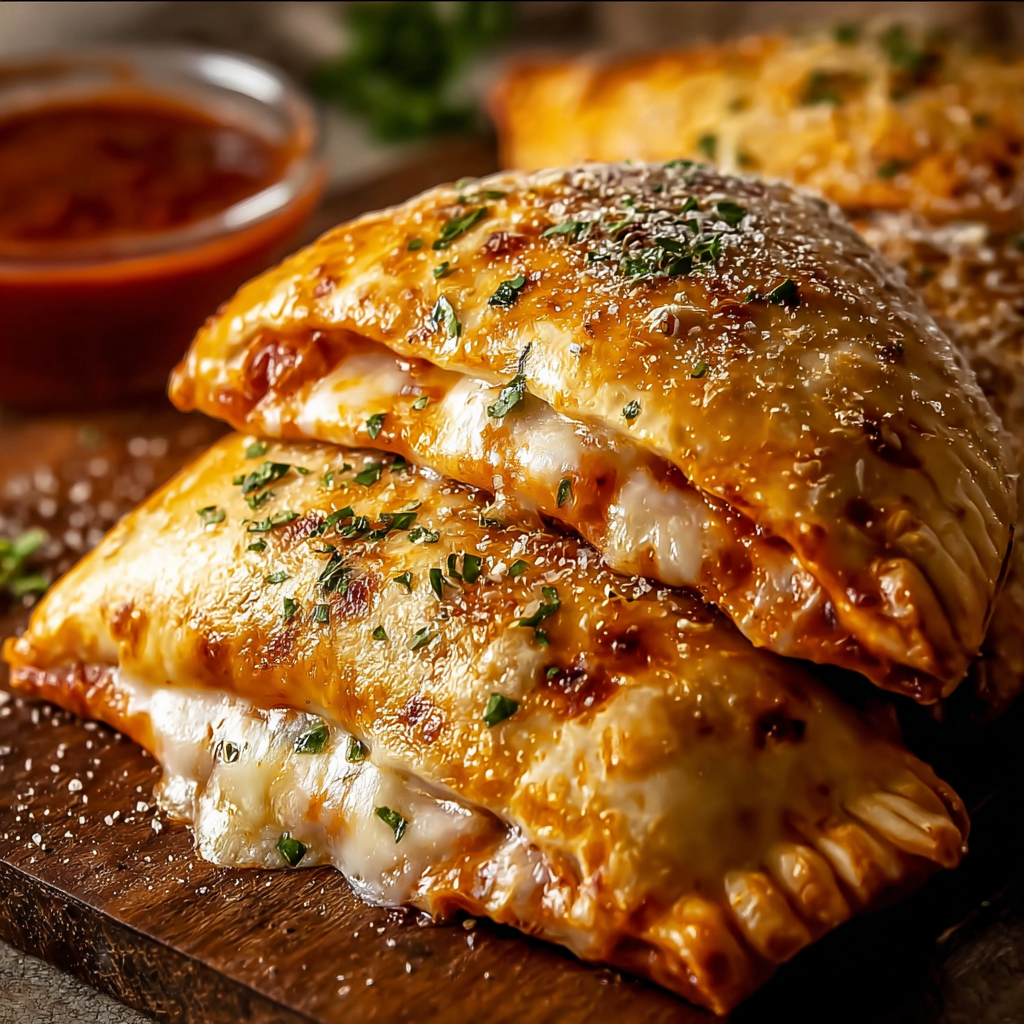
You Must Know
- These pockets freeze excellently for up to 3 months; cool completely, wrap individually in foil, and put in a freezer bag for best results.
- They reheat well in a toaster oven at 350°F for 8–10 minutes to restore crispness; microwaving will be faster but softens the crust.
- Drain thawed broccoli thoroughly and squeeze excess moisture; otherwise the pockets can become soggy inside.
- Use an egg wash for a glossy, golden finish; olive oil gives a rustic matte crust and a richer flavor.
My favorite part is how versatile these pockets are — early on I learned to double the batch and freeze half for emergency lunches. Once, on a rainy afternoon when plans changed, I pulled frozen pockets from the freezer and served them within 20 minutes; friends thought they were freshly made. The pockets have become my go-to when I need something that pleases both children and adults: sturdy, portable, and endlessly adaptable.

Storage Tips
Store cooled pockets in an airtight container in the refrigerator for up to 4 days. For longer storage, freeze individually wrapped pockets in foil and place them in a labeled freezer bag for up to 3 months. When freezing, flash-cool on a sheet pan for 10 minutes first so they retain shape. To reheat from frozen, bake at 375°F for 18–22 minutes or until heated through. For reheating from refrigerated, 350°F for 10–12 minutes restores crispness—cover lightly with foil if edges brown too quickly.
Ingredient Substitutions
You can swap the refrigerated crust for homemade pizza dough (use about 8–10 ounces of dough per four pockets) or store-bought flatbread for a thinner crust. Substitute pepperoni with cooked Italian sausage or chopped roasted chicken for the classic version. Use ricotta or cream cheese in small amounts (2 tablespoons per pocket) if you want a creamier filling. For the broccoli version, swap frozen broccoli for 1 1/2 cups blanched fresh broccoli florets and reduce oil slightly. To make dairy-free, use a plant-based shredded cheese and omit butter or egg wash.
Serving Suggestions
Serve pockets warm with extra pizza sauce for dipping and a simple green salad with lemon vinaigrette to cut through richness. For parties, slice each pocket in half on the diagonal and arrange on a platter with small bowls of marinara, pesto, and hot honey for a flavor bar. Add a sprinkle of flaky sea salt and chopped fresh basil or parsley for a bright finish. These make excellent picnic food — pack with a little sauce in a leakproof container and keep cold packs for safety.
Cultural Background
The handheld filled-dough concept is an international idea — think calzones from southern Italy, empanadas in Spain and Latin America, and pirozhki in Eastern Europe. Calzones traditionally fold pizza dough around cheese and cured meats, then bake until golden. These pizza pockets simplify that tradition by using refrigerated crust and approachable fillings, translating a rustic Italian technique into something for busy modern kitchens while preserving the satisfying contrast of crisp exterior and molten interior.
Seasonal Adaptations
Adjust fillings to reflect the season: in spring, add thin asparagus tips and fresh herbs with lemon zest; in summer, use roasted tomatoes, basil, and burrata spooned in after baking; in autumn, swap broccoli for caramelized fennel and use smoked gouda. For winter comfort, add caramelized onions, roasted mushrooms, and thyme with gruyère. These seasonal swaps keep the technique constant while changing the flavor profile to match produce and cravings throughout the year.
Meal Prep Tips
Assemble pockets ahead and refrigerate unbaked for up to 24 hours; brush and bake when needed. For batch freezing, arrange on a sheet pan, freeze until firm, then transfer to a bag so you can bake only what you need. Label each with contents and date. For packed lunches, include an insulated container to keep them warm or provide an ice pack and reheat instructions for school kitchens. Use portion-sized silicone molds to maintain uniform shapes if you prefer identical pockets for meal prep.
These pockets are proof that simple pantry ingredients can become something memorable. Whether you keep them classic or try the broccoli and cheddar version, they offer comforting flavors, portable convenience, and a little bit of homemade charm. Make a batch, share them, and tweak the fillings — they respond well to creativity.
Pro Tips
Drain and squeeze thawed broccoli very well; excess moisture leads to a soggy interior.
Don’t overfill pockets; leave a 1/2-inch border to ensure a tight seal and to prevent leaking.
Brush edges with beaten egg for a glossy, golden crust or olive oil for a rustic finish.
If baking from frozen, add a few minutes to the baking time and tent with foil if browning too fast.
Use a lightly floured surface and keep unused dough covered to prevent drying.
This nourishing homemade pizza pockets recipe is sure to be a staple in your kitchen. Enjoy every moist, high protein slice — it is perfect for breakfast or as a wholesome snack any time.
FAQs about Recipes
Can I freeze these pizza pockets?
Yes. Assemble and freeze on a sheet pan until firm, then transfer to a freezer bag for up to 3 months. Bake from frozen at 375°F for 18–22 minutes.
What’s the best way to reheat them?
Use a toaster oven or conventional oven at 350°F for 8–12 minutes to restore crispness. Microwaving will heat faster but soften the crust.
Tags
Homemade Pizza Pockets
This Homemade Pizza Pockets recipe makes perfectly juicy, tender, and flavorful steak every time! Serve with potatoes and a side salad for an unforgettable dinner in under 30 minutes.
Ingredients
Classic Pizza Calzone
Broccoli & Cheddar Calzone
Instructions
Preheat and prepare
Preheat oven to 425°F and prepare a baking sheet with parchment or a silicone mat. Position rack in the center for even browning.
Roll and portion the dough
Unroll refrigerated crust on a lightly floured surface and divide into four equal rectangles. Keep unused portions covered to prevent drying.
Assemble classic filling
Spread 2 tablespoons pizza sauce on two dough pieces leaving a 1/2-inch border, add 1/2 cup shredded mozzarella divided and top with pepperoni and drained olives.
Assemble broccoli & cheddar filling
Toss chopped, thawed broccoli with olive oil and Italian seasoning, then distribute cheddar and mozzarella across two dough pieces and top with broccoli.
Seal pockets
Brush edges with water or beaten egg, fold dough over, press edges firmly and crimp with a fork. Make two small vents on top to release steam.
Bake and rest
Brush pockets lightly with oil or egg, bake at 425°F for 14–18 minutes until golden brown. Let rest 3–5 minutes before serving.
Last Step: Please leave a rating and comment letting us know how you liked this recipe! This helps our business to thrive and continue providing free, high-quality recipes for you.
Nutrition
Did You Make This?
Leave a comment & rating below or tag
@solushcooks on social media!
Categories:
You might also like...

Air-Fried Pizza Rolls
Crispy, golden pockets of melted mozzarella and pepperoni made in the air fryer for a quick party snack or weeknight treat.

Air-Fried Rice Paper Noodle Rolls
Crispy, light rice paper rolls filled with vermicelli, vegetables and tofu or shrimp, finished in the air fryer for a healthy, snackable treat.
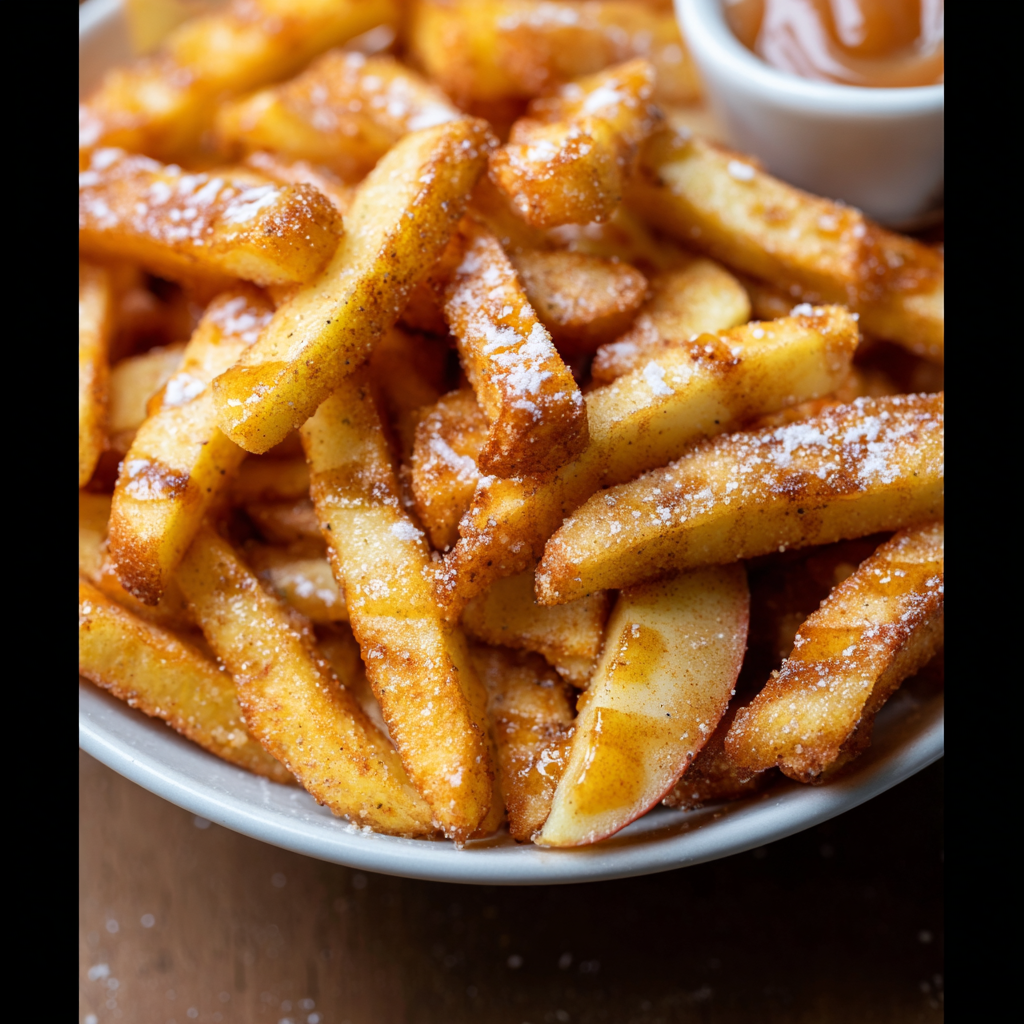
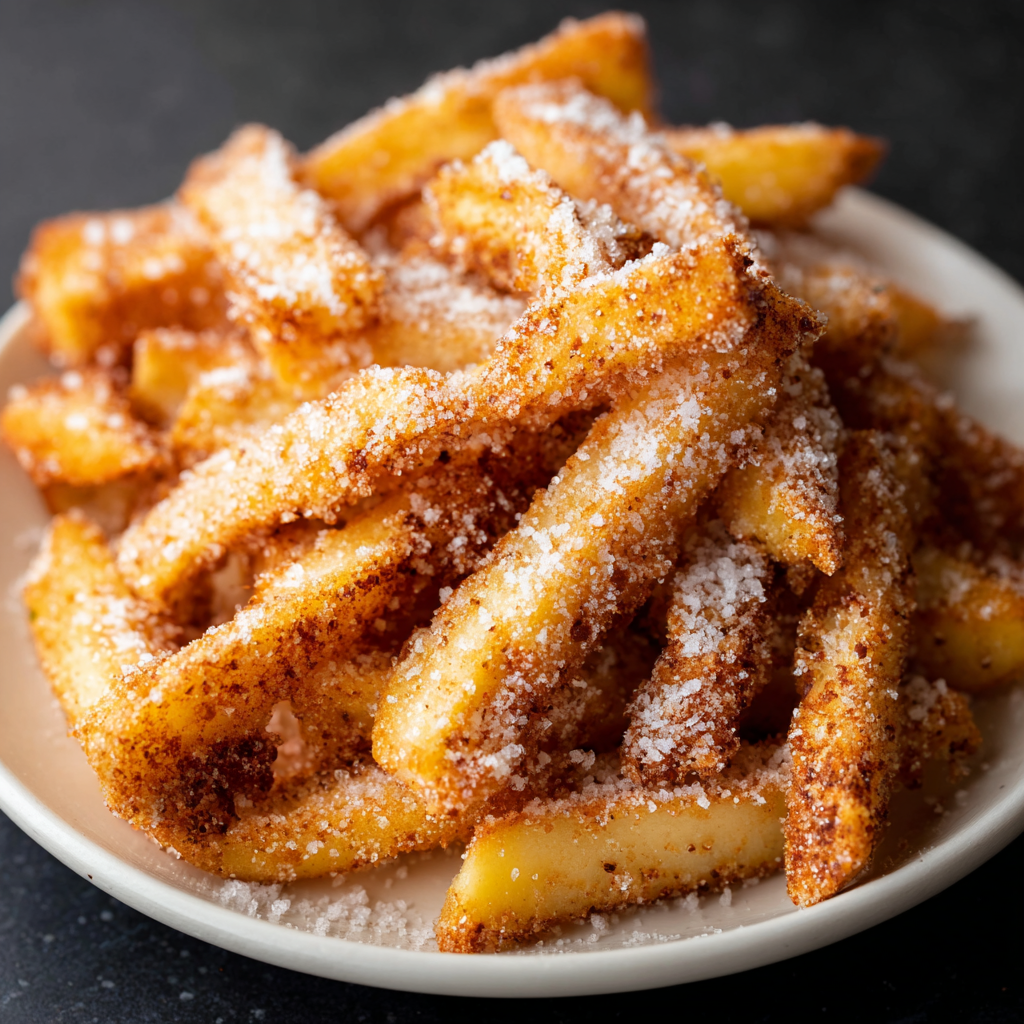
Air Fryer Apple Fries
Crispy, cinnamon-sugar coated apple fries made in the air fryer — a quick, family-friendly snack or dessert ready in under 30 minutes.
Did You Make This?
Leave a comment & rating below or tag @solushcooks on social media!
Rate This Recipe
Share This Recipe
Enjoyed this recipe? Share it with friends and family, and don't forget to leave a review!
Comments (1)
This recipe looks amazing! Can't wait to try it.
Comments are stored locally in your browser. Server comments are displayed alongside your local comments.

Hi, I'm Lena!
What's Popular
30-Minute Meals!
Join to receive our email series which contains a round-up of some of our quick and easy family favorite recipes.