
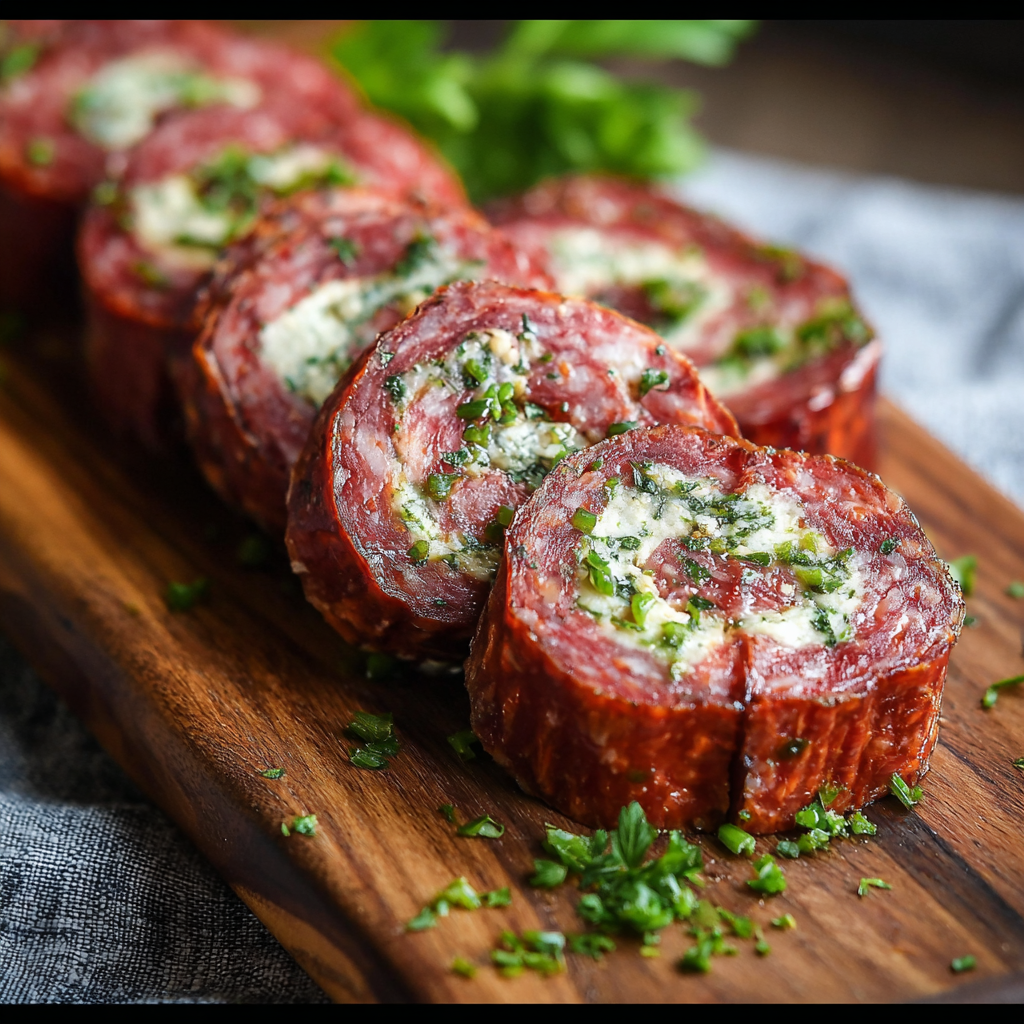
Keto Salami Rolls

Quick, keto-friendly salami rolls filled with creamy seasoned cheese and crunchy dill pickles — an effortless low-carb snack or party bite ready in minutes.

This recipe began as a busy-weeknight rescue and quickly became my go-to party trick. I discovered these rolls one evening when I had a craving for something salty and satisfying but needed to keep carbs minimal; the result was so simple and addictive that friends began asking for the recipe. The contrast between the silky, tangy cream cheese filling and the slightly chewy, savory Genoa salami creates an elegant bite that feels special even though it takes minutes to assemble. I love how each roll combines creamy texture, bright pickle crunch, and a whisper of herbs, making it feel like an elevated snack rather than a rushed convenience dish.
They've shown up at holiday gatherings, late-night snack plates, and as quick additions to weekday lunches. The portability and low-carb profile mean they travel well for potlucks, and the filling can be made ahead so assembly is a breeze on entertaining day. These rolls have a small footprint in the fridge but a big return in compliments — everyone asks how something so effortless can taste so thoughtful.
Why You'll Love This Recipe
- Makes a perfect low-carb finger food that’s naturally keto-friendly and ready in about 15–20 minutes, including chilling time.
- Uses pantry staples: Genoa or hard salami, cream cheese, dill pickles and a pinch of seasoning — no specialty shopping required.
- Highly adaptable: make it spicy, herb-forward or smoky by switching seasonings or pickles; works as whole rolls or sliced pinwheels for parties.
- Make-ahead friendly: the filling can be mixed hours in advance; assemble just before serving to keep salami edges neat and firm.
- Great for crowds: one batch yields 8 substantial rolls or more pinwheels, and doubling the recipe is easy and quick.
On my first try I made the filling in the morning, stored it in a piping bag, and assembled rolls at the office party — they vanished within ten minutes. Family members who normally avoid cold cuts loved the cream cheese balance, and I discovered that a tiny sprinkle of smoked paprika elevates the savory notes without adding carbs.
Ingredients
- Genoa or hard salami (8 slices): Choose medium-thickness slices so they roll easily without tearing; look for nitrate-free brands if possible for cleaner flavor.
- Cream cheese (4 oz, softened): Full-fat, room-temperature cream cheese gives the best texture and mouthfeel; Philadelphia brand or similar works reliably.
- Dill pickles (2 tablespoons, finely diced): Use crisp dill pickles, drain and pat dry to avoid thinning the filling — the pickle adds brightness and crunch.
- Green onions (1 tablespoon, chopped, optional): Adds mild oniony freshness; substitute chives if you prefer a subtler allium note.
- Garlic powder or Italian seasoning (1 teaspoon): Choose one based on preference — garlic powder for a punch, Italian seasoning for herbaceous warmth.
- Toothpicks (optional): Useful to secure rolls for transport or serving; wooden picks are fine and easy to remove before eating.
Instructions
Prepare the filling: In a small bowl, beat 4 ounces of softened cream cheese until smooth. Add 2 tablespoons finely diced dill pickles (pat them dry first), 1 tablespoon chopped green onion if using, and 1 teaspoon garlic powder or Italian seasoning. Mix until fully combined and creamy, tasting to adjust seasoning. The goal is a spreadable texture that holds its shape — if it feels too soft chill briefly for 5–10 minutes. Lay out and portion: Place 8 salami slices flat on a sheet of parchment paper or a clean board. Use medium-thickness slices so they roll without splitting. Using a small spoon or piping bag, place about 1 teaspoon of the cream cheese mixture in a thin line toward one edge of each slice, leaving a narrow border of about 1/4 inch so the filling won’t squeeze out when rolled. Roll tightly: Starting from the filled edge, roll each slice firmly but gently until you reach the other side. Apply steady pressure with your fingers to compact the roll — this makes the texture cohesive and helps the pinwheels hold when sliced. If a roll feels loose, press the seam side down on the board for a few seconds to seal. Secure and chill: If you need to transport or want clean slices, secure each roll with a toothpick. Arrange them seam-side down on a tray and chill in the refrigerator for at least 15 minutes; chilling firms the filling and allows cleaner pinwheel slices. For best slicing, chill 30 minutes when possible. Serve whole or slice: Serve each roll whole as a hand-held appetizer, or for gatherings slice crosswise into 1/2-inch pinwheels using a sharp knife. Wiping the knife between cuts gives tidier edges. Keep chilled until serving to maintain texture and prevent the salami from becoming greasy at room temperature.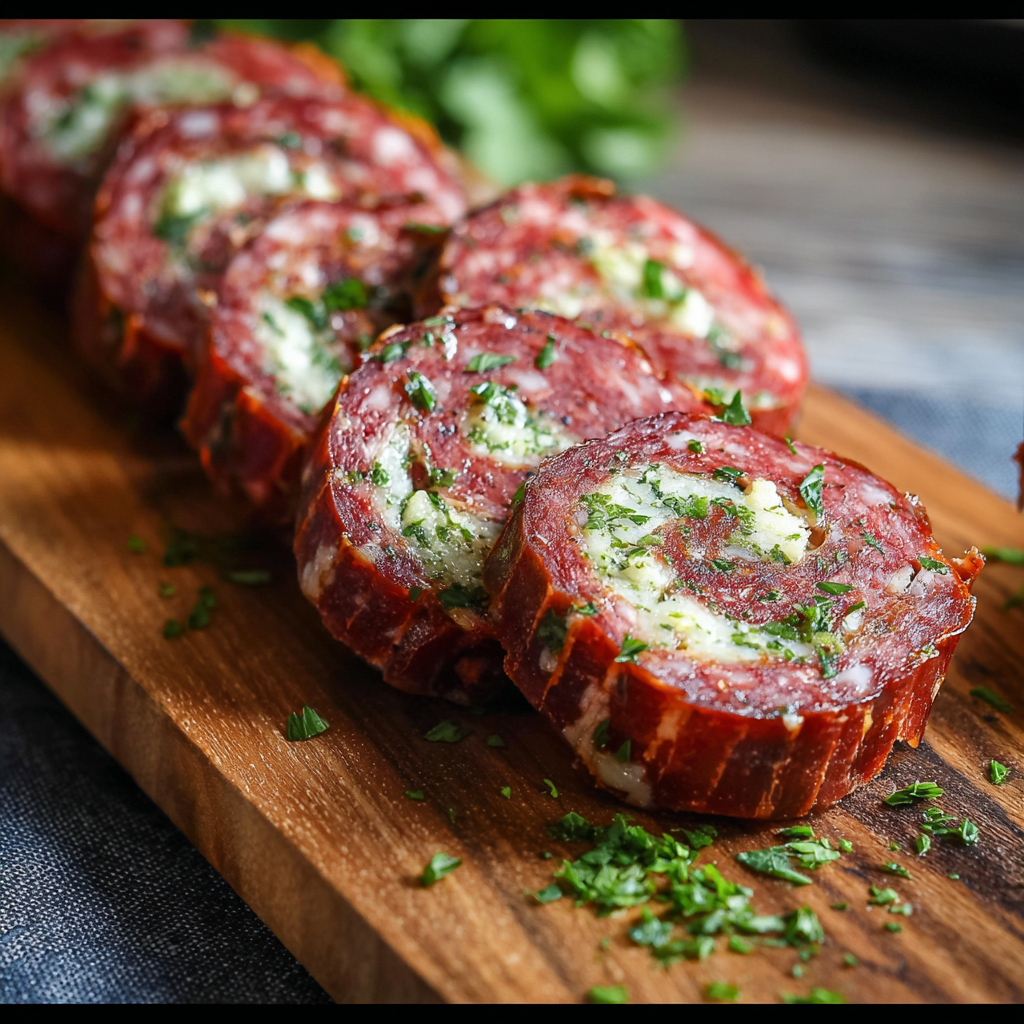
You Must Know
- These are high in fat and protein and very low in carbohydrates — ideal for ketogenic eating and quick satiety.
- Store covered in the refrigerator for up to 48 hours for best texture; ideal for same-day serving but stable for short-term prep.
- Because the filling contains dairy and pork, note allergen sensitivities for guests and label accordingly.
- Pickles must be patted dry to prevent watery filling; excess moisture is the most common reason pinwheels become soggy.
My favorite part is watching skeptical guests try one and then tuck back for seconds — it happens every time. The contrast of cool creaminess and salty salami feels luxurious, and the recipe’s simplicity allows small tweaks (smoked paprika, hot sauce, or dill) to personalize flavors without complex technique.
Storage Tips
Keep assembled rolls in an airtight container lined with parchment to prevent sticking; refrigerate and use within 48 hours for optimal texture. For longer storage, do not freeze assembled rolls — cream cheese becomes grainy when frozen and thawed. Instead, freeze the filling in a sealed bag for up to 1 month; thaw in the fridge, stir gently, then assemble with fresh salami. When reheating is desired, these are best served cold or at room temperature — warm cream cheese alters the texture and release oils from the salami.
Ingredient Substitutions
Swap cream cheese for a dairy-free spread to make a lactose-free version, but expect a slightly looser texture; firm the mixture by chilling longer. Replace Genoa salami with hard salami or prosciutto slices for variations in salt and fat content — prosciutto will be more delicate and slightly sweeter. For a spicier bite use pepperoni or soppressata; for more herb aroma, add finely chopped fresh dill or 1/2 teaspoon smoked paprika. If pickles aren’t available, use minced pepperoncini for tang and heat.
Serving Suggestions
Serve these as part of a grazing board with olives, cheese cubes, and raw vegetables for color and crunch. Garnish pinwheels with tiny sprigs of dill or a light sprinkle of cracked black pepper. For a brunch spread, pair with deviled eggs and an assortment of low-carb crackers. They also make a sharp contrast when plated alongside a fresh green salad — the rolls provide richness while the salad adds bright acidity and texture balance.
Cultural Background
Thinly sliced cured meats rolled around fillings have long been part of European antipasti traditions, where cured pork products are paired with cheeses, pickles and herbs. This preparation draws inspiration from classic Italian antipasti but adapts to modern low-carb eating by replacing bread or crostini with the salami wrapper. The concept is simple — celebrate cured-meat flavor with creamy, acidic fillings — and it translates across cuisines with regional ingredients.
Seasonal Adaptations
In summer, swap green onion for fresh chives and use cornichons or seasonal pickled vegetables for brightness. During winter, incorporate a pinch of warm spices like smoked paprika and replace dill pickles with roasted pepper strips for a heartier flavor. For holiday platters, use festive toothpicks or garnish with rosemary sprigs. These small seasonal swaps make the same technique feel entirely new across the year.
Meal Prep Tips
Mix the filling up to 24 hours ahead and keep it chilled in a sealed container; transfer to a piping bag or resealable bag with the tip cut off for fast assembly. Portion salami slices on a parchment-lined tray so assembly is assembly-line quick at serving time. If transporting, secure each roll with a toothpick and pack them seam-side down in a single layer to prevent unrolling. For office lunches, include a small container of extra pickles on the side to refresh the texture.
These little rolls prove that thoughtful food doesn’t require elaborate technique — just good ingredients and a few smart steps. I hope they become one of your quick-serve favorites for gatherings or easy weeknight bites.
Pro Tips
Pat pickles very dry before adding to the filling to prevent sogginess.
Chill assembled rolls for at least 15 minutes for cleaner pinwheel slices.
Use a sharp knife and wipe between cuts to get tidy pinwheel rounds.
Make the filling ahead and pipe it into slices to speed assembly at serving time.
This nourishing keto salami rolls recipe is sure to be a staple in your kitchen. Enjoy every moist, high protein slice — it is perfect for breakfast or as a wholesome snack any time.
Tags
Keto Salami Rolls
This Keto Salami Rolls recipe makes perfectly juicy, tender, and flavorful steak every time! Serve with potatoes and a side salad for an unforgettable dinner in under 30 minutes.
Instructions
Prepare the filling
Beat 4 ounces softened cream cheese in a small bowl until smooth. Fold in 2 tablespoons finely diced, drained dill pickles, 1 tablespoon chopped green onion if using, and 1 teaspoon garlic powder or Italian seasoning. Adjust seasoning and chill briefly if needed for firmness.
Lay out salami and portion
Place 8 salami slices flat on parchment. Spoon or pipe about 1 teaspoon of the filling onto each slice near one edge, leaving a 1/4-inch clean border to prevent overflow when rolling.
Roll tightly
Starting at the filled edge, roll each slice firmly to the other side, pressing gently to compact the roll. Place seam-side down on a tray to help seal.
Secure and chill
If needed, secure rolls with toothpicks. Chill in the refrigerator for at least 15 minutes (30 minutes preferred) to firm the filling and make slicing cleaner.
Serve whole or slice
Serve rolls whole as hand-held bites or slice into 1/2-inch pinwheels with a sharp knife, wiping the blade between cuts for tidy presentation.
Last Step: Please leave a rating and comment letting us know how you liked this recipe! This helps our business to thrive and continue providing free, high-quality recipes for you.
Nutrition
Did You Make This?
Leave a comment & rating below or tag
@solushcooks on social media!
Categories:
You might also like...
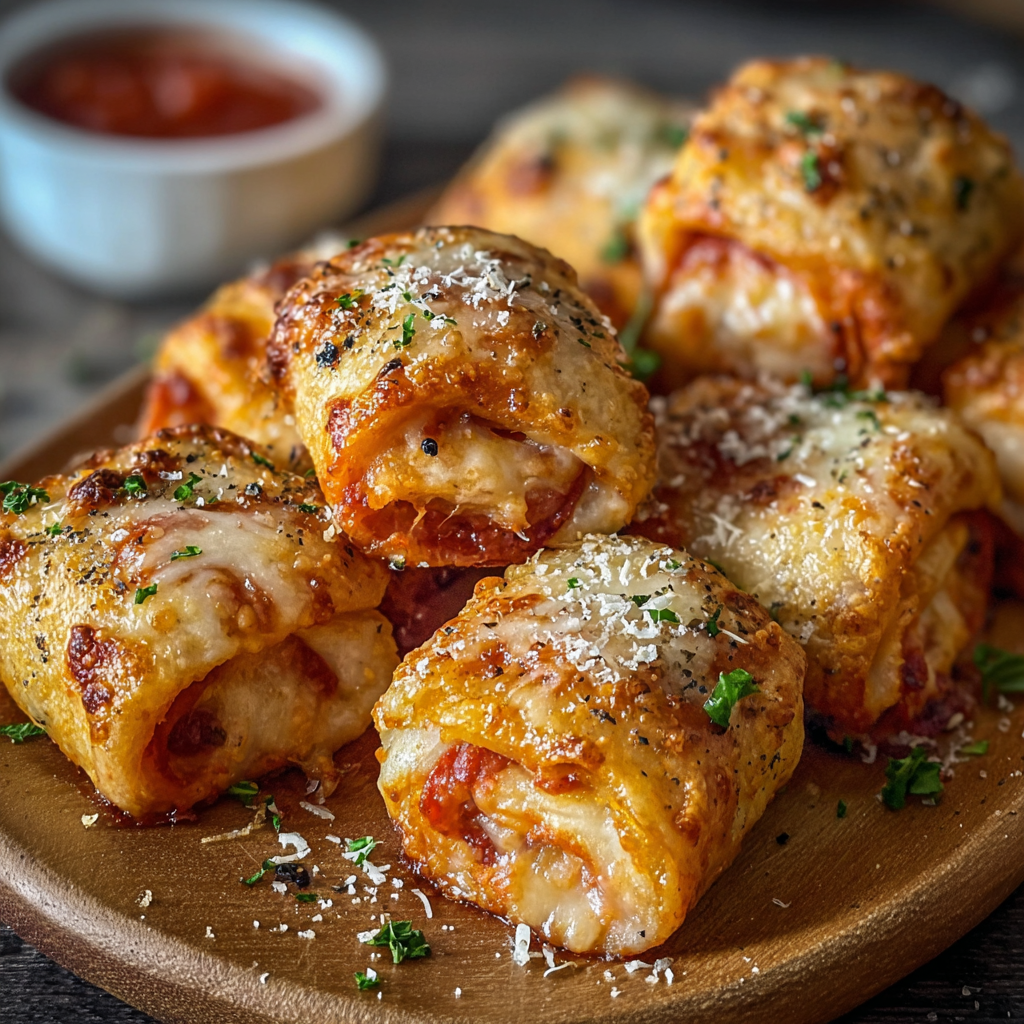
Air-Fried Pizza Rolls
Crispy, golden pockets of melted mozzarella and pepperoni made in the air fryer for a quick party snack or weeknight treat.
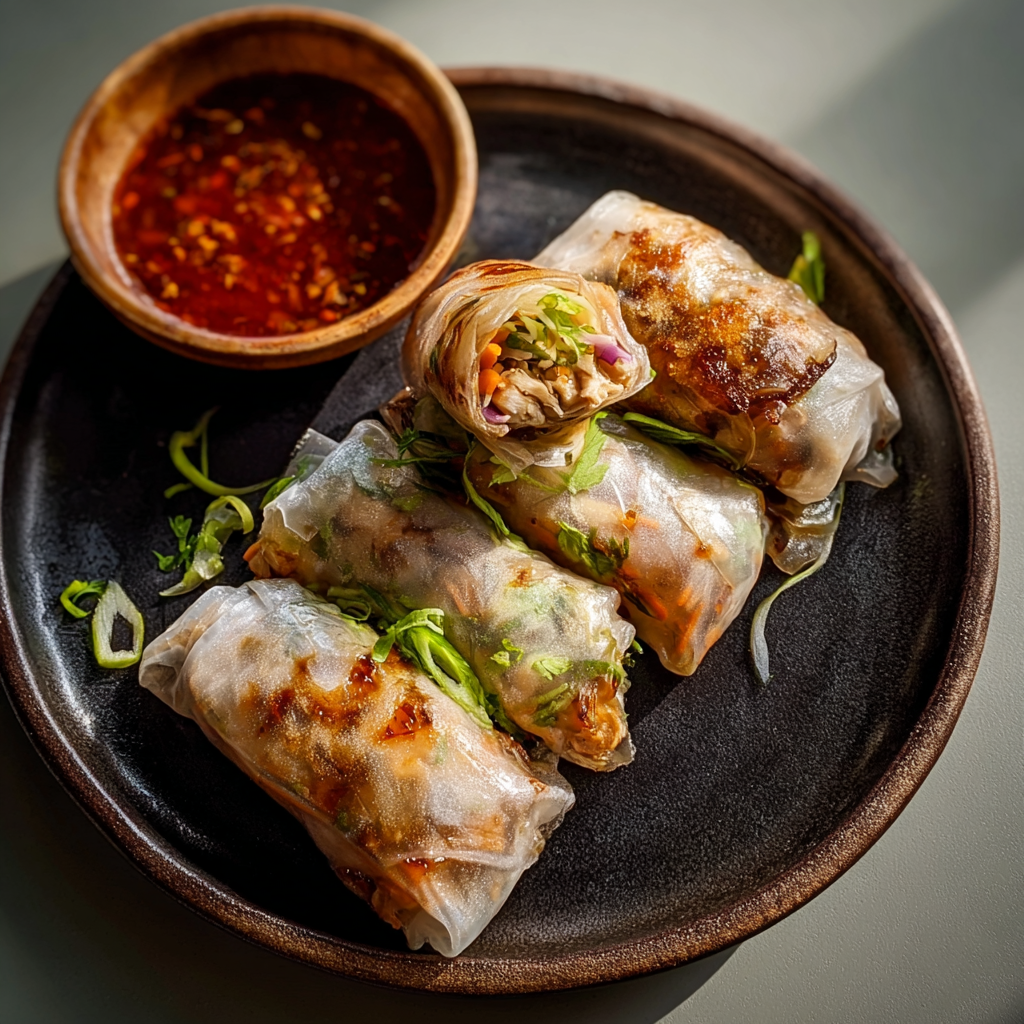
Air-Fried Rice Paper Noodle Rolls
Crispy, light rice paper rolls filled with vermicelli, vegetables and tofu or shrimp, finished in the air fryer for a healthy, snackable treat.
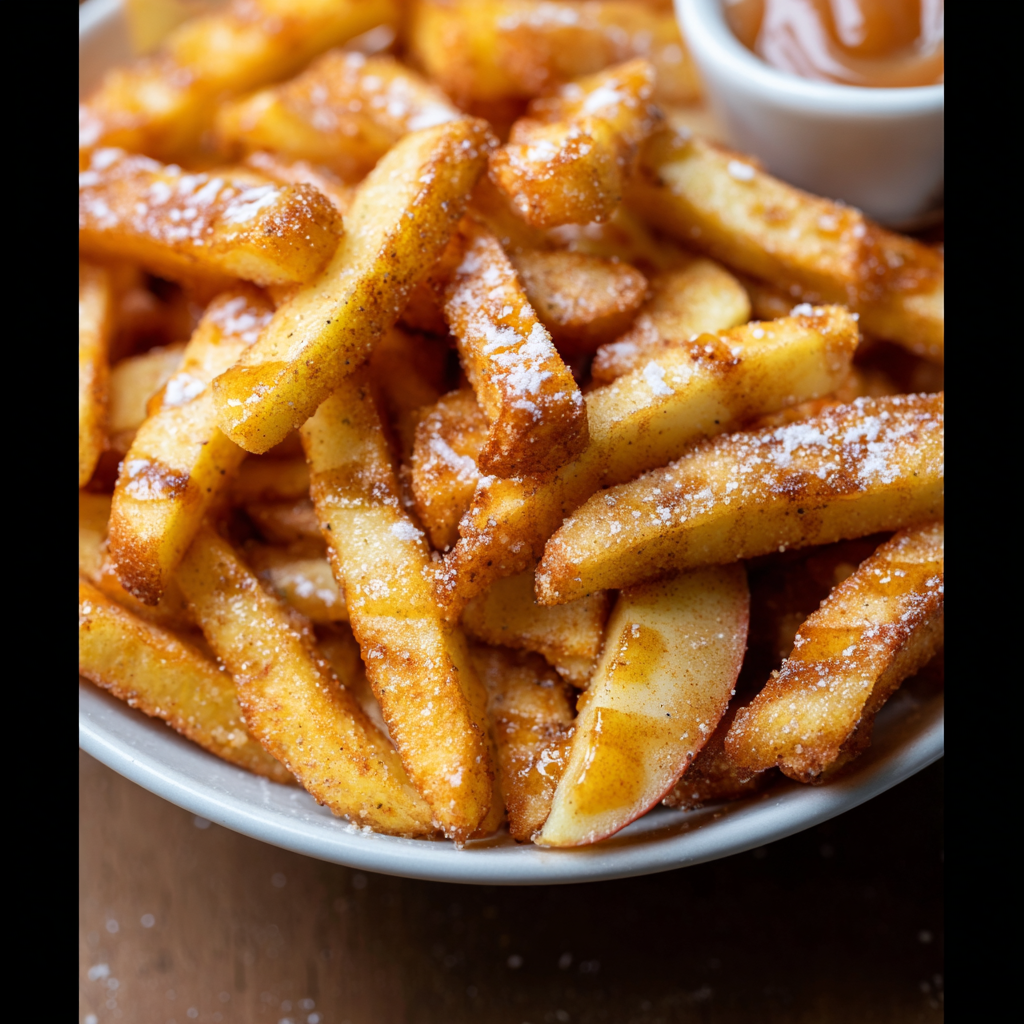
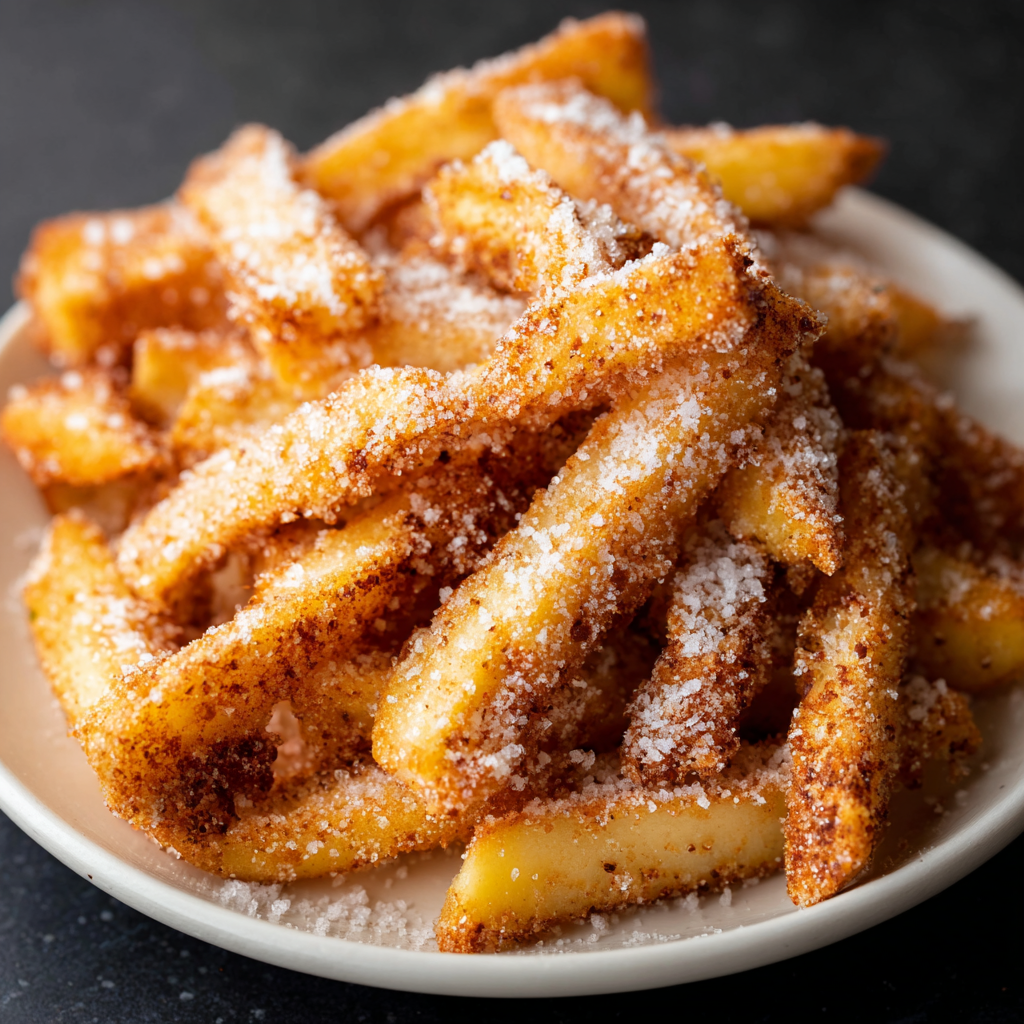
Air Fryer Apple Fries
Crispy, cinnamon-sugar coated apple fries made in the air fryer — a quick, family-friendly snack or dessert ready in under 30 minutes.
Did You Make This?
Leave a comment & rating below or tag @solushcooks on social media!
Rate This Recipe
Share This Recipe
Enjoyed this recipe? Share it with friends and family, and don't forget to leave a review!
Comments (1)
This recipe looks amazing! Can't wait to try it.
Comments are stored locally in your browser. Server comments are displayed alongside your local comments.

Hi, I'm Lena!
What's Popular
30-Minute Meals!
Join to receive our email series which contains a round-up of some of our quick and easy family favorite recipes.