
No Knead Gluten Free Bread

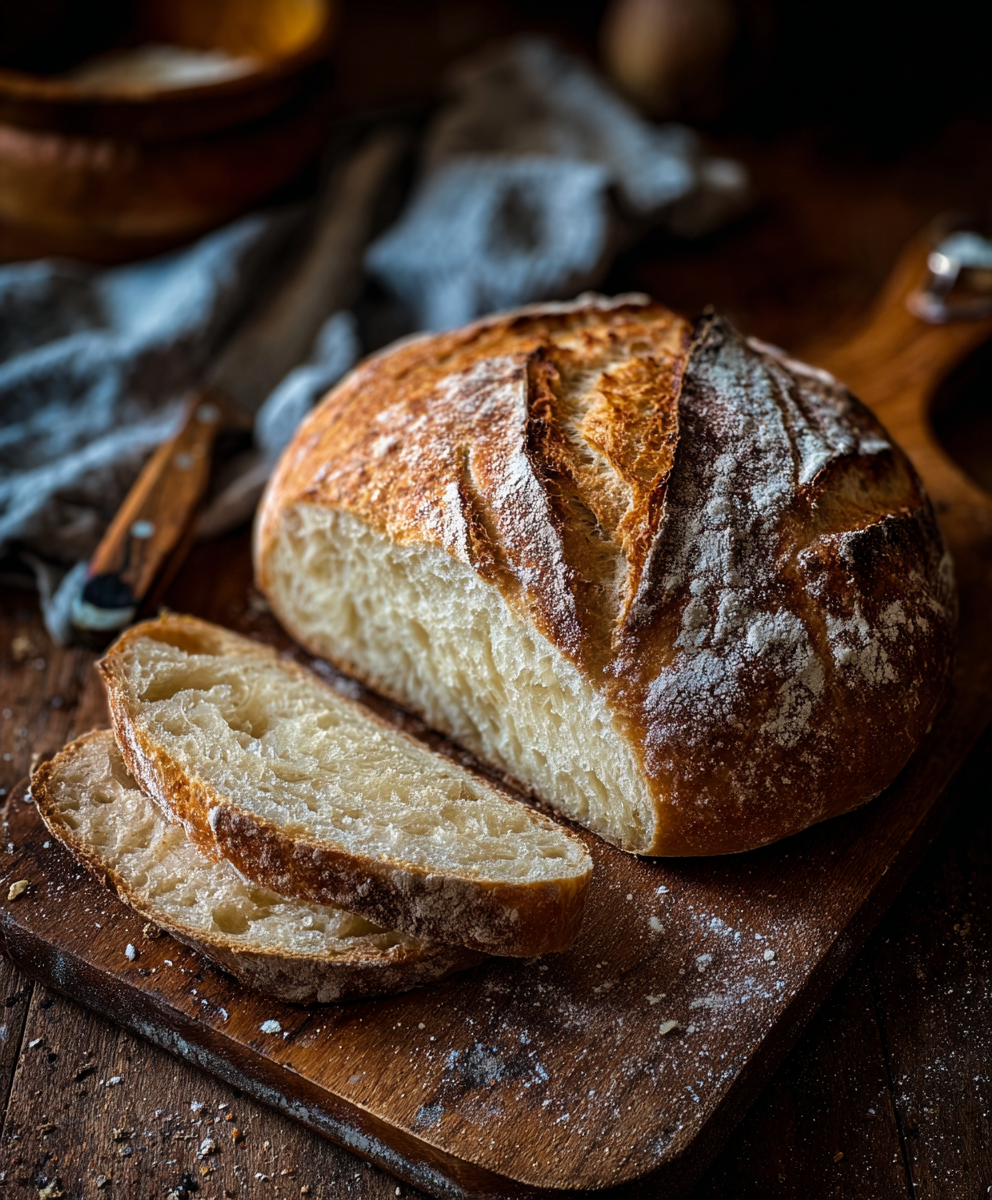
A simple no knead gluten free loaf that yields a golden crust and tender crumb using pantry staples and minimal effort.

This no knead gluten free loaf became my quiet kitchen victory on a weekday evening when I wanted fresh bread without the fuss. I discovered the balance of a sticky, forgiving dough and a patient long rest after many failed loaves that were either too dense or crumbly. This version uses a reliable gluten free all purpose flour blend, a touch of sugar to feed the yeast, and warm water to coax an airy structure. The result is a rustic loaf with a crisp crust and soft interior that holds sandwich fillings and toast toppings equally well.
What makes this recipe special is how little hands on time it asks for, while delivering the comfort of homemade bread. I first tested it the week a neighbor dropped off a jar of wildflower honey and a stash of gluten free flour. The aroma that filled the kitchen as it baked drew everyone to the counter. My partner, who had sworn off baking at home, sliced the warm loaf and declared it restaurant worthy. The texture is light enough to please picky eaters, yet sturdy enough for a hearty breakfast sandwich.
Why You'll Love This Recipe
- This loaf needs only about 10 to 15 minutes of active work, making it ideal for busy mornings or last minute plans.
- Pantry friendly ingredients mean you can keep everything on hand and bake fresh bread whenever you like.
- The method eliminates kneading so it is beginner friendly and forgiving for first time bakers.
- Ready to bake after a single rise of about 2 to 3 hours at room temperature or longer in the fridge for more depth of flavor.
- Versatile profile works with sweet or savory toppings and adapts easily if you want to add seeds or herbs.
- Suitable for families and makes an attractive loaf for casual gatherings without a lot of effort.
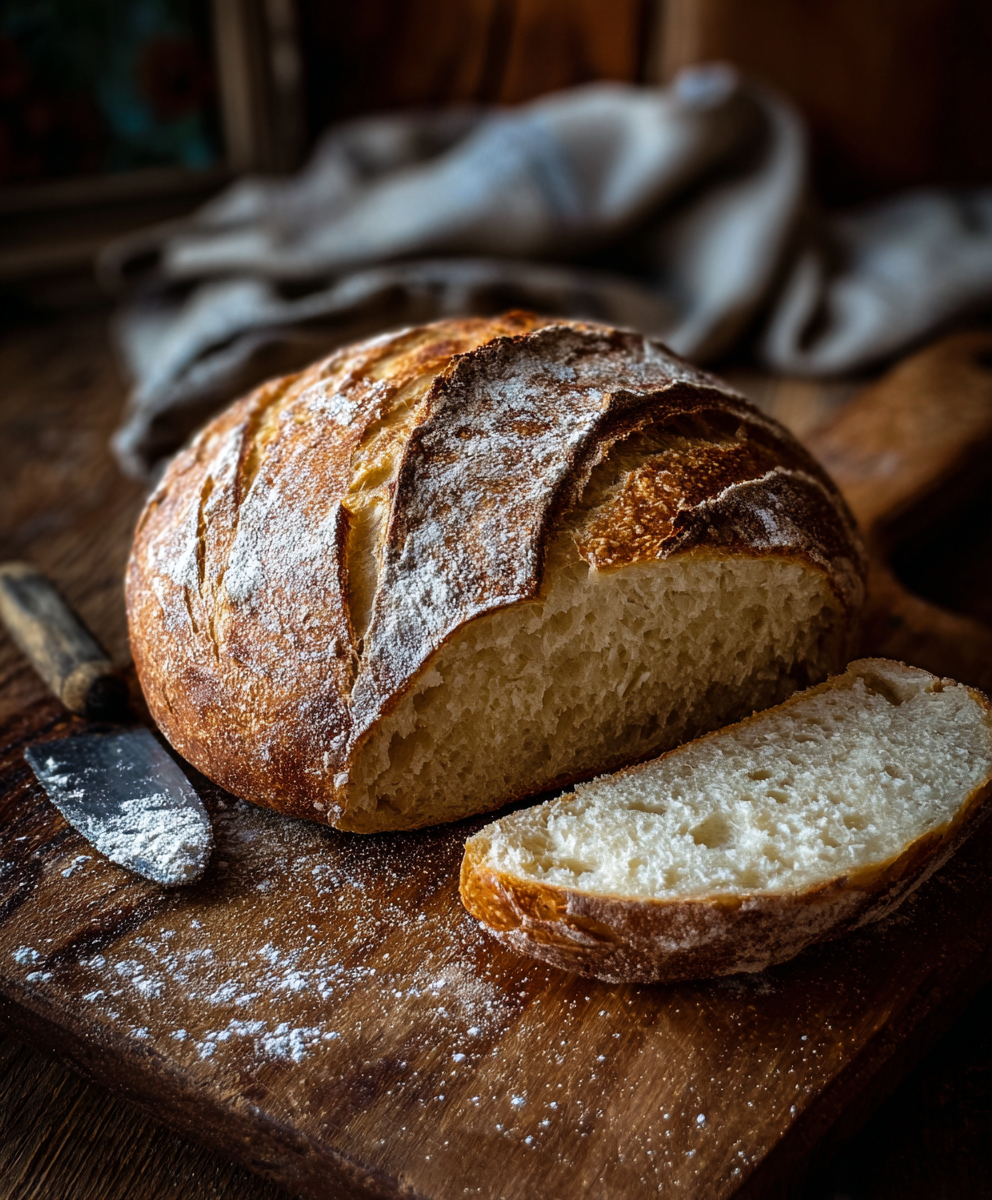
In my home this loaf became a staple for weekend breakfasts and late night toast emergencies. Guests often comment on the thin crisp crust and the moist tender interior. A small drizzle of olive oil while still warm elevates it to something memorable. I love how forgiving the dough is, which lets me focus on pairing it with things I already have in the fridge.
Ingredients
- Gluten free all purpose flour, 2 cups: Use a blend that contains xanthan gum or add 1 teaspoon if your mix does not have it. Bob s Red Mill and King Arthur both make reliable blends. A blend with rice and tapioca yields a light crumb.
- Salt, 1 teaspoon: Fine sea salt or table salt are both fine. Salt controls fermentation and enhances flavor, so do not skip it.
- Instant yeast, 1 teaspoon: One packet of instant yeast will work. Instant yeast can be mixed directly into the dry ingredients and does not require proofing.
- Sugar or honey, 1 tablespoon: This small amount helps the yeast wake up and improves browning. Use regular granulated sugar for a vegan friendly loaf, or honey for floral notes.
- Warm water, 1 and 1 1 2 cups: Aim for about 105 to 115 degrees Fahrenheit for warm water that encourages gentle yeast activation without killing it.
- Olive oil, 1 tablespoon: Optional for added flavor and softer crumb. Use extra virgin for a fruitier note or a mild oil for a neutral profile.
Instructions
Mix the Dry Ingredients:In a large mixing bowl whisk together 2 cups gluten free all purpose flour, 1 teaspoon salt, 1 teaspoon instant yeast and 1 tablespoon sugar or honey if using sugar add it to the dry mix and if using honey add it to the wet ingredients This ensures even distribution of salt and yeast. If your flour does not contain xanthan gum add 1 teaspoon now and whisk to disperse.Add the Wet Ingredients:Pour 1 and 1 2 cups warm water and 1 tablespoon olive oil into the dry ingredients. Use a wooden spoon or sturdy spatula to mix until a sticky, wet dough forms. Scrape the sides and bottom of the bowl so there are no dry pockets. The dough will look loose and tacky, that is correct and will yield an open crumb after resting.First Rise:Cover the bowl with plastic wrap or a clean towel and let rest at room temperature for 2 to 3 hours until the surface has bubbles and the dough has grown in size. For a deeper flavor refrigerate the covered dough overnight and bring back to room temperature before shaping. Avoid drafts and extremes of temperature to keep fermentation even.Shape the Dough:Generously flour a work surface with additional gluten free flour. Turn the dough onto the surface using a spatula. With floured hands quickly shape it into a round loaf by tucking edges under a few times to create surface tension. The dough will remain sticky, do not overwork it which can cause crumbliness.Prepare for Baking:Place the shaped loaf on a piece of parchment paper set inside a bowl or proofing basket dusted with flour. Cover and let rise 30 to 45 minutes while you preheat your oven to 450 degrees Fahrenheit. Place a heavy lidded pot such as a Dutch oven in the oven while it preheats so it becomes very hot. This trapped steam helps develop a crisp crust.Bake the Bread:Carefully remove the preheated pot from the oven remove the lid and lift the parchment with the dough into the pot Cover and bake 20 minutes then remove the lid and bake another 20 to 25 minutes until the crust is deeply golden and the internal temperature reaches 200 degrees Fahrenheit. If you do not have a lidded pot bake on a preheated baking stone and add a tray of hot water to the bottom of the oven for steam.Cool and Enjoy:Transfer the loaf to a cooling rack and let rest at least 1 hour before slicing to allow the crumb to set. Slice with a serrated knife and enjoy warm with butter or use for sandwiches Cover leftovers in a breathable cloth bag to preserve the crust.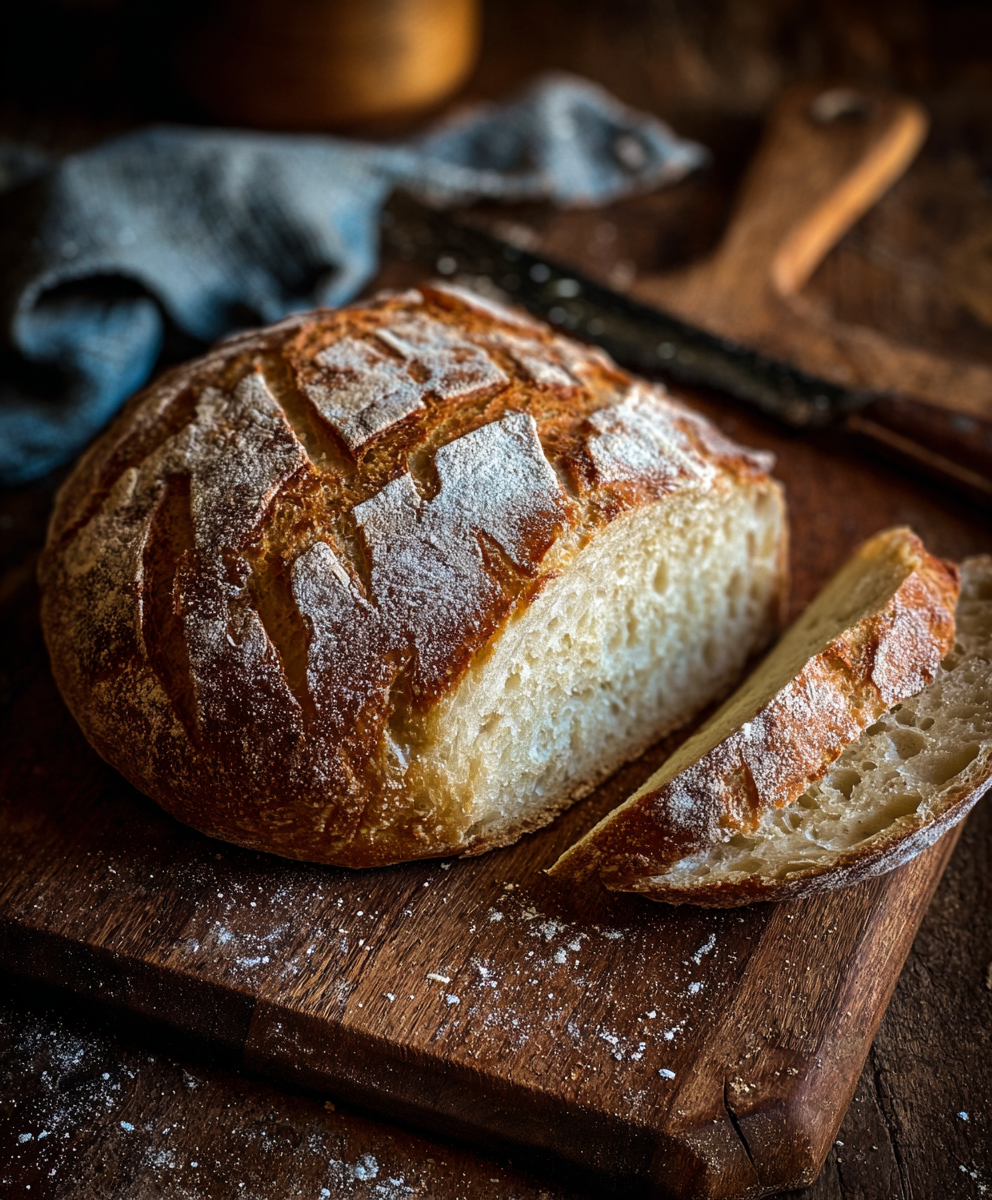
You Must Know
- This loaf stores well at room temperature for up to 2 days in a bread box or cloth bag maintaining crust and texture.
- It freezes beautifully for up to 3 months wrapped tightly and placed in an airtight bag for later toasting or thawing.
- Using hot lidded baking creates steam which is essential for a thin crisp exterior followed by a tender crumb.
- Because gluten free flour mixes vary you may need to adjust water by 1 to 2 tablespoons to achieve a tacky, not dry, dough.
- Allow at least one hour of cooling so the crumb finishes setting, cutting too soon results in gummy texture.
I love how this loaf turned awkward kitchen moments into a friendly ritual of patience and reward. Family members who once hesitated about gluten free bread now reach for slices first. The simple method lets me experiment with add ins and the basic approach remains reliable. It demonstrates that thoughtful technique outweighs complicated steps when baking without gluten.
Storage Tips
For short term storage keep the loaf at room temperature in a cloth bread bag or wrapped in a clean tea towel to preserve the crust for up to 48 hours Refrigerate only when your kitchen is hot for long periods as refrigeration tends to dry bread quickly For longer storage slice the loaf and place slices in an airtight freezer bag remove as much air as possible then freeze for up to 3 months When ready to use toast slices straight from frozen or thaw at room temperature and warm in a 350 degree Fahrenheit oven for 10 minutes to revive the crust.
Ingredient Substitutions
If you prefer not to use honey swap it for 1 tablespoon granulated sugar for a vegan friendly loaf For a richer crumb replace 1 tablespoon of water with 1 tablespoon nondairy milk or regular milk if you tolerate dairy To add structure consider a supplemental 1 teaspoon flaxseed meal mixed with 3 tablespoons water set aside for 5 minutes then added to the wet ingredients For seed or nut additions add up to 1 third cup total folded in gently after the first rise Expect the crumb to be slightly denser with heavy add ins.
Serving Suggestions
This loaf is excellent split and toasted with olive oil and a pinch of flaky salt for a simple snack For breakfast top slices with ricotta and honey or smashed avocado and lemon for bright contrast Use thicker slices for sturdy sandwiches with roasted vegetables or grilled cheese The mild flavor makes it a versatile partner at brunch or soup night I like pairing it with a warm bowl of tomato based stew which highlights the crust texture and soaks up flavors nicely.
Cultural Background
The practice of long fermentation and steam assisted baking dates back centuries across many baking traditions This no knead approach owes its popularity to modern home bakers seeking less labor intensive methods while still achieving artisan style results Gluten free baking itself has evolved through modern milling and ingredient blends designed to mimic the structure that gluten provides Today this loaf blends traditional steam baking technique with contemporary gluten free blends resulting in a bread that honors both past and present approaches to simple home baking.
Seasonal Adaptations
In spring and summer add chopped fresh herbs and a teaspoon of lemon zest for a bright loaf ideal for light meals In autumn fold in roasted garlic and 1 quarter cup pumpkin seeds for a toasty note For winter celebrations add a tablespoon of warm spices and a quarter cup dried cranberries for a festive sweet loaf Adjust hydration slightly for heavy add ins and extend baking by 5 to 10 minutes for larger inclusions to ensure a fully set crumb.
Meal Prep Tips
Make the dough the night before and refrigerate it covered for an easy morning bake Bring the dough to room temperature then shape and bake for fresh bread with minimal morning effort To serve for lunches slice and freeze portions in individual sandwich sizes This makes assembling lunches fast and avoids day to day waste Toast straight from frozen or thaw and warm in a toaster oven for best texture.
This loaf has become a small ritual in our household, a reminder that fresh bread can be simple, nourishing, and shared with people you love. I hope you make it your own and discover small moments of joy when the oven door opens and the aroma fills the room.
Pro Tips
If your flour blend lacks xanthan gum add 1 teaspoon to improve structure
Allow the loaf to cool at least one hour before slicing to avoid a gummy crumb
Preheat a lidded heavy pot for a crisp crust and better oven spring
Adjust water by 1 to 2 tablespoons depending on humidity and flour absorption
This nourishing no knead gluten free bread recipe is sure to be a staple in your kitchen. Enjoy every moist, high protein slice — it is perfect for breakfast or as a wholesome snack any time.
FAQs about Recipes
Can I freeze the bread?
Yes this loaf freezes well wrapped tightly in foil or an airtight bag for up to 3 months
How do I know when the loaf is fully baked?
Use a thermometer the loaf is done when the internal temperature reaches 200 degrees Fahrenheit
Tags
No Knead Gluten Free Bread
This No Knead Gluten Free Bread recipe makes perfectly juicy, tender, and flavorful steak every time! Serve with potatoes and a side salad for an unforgettable dinner in under 30 minutes.
Ingredients
Main
Instructions
Mix the Dry Ingredients
Whisk together flour salt yeast and sugar in a large bowl If your blend lacks xanthan gum add 1 teaspoon now to improve texture
Add the Wet Ingredients
Pour warm water and olive oil into the dry mix Stir until a sticky dough forms scraping the bowl to incorporate all flour
First Rise
Cover and let rest at room temperature for 2 to 3 hours until bubbly Alternatively refrigerate overnight for deeper flavor then bring to room temperature before shaping
Shape the Dough
Turn dough onto a well floured surface and quickly shape into a round by tucking edges under Place on parchment in a proofing basket or bowl
Prepare for Baking
Preheat oven to 450 degrees Fahrenheit with a lidded heavy pot inside Heat the pot until very hot then transfer the dough on parchment into the pot
Bake the Bread
Cover and bake 20 minutes then remove lid and bake 20 to 25 minutes more until deeply golden and internal temperature is 200 degrees Fahrenheit
Cool and Serve
Transfer to a rack and cool at least one hour before slicing This sets the crumb and improves texture
Last Step: Please leave a rating and comment letting us know how you liked this recipe! This helps our business to thrive and continue providing free, high-quality recipes for you.
Nutrition
Did You Make This?
Leave a comment & rating below or tag
@solushcooks on social media!
Categories:
You might also like...
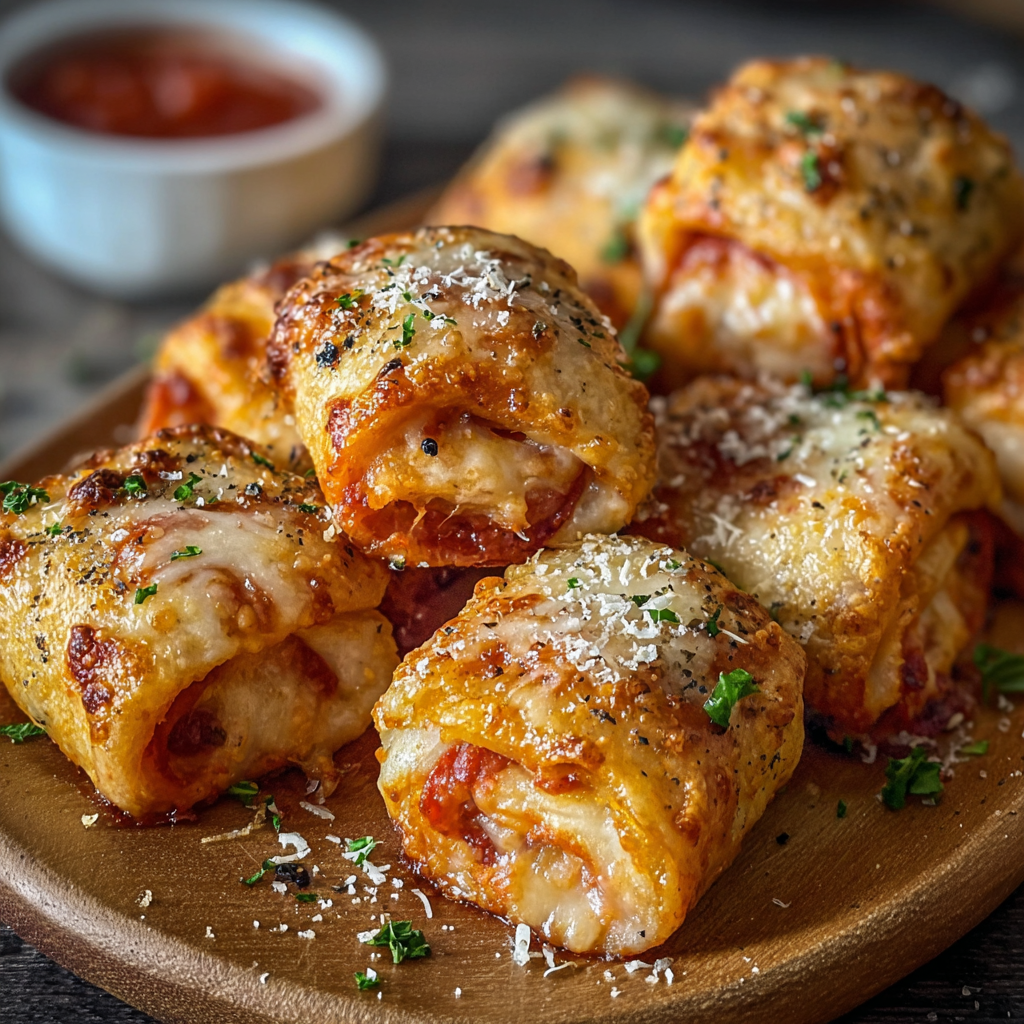
Air-Fried Pizza Rolls
Crispy, golden pockets of melted mozzarella and pepperoni made in the air fryer for a quick party snack or weeknight treat.
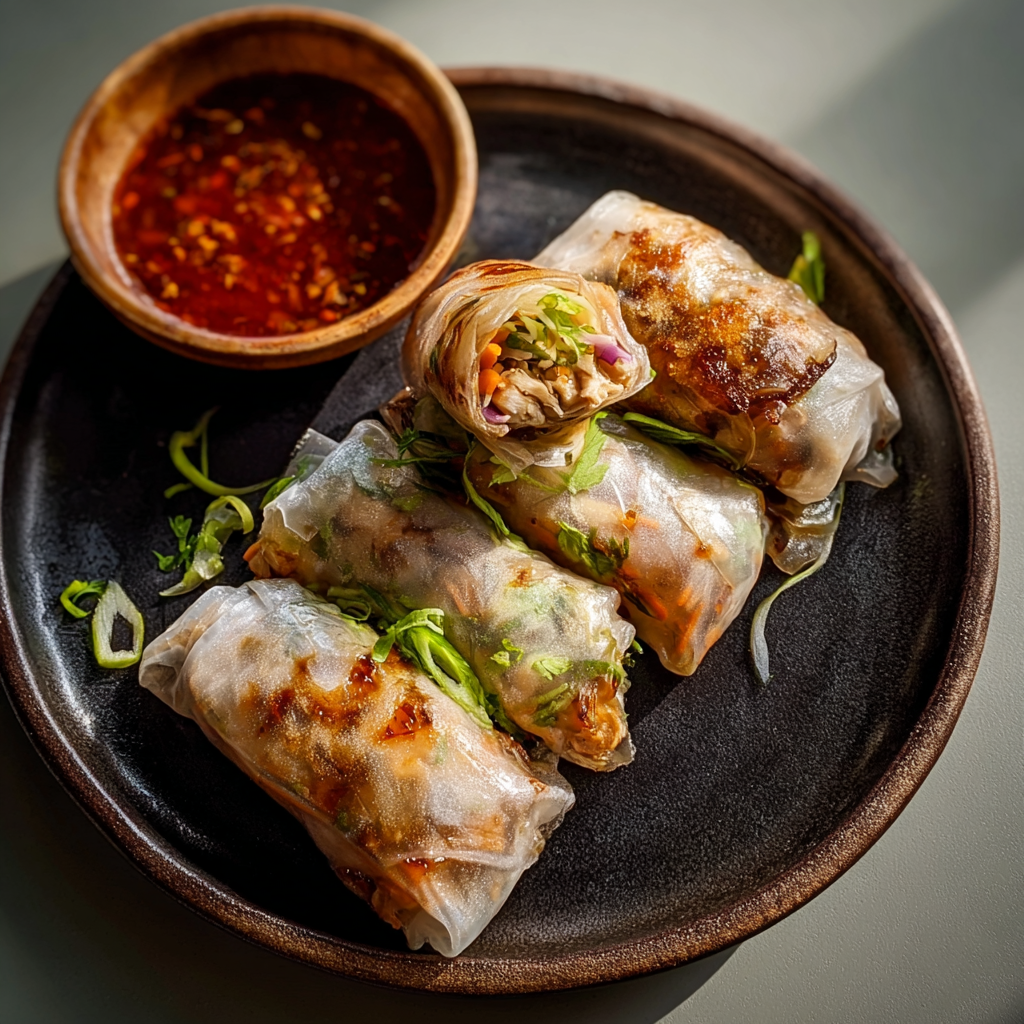
Air-Fried Rice Paper Noodle Rolls
Crispy, light rice paper rolls filled with vermicelli, vegetables and tofu or shrimp, finished in the air fryer for a healthy, snackable treat.
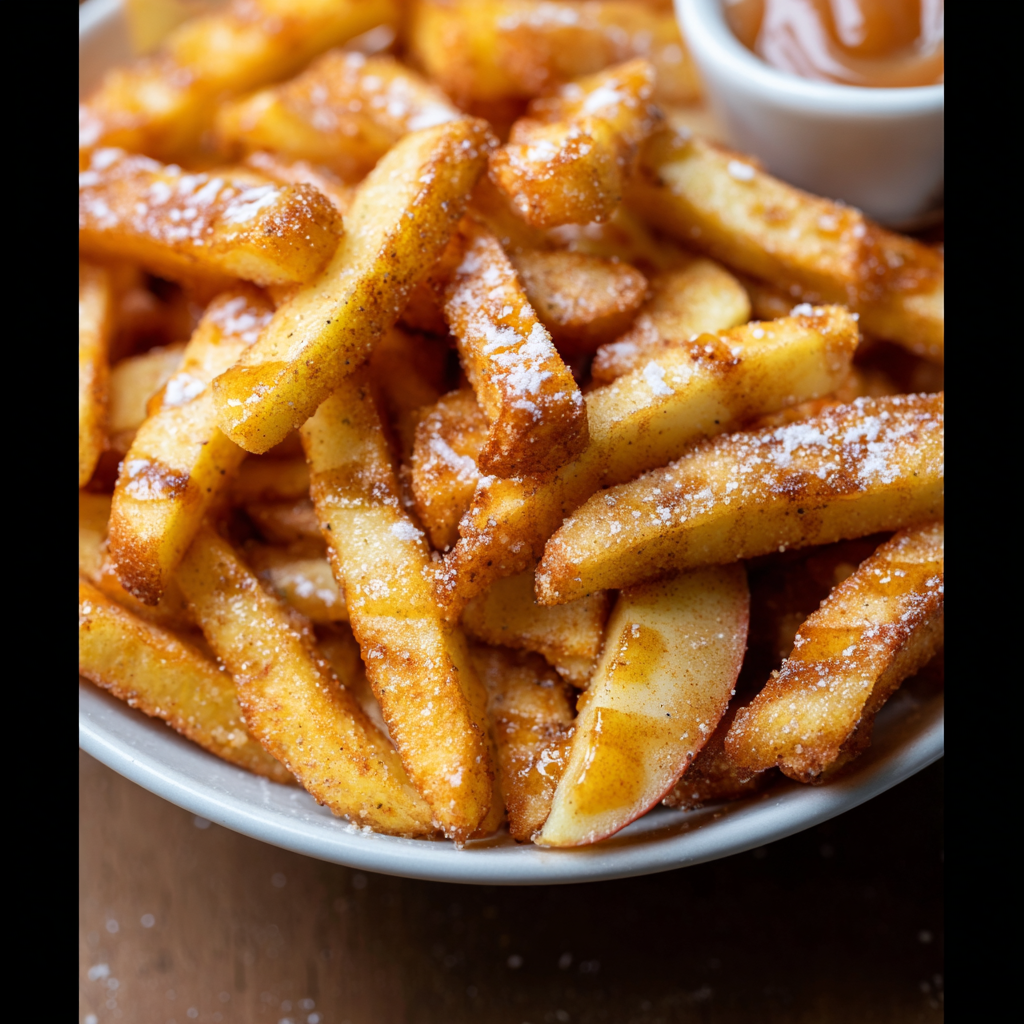
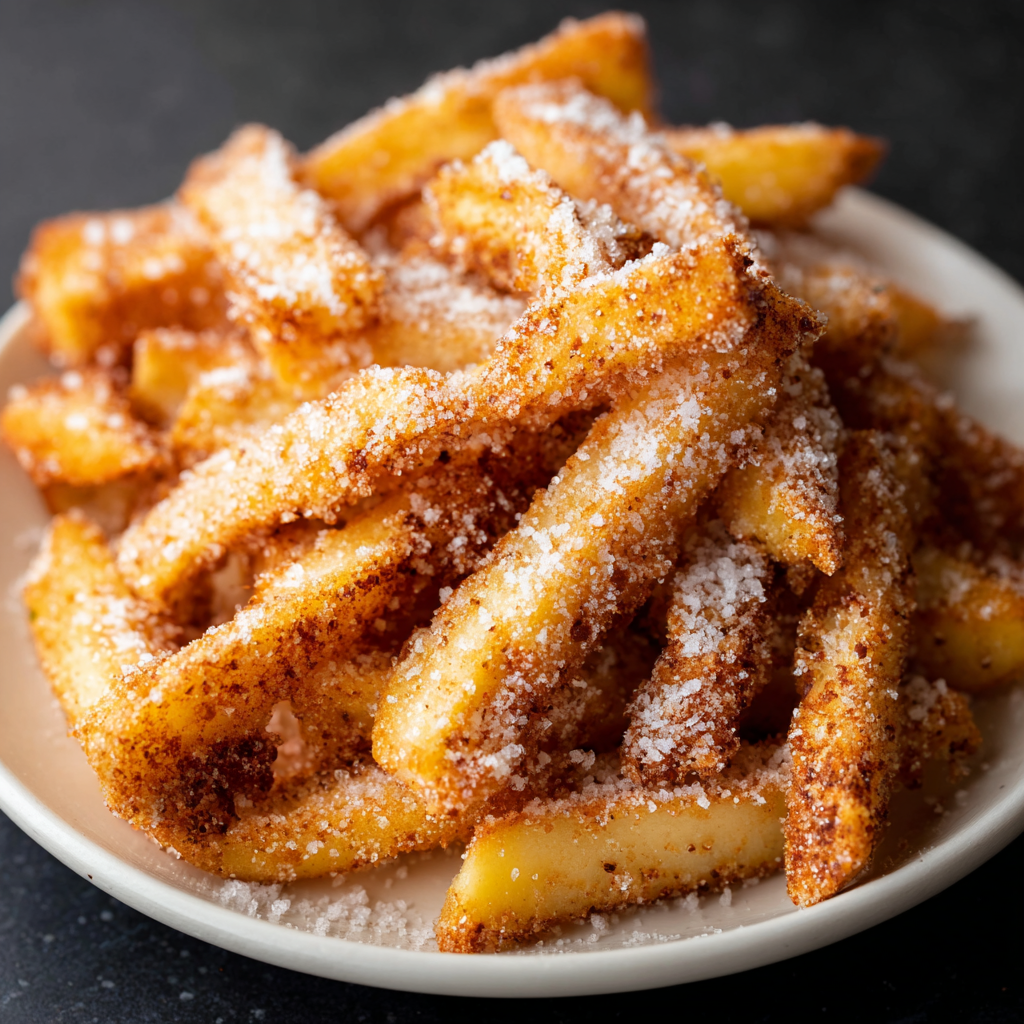
Air Fryer Apple Fries
Crispy, cinnamon-sugar coated apple fries made in the air fryer — a quick, family-friendly snack or dessert ready in under 30 minutes.
Did You Make This?
Leave a comment & rating below or tag @solushcooks on social media!
Rate This Recipe
Share This Recipe
Enjoyed this recipe? Share it with friends and family, and don't forget to leave a review!
Comments (1)
This recipe looks amazing! Can't wait to try it.
Comments are stored locally in your browser. Server comments are displayed alongside your local comments.

Hi, I'm Lena!
What's Popular
30-Minute Meals!
Join to receive our email series which contains a round-up of some of our quick and easy family favorite recipes.